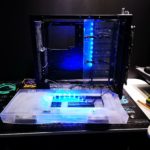
It was time to start working on the 3rd and final external case part, the top. With the front IO panel as the major component to work around and into this case part as the biggest challenge. I also need to figure out a good way to bridge the top part with the front part so there is one fluid design as well as no cap between the pieces.
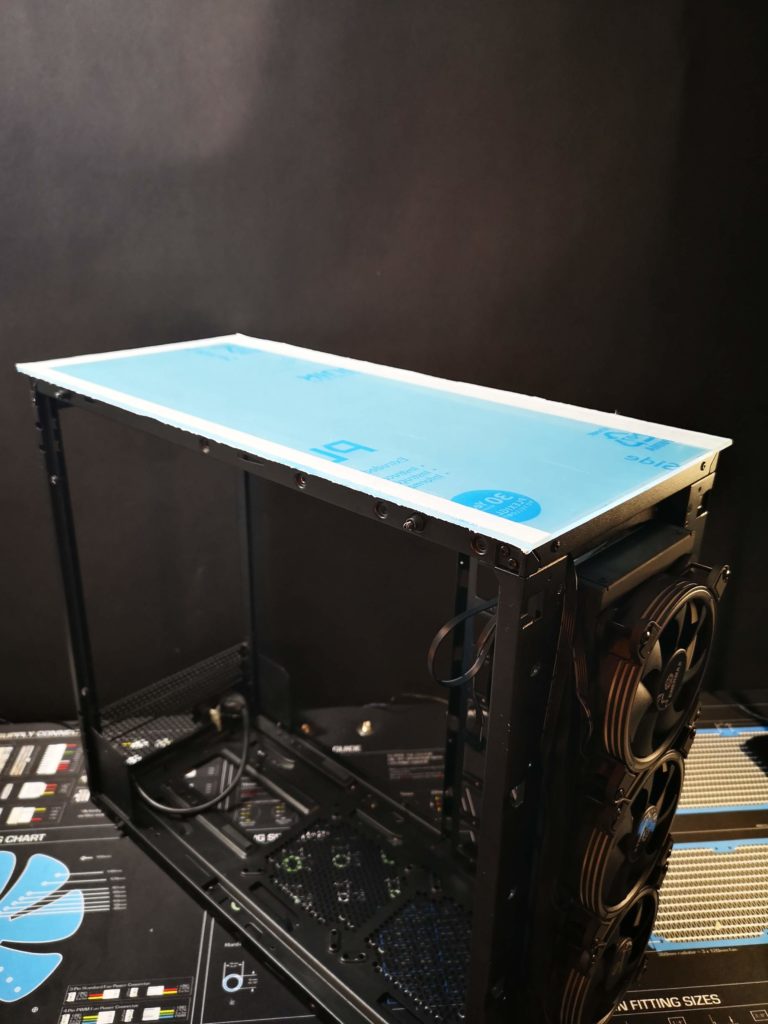
Same dimensions on this piece as the bottom part. 230x540mm.
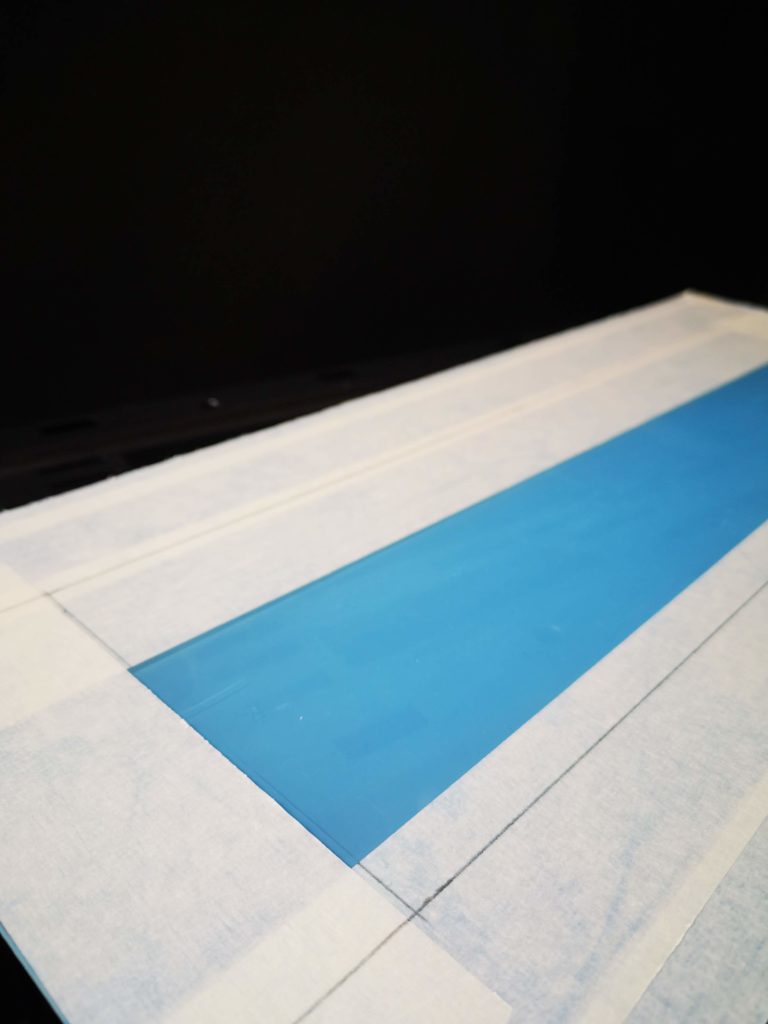
Need airflow as well as room for alternative radiator and fan mounting.
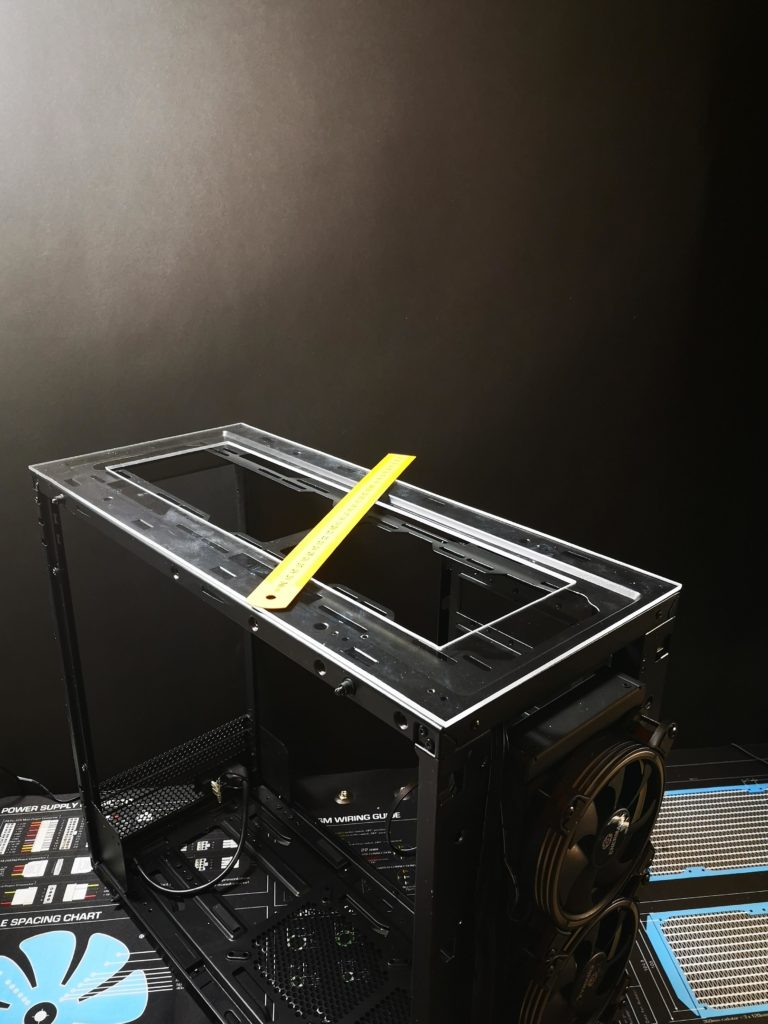
With the base shape cut I can move on with securing it to the case. Modularity is still a key

Worked for the front, so why not for the top. 8 small 12x5x4mm acrylic brackets.
Fliped the case upside down and positioned the frame in the right location. Fixed the brackets with Acrifix and waited for it to set.
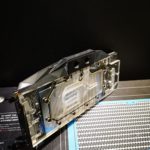
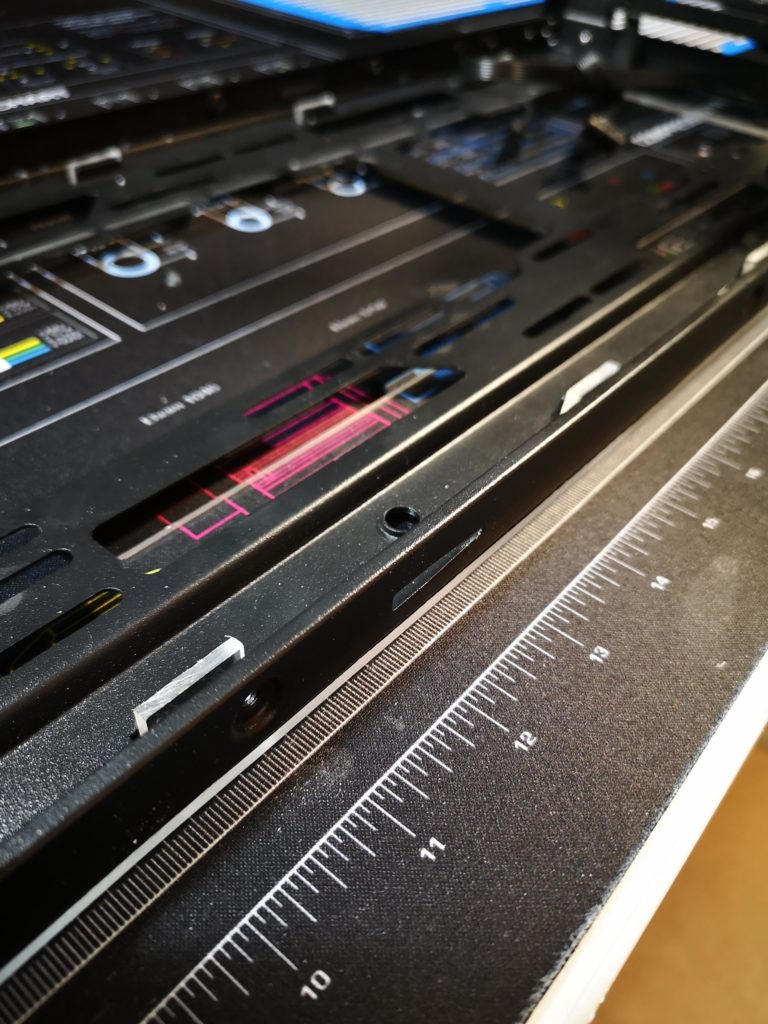
Marked a center line and took some measurements for the IO panel custom bracket. Decided that I wanted to use the original screw holes. No need to reinvent the wheel.
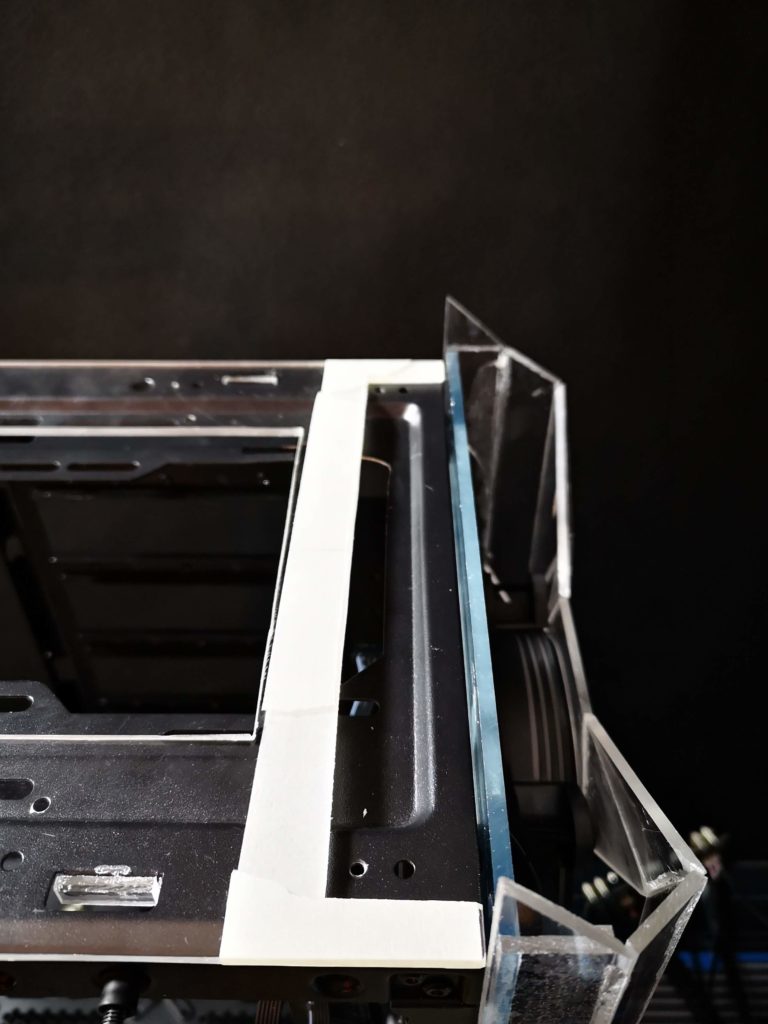
First I did a cut out in the main top frame. This is where I will create the front panel bracket.
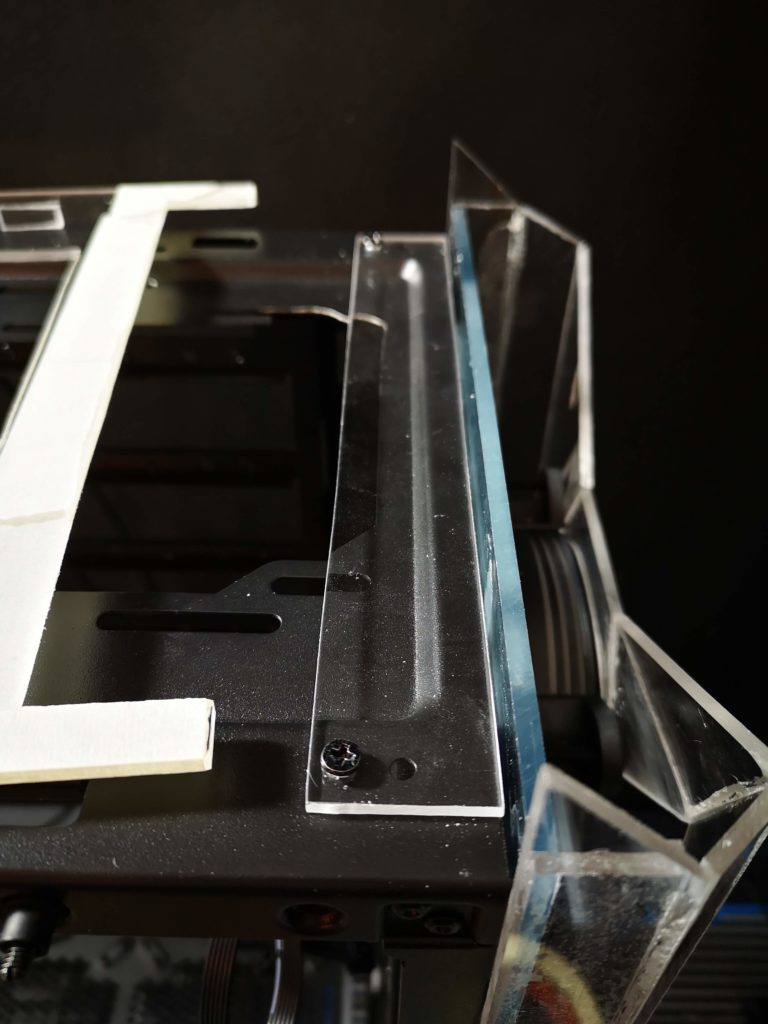
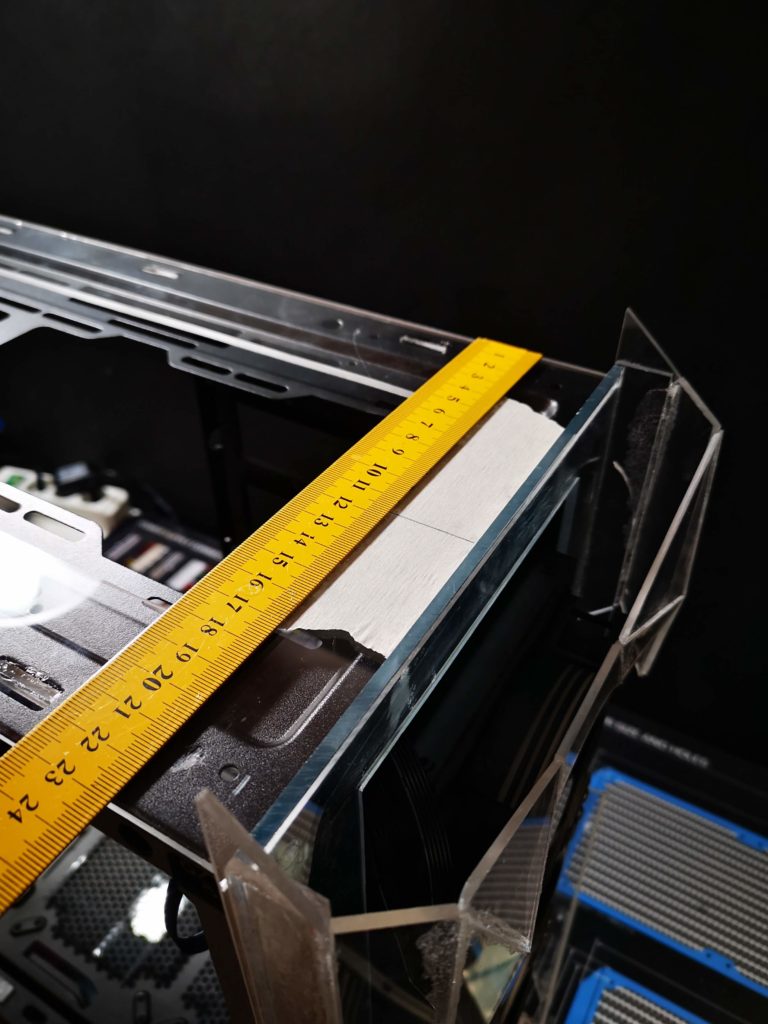
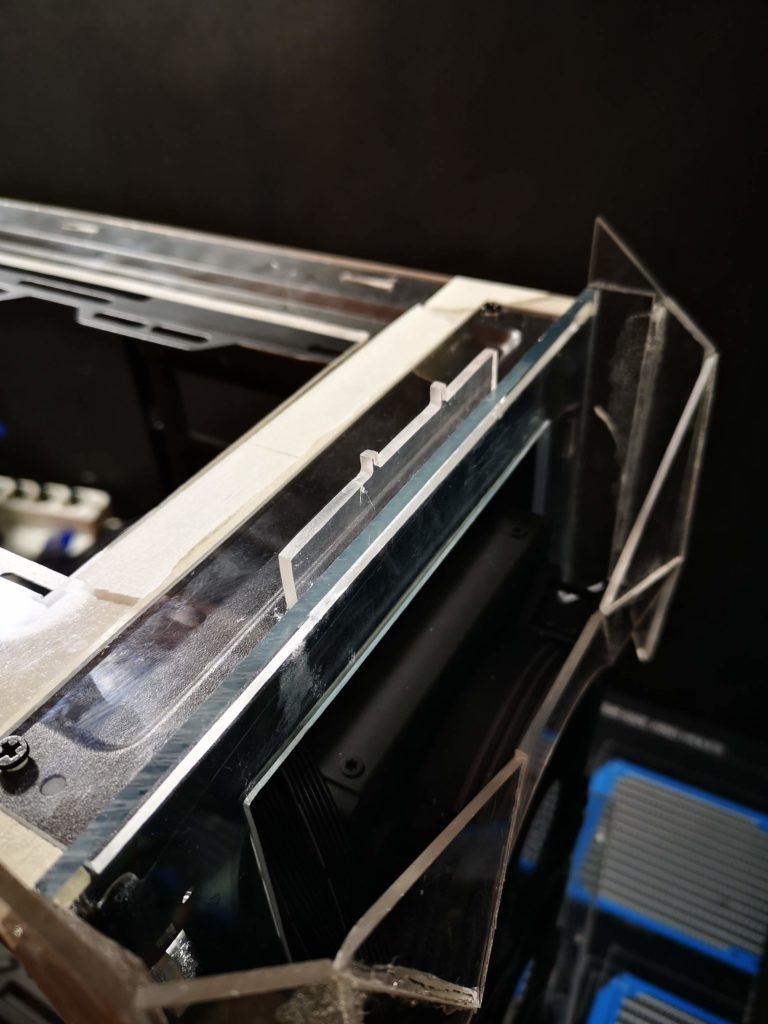
Created a piece equal to the one I cut out from the frame. Drilled 2 holes and viola.
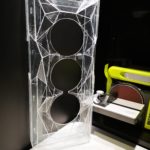
My take on a bracket for the IO panel. Don’t like the original solution with screws clamping it in place.
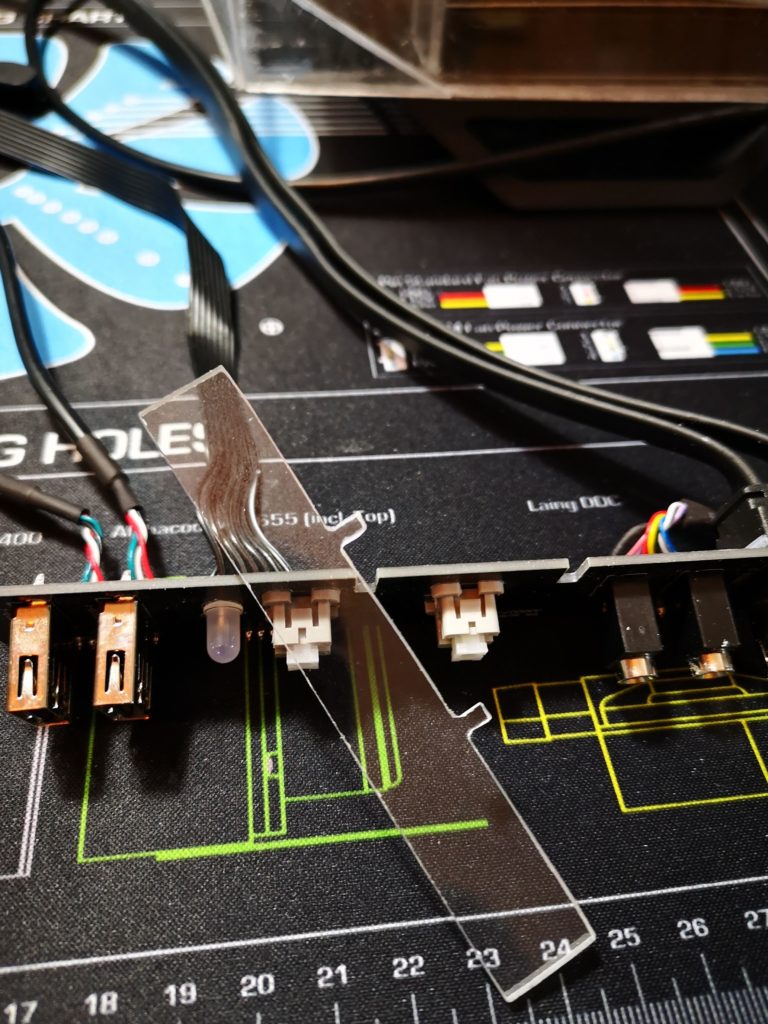
Someone mentioned earlier that Batman would approve of my angles. That actually gave me inspiration for this bracket 🙂
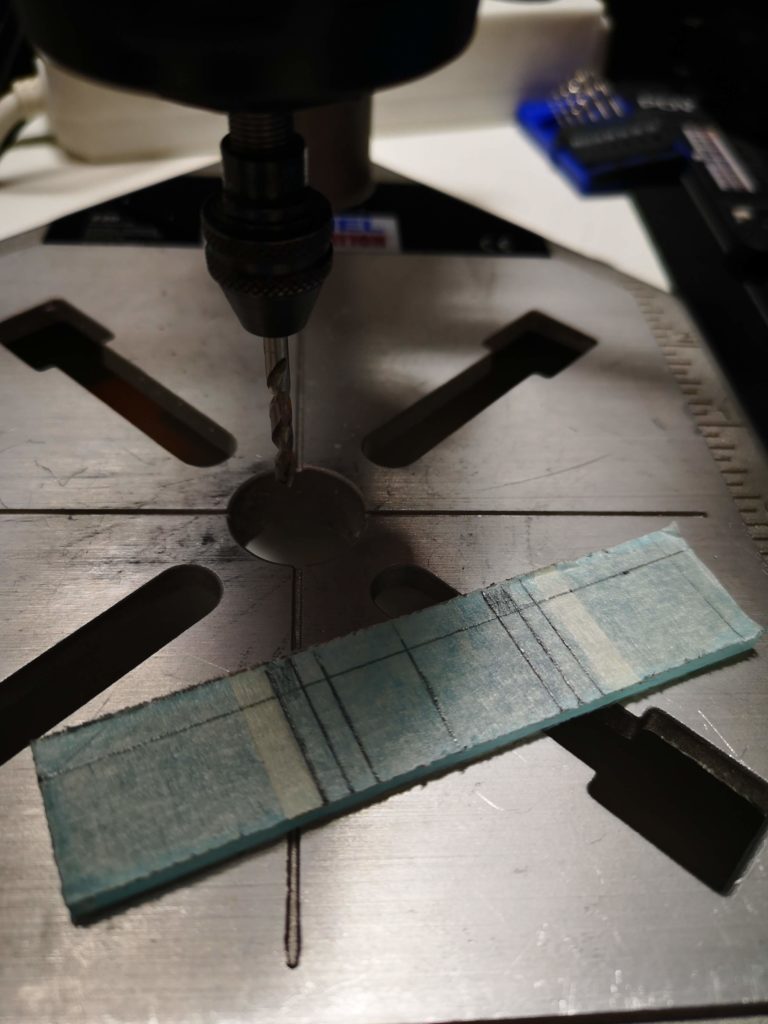
Acrifix is messy but amazing for this type of job.
Not bad for a small batman-holder.


Two larger parts for the top front frame. After some testfitting with the side glass panel I decided to go with a more straight side for the top. Makes for a better transition from the glass.
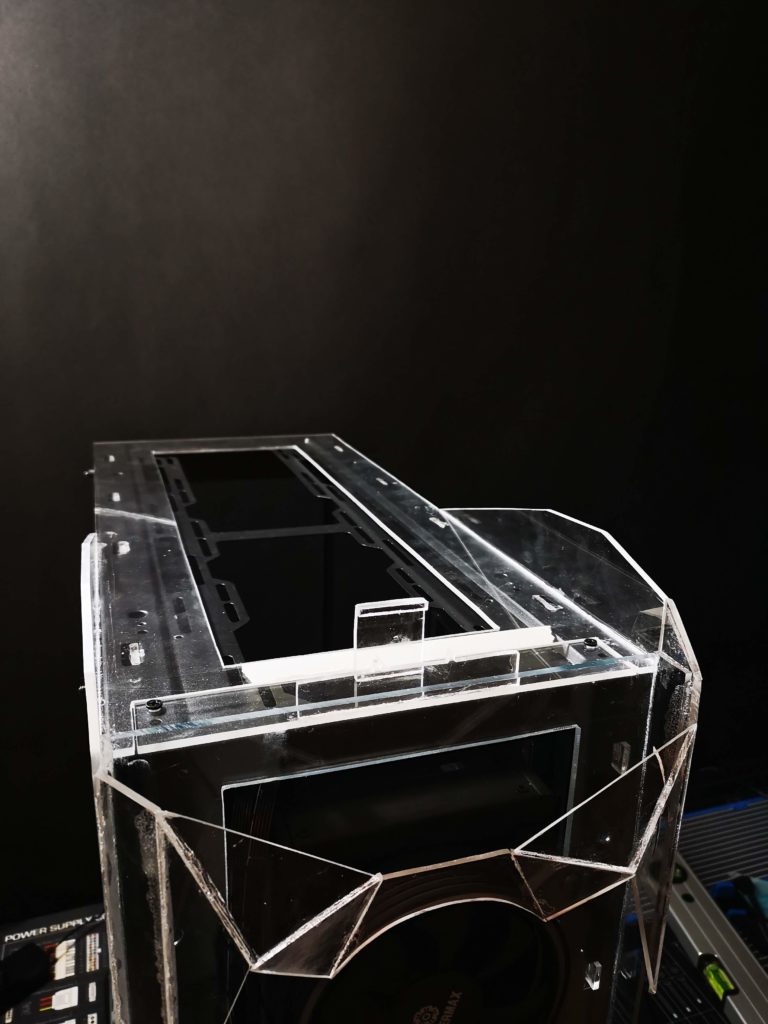
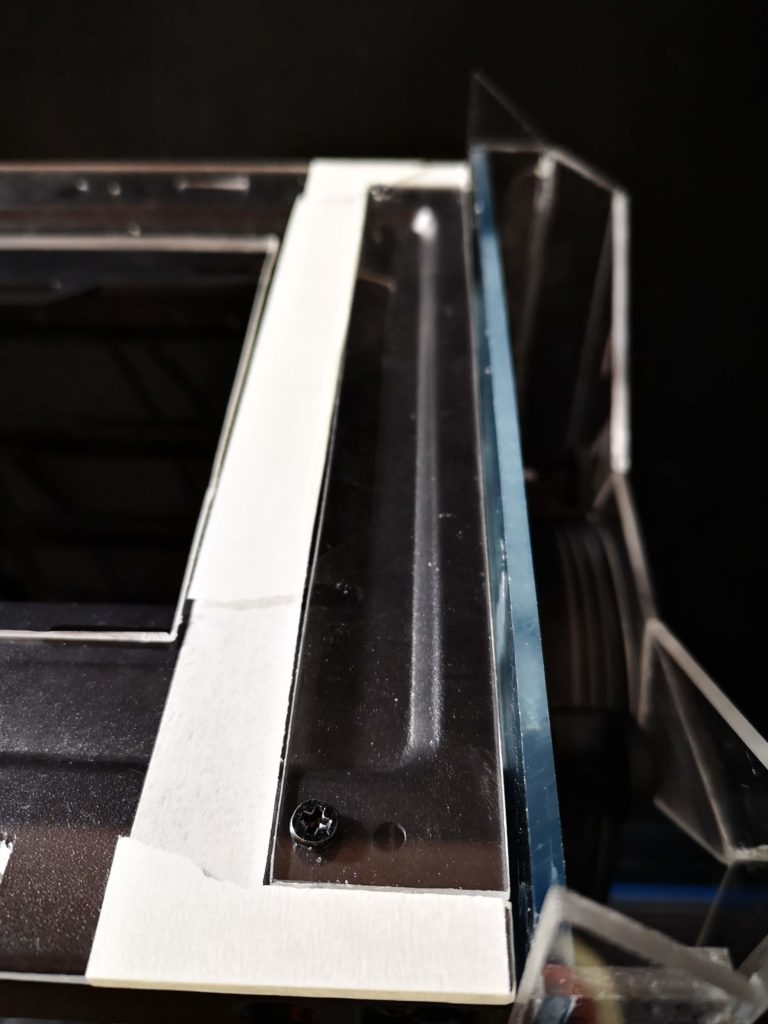
Added the sides to the base plate and created a small clip-on type of counter-bracket for the IO panel.
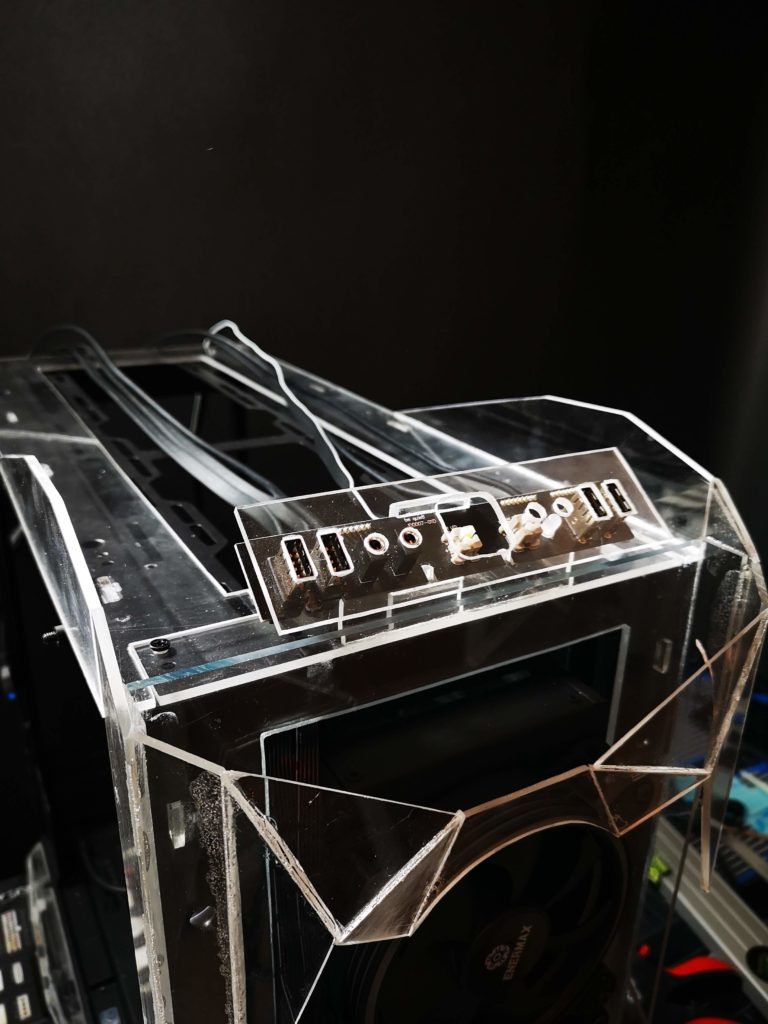
Snaps on tighter than a batman suit.
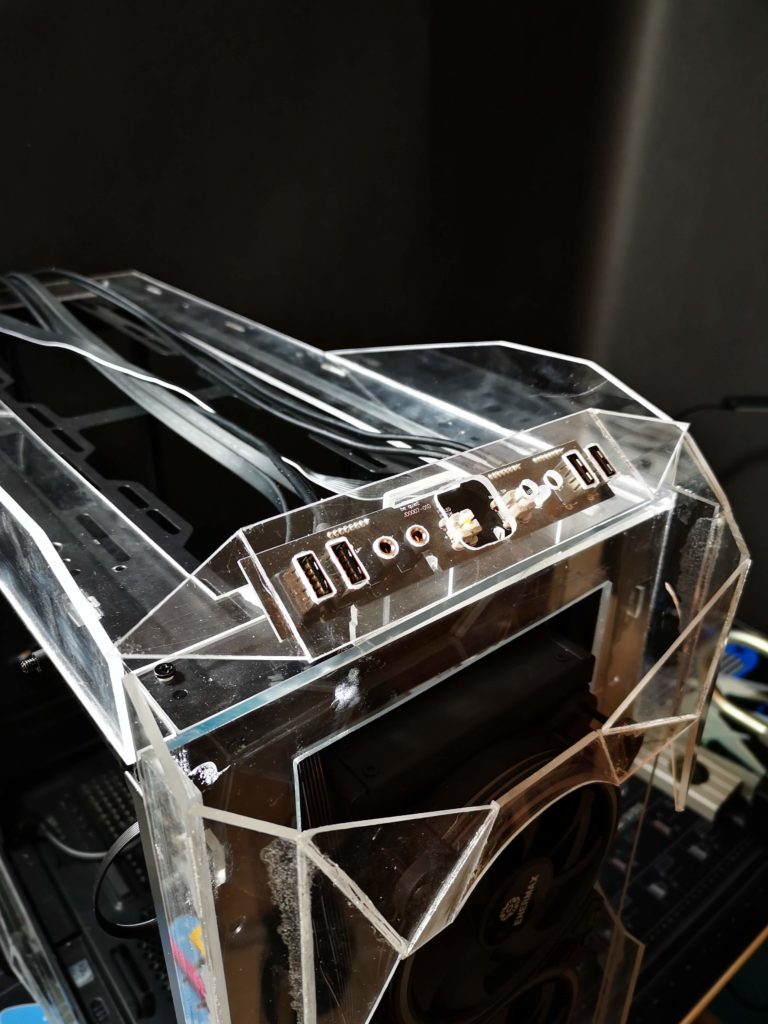
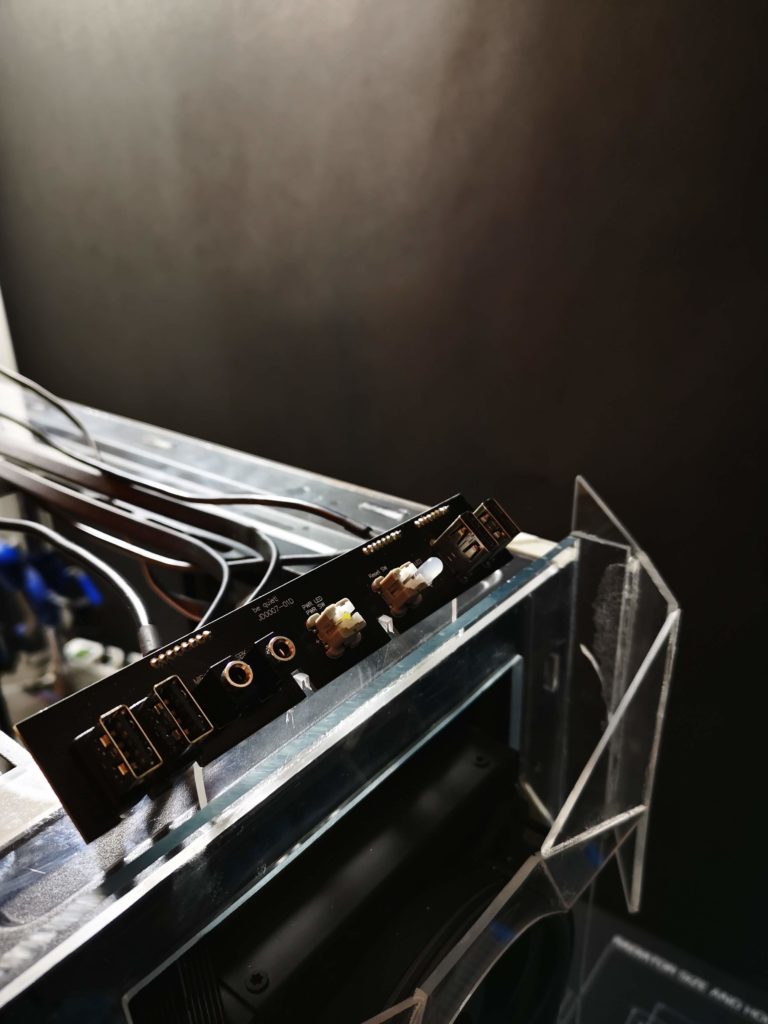
A real milestone right here. Connection to the frame and the front IO panel cover. This also marks the front end edge of the top piece. This will make it possible, once I connect the front to the top, to start working on both the top and front simultaniously. Will increase the speed as I can work on one piece while the other dry when fixing stuff with the Acrifix. But first I need to create the top part, which will be the next update of this mod.