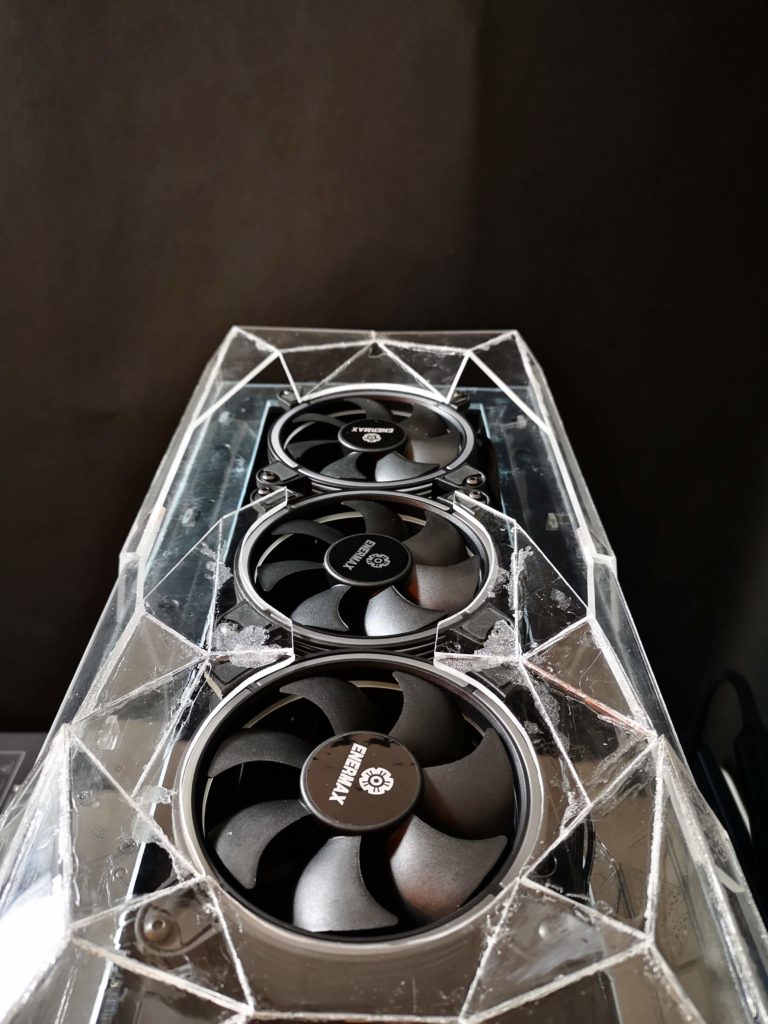
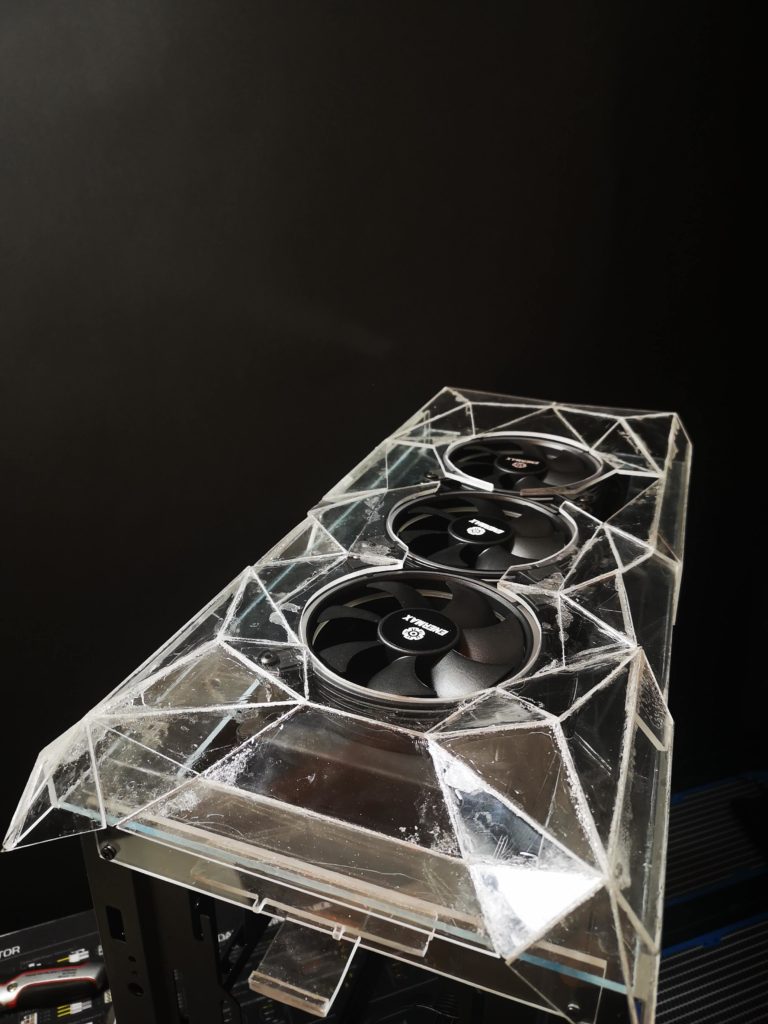
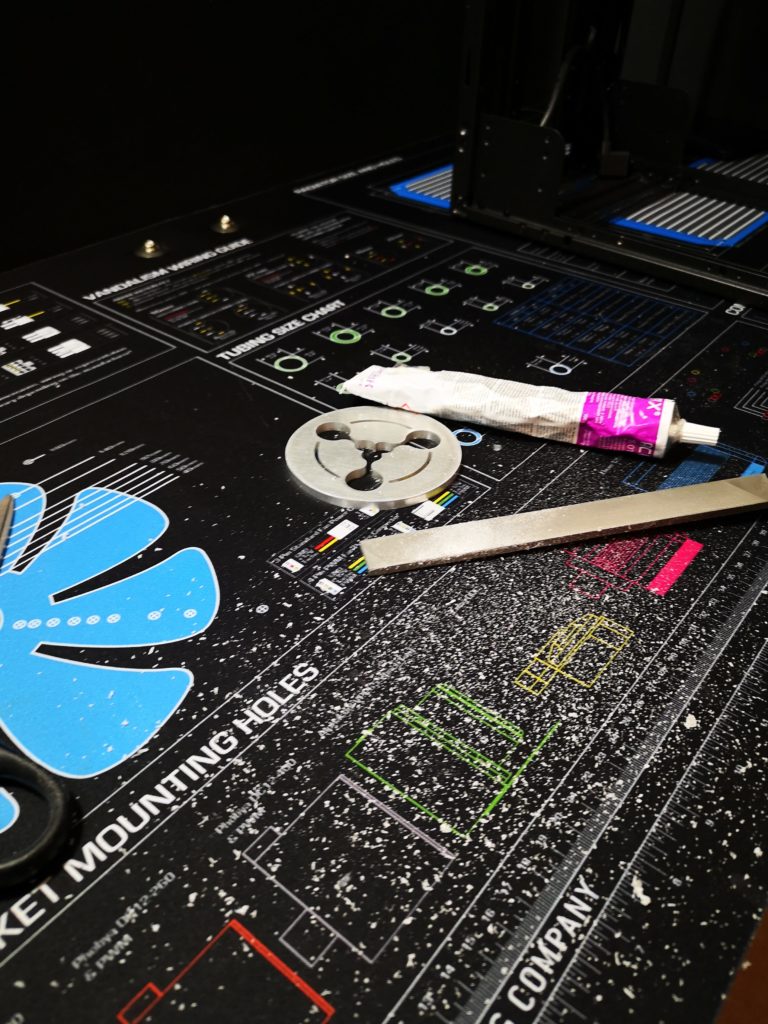
Last piece before the exterior frame is complete is the front. It is also the hardest due to my design choice to expose the 3 front fans. As I have a challenge with the precision with my hand tools, I decided that the only way to get a prefect fit, is to make the holes for the fans to small and then I have to gradually grind them into shape and size, but first things first…
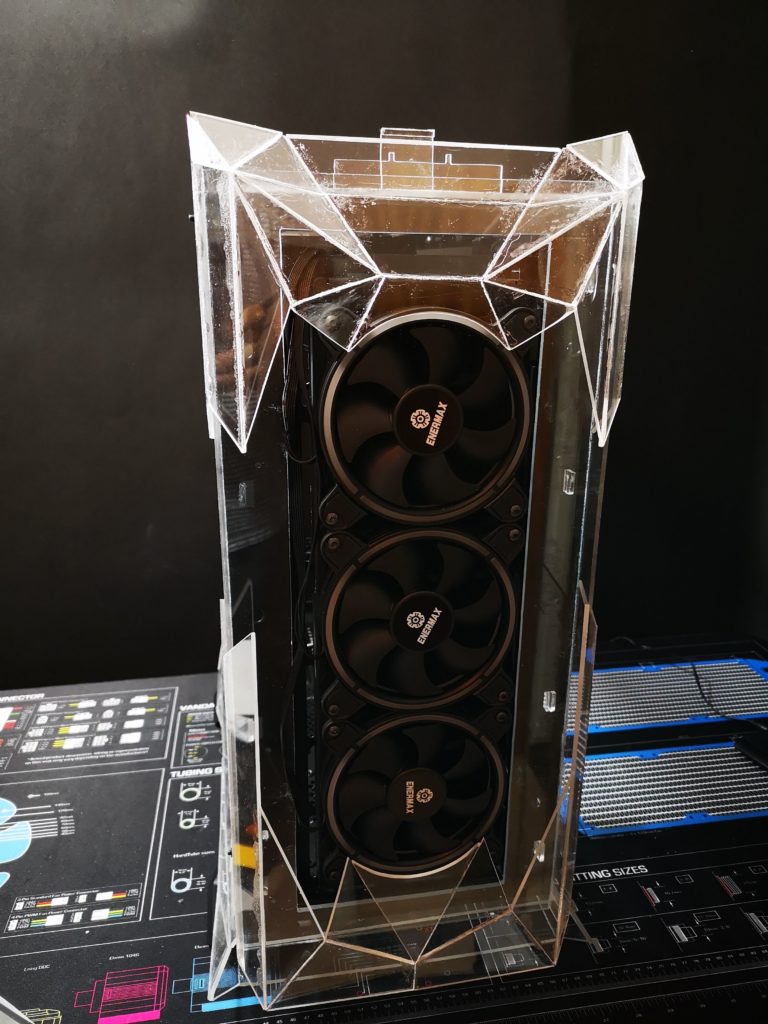
It doesn’t look like it’s that much left to do, but with the cut outs I knew I had my work layed out for me
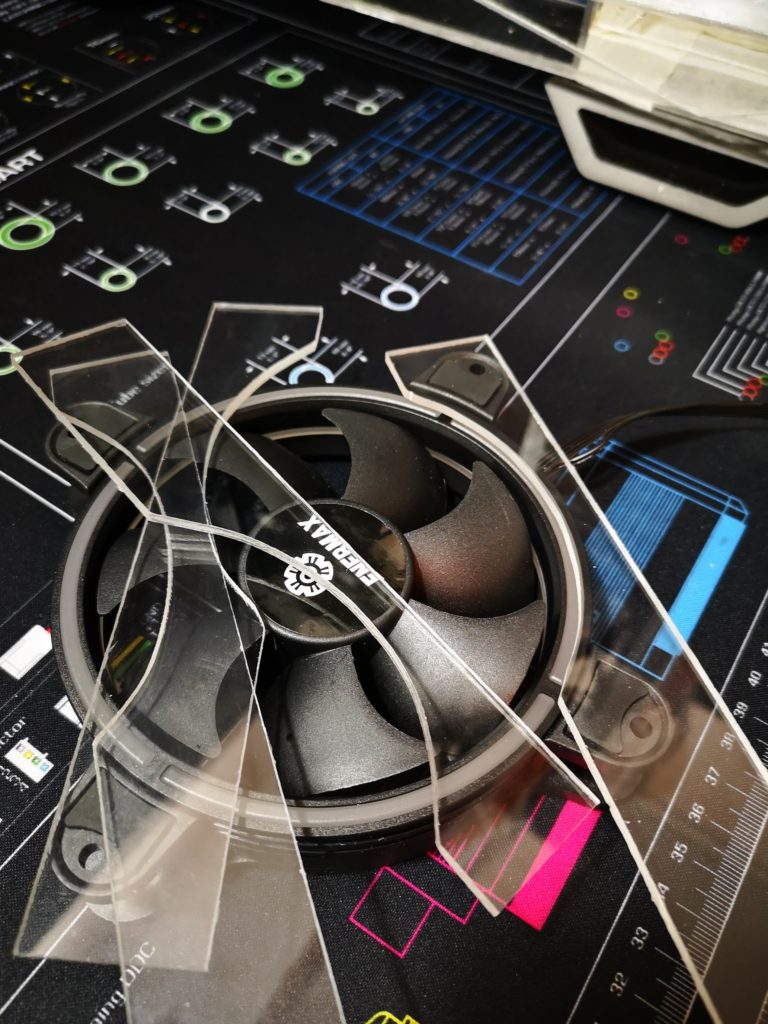
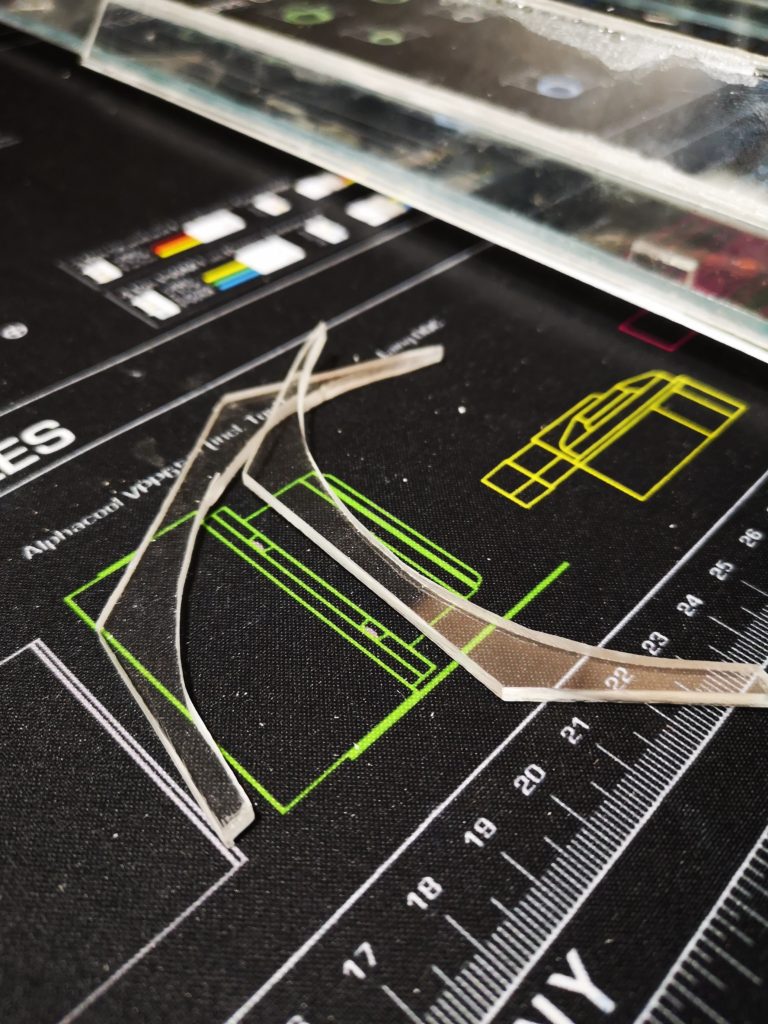
Started with cutting and filing 4 pieces to start the cut outs. The challenge is that the holes needs to be flat, but I want an angled front.
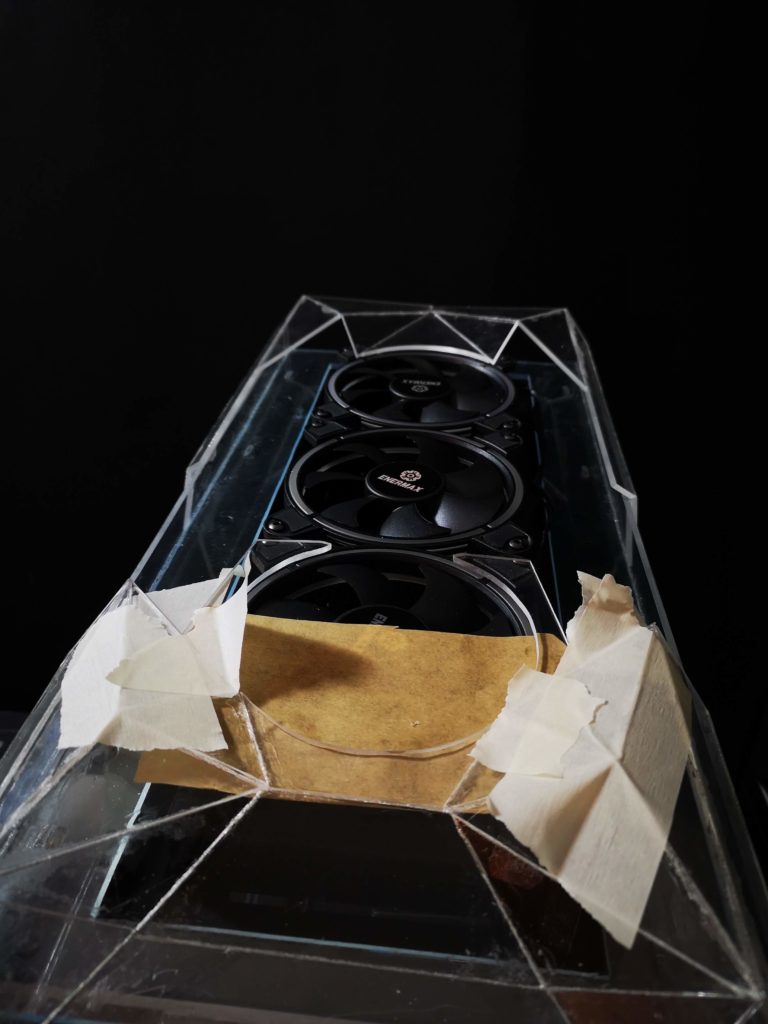
Lot’s of tape to keep the small edges together and in place while setting.
Perfect fit, even if the tape adds to the future sanding job.
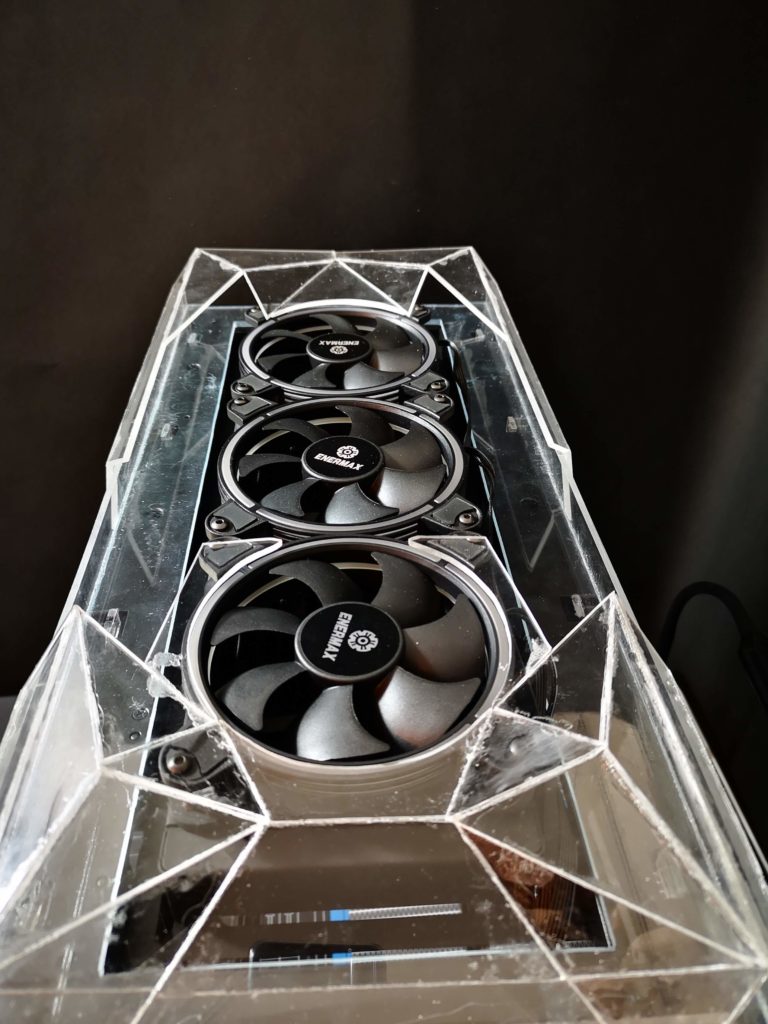
I had an idea for a slight indent in the front, to make it less flat. Looks good, but adds another dimension to the complexity of this piece.
Better angle for how the design will look.
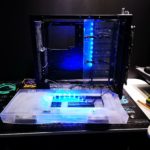
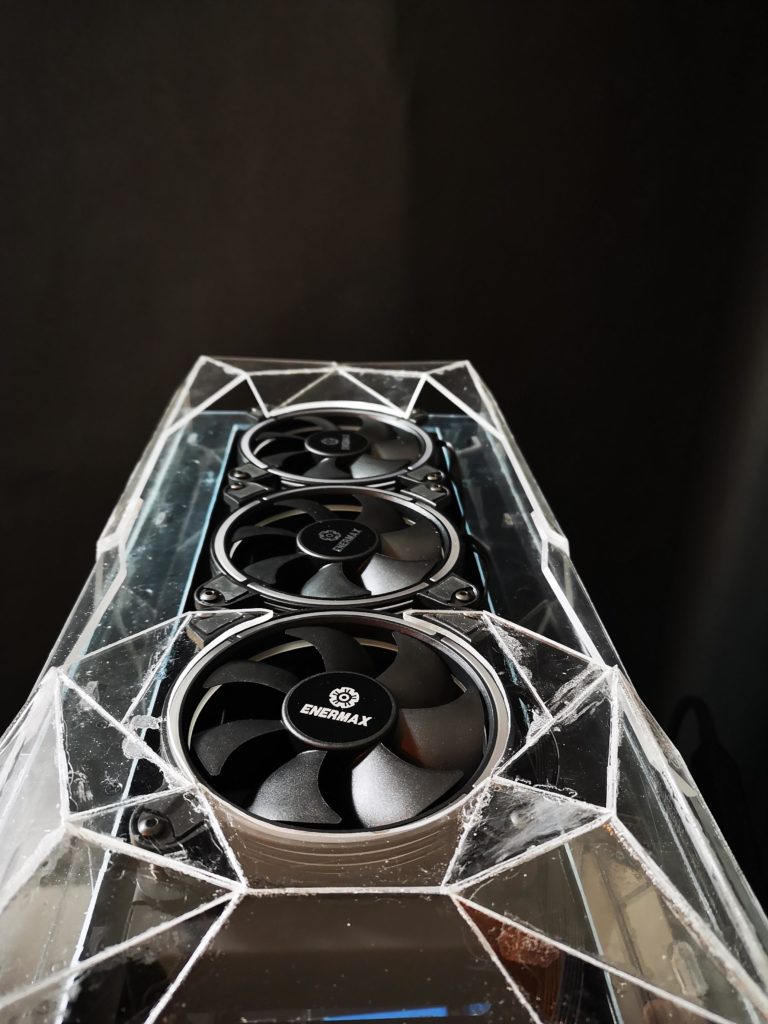
Fun feeling to start to see the design take shape.
Almost done with the first cut out, but as I don’t have anything to connect the last piece, I needed to start working with the next cut out.
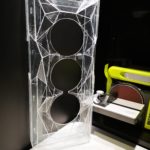
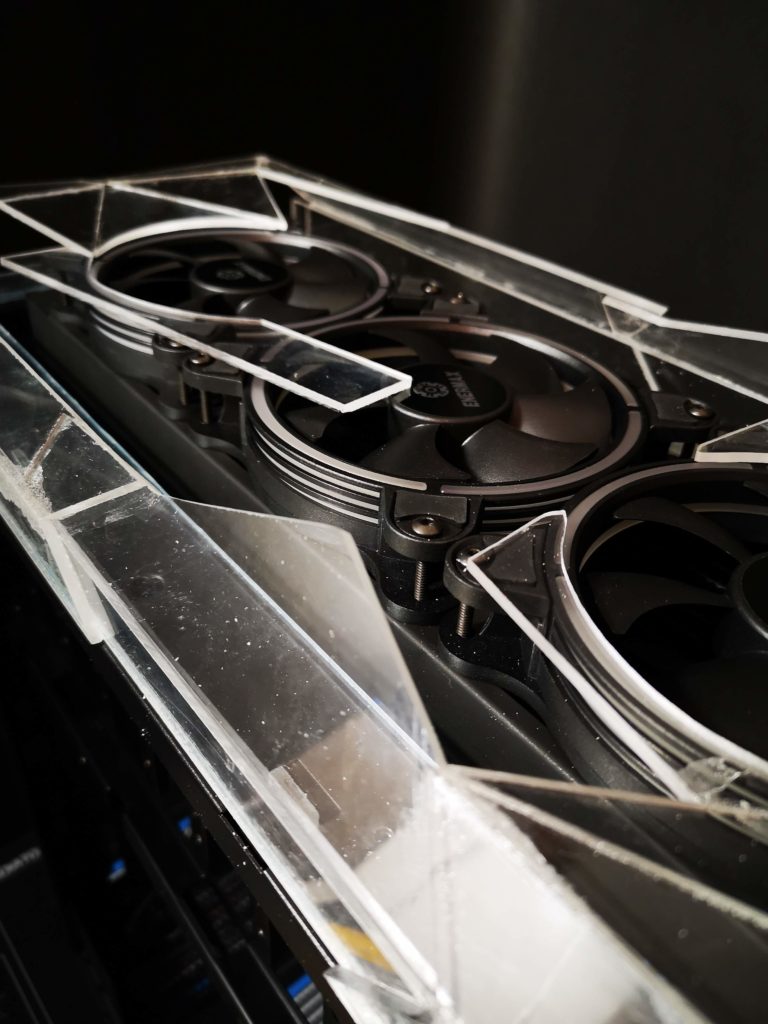
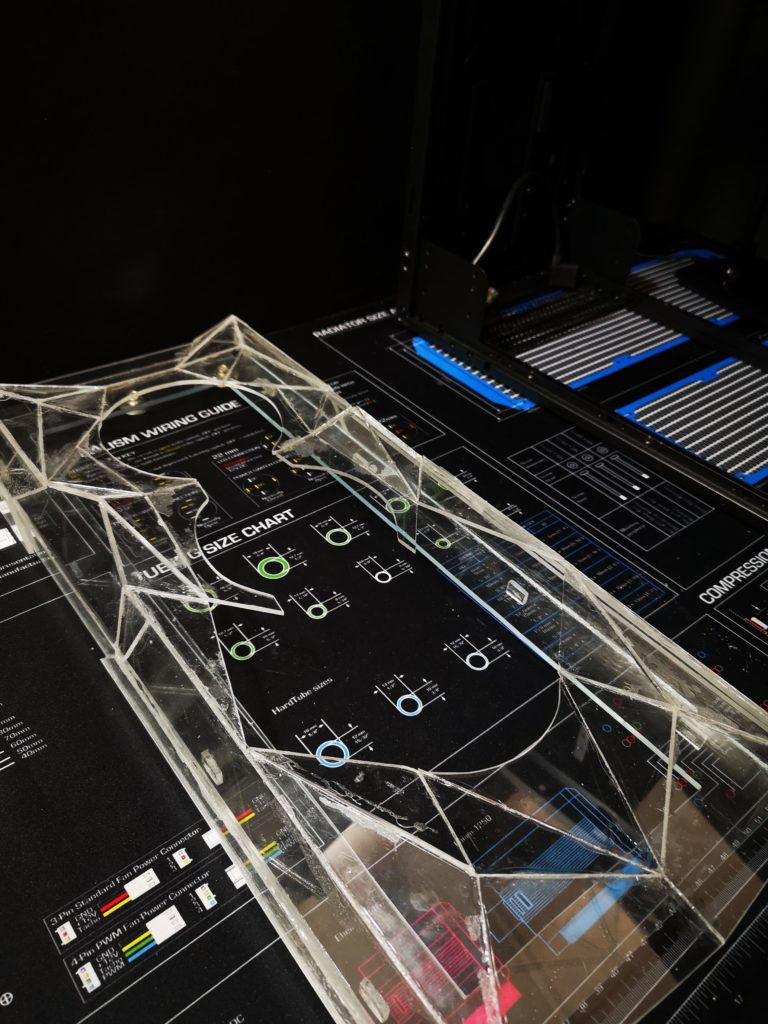
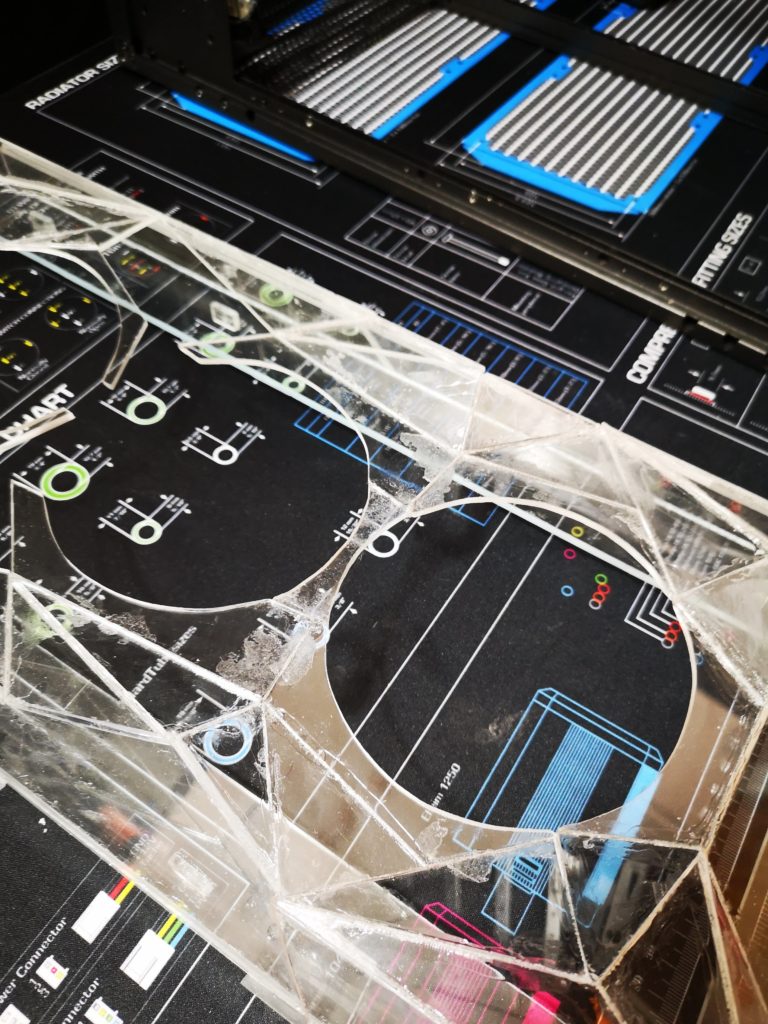
Six small pieces later and the middle cut out is starting to form.
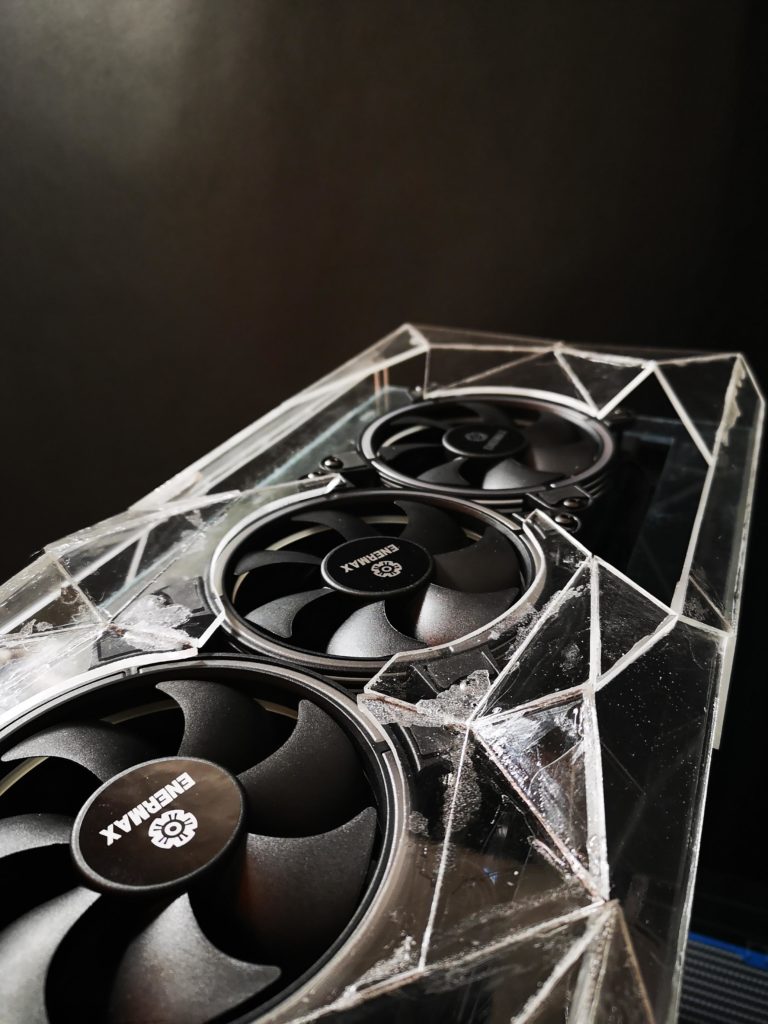
This is a good angle to show the complexity and how many extra pieces is needed to keep the angled design and still ensure flat cut outs.
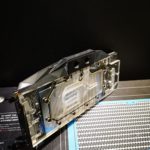
Many hours later and the front is slowly taking shape

Two larger triangles to start working on the bottom of the front and the last cut out.
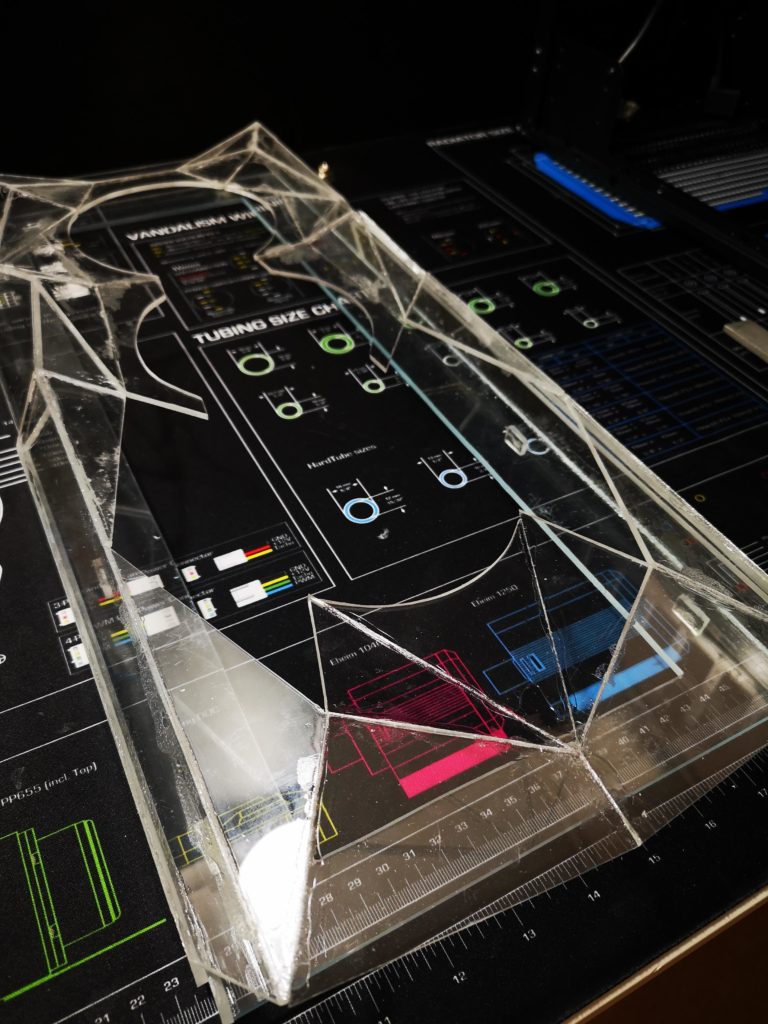
So small and fragile. Took forever to handfile them into shape, but managed without breaking them.
Added two corresponding angles to the bottom
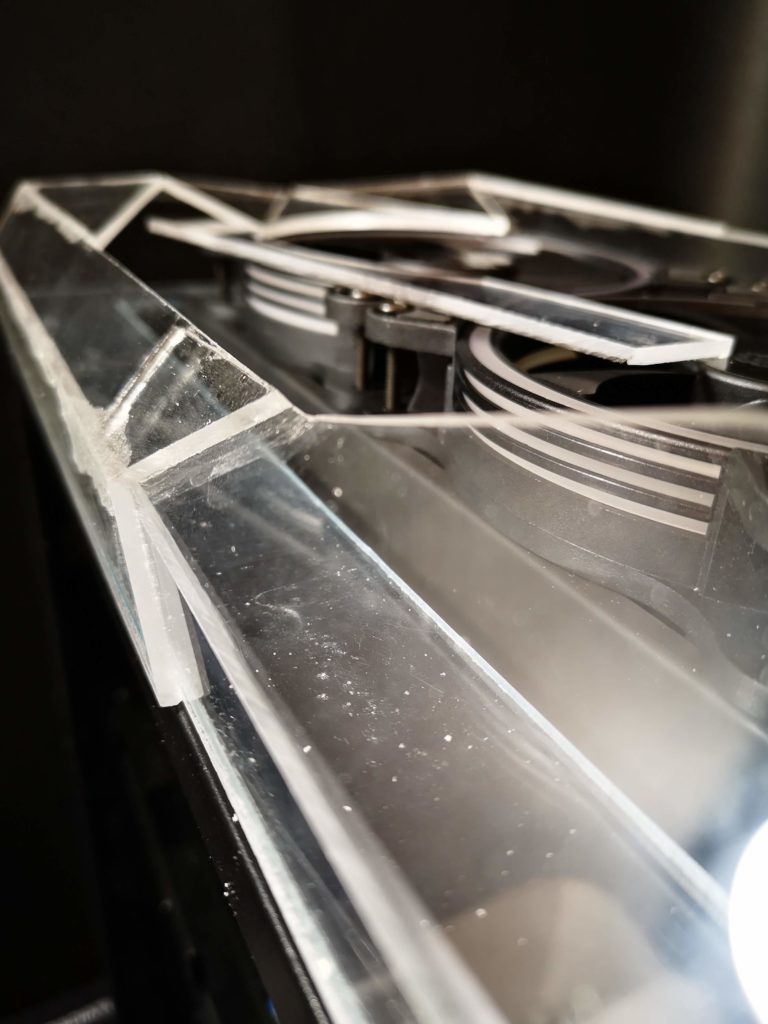
Intentionally I didn’t close the gap yet. Want to ensure I have a good connection and shape towards the midddle cut out.
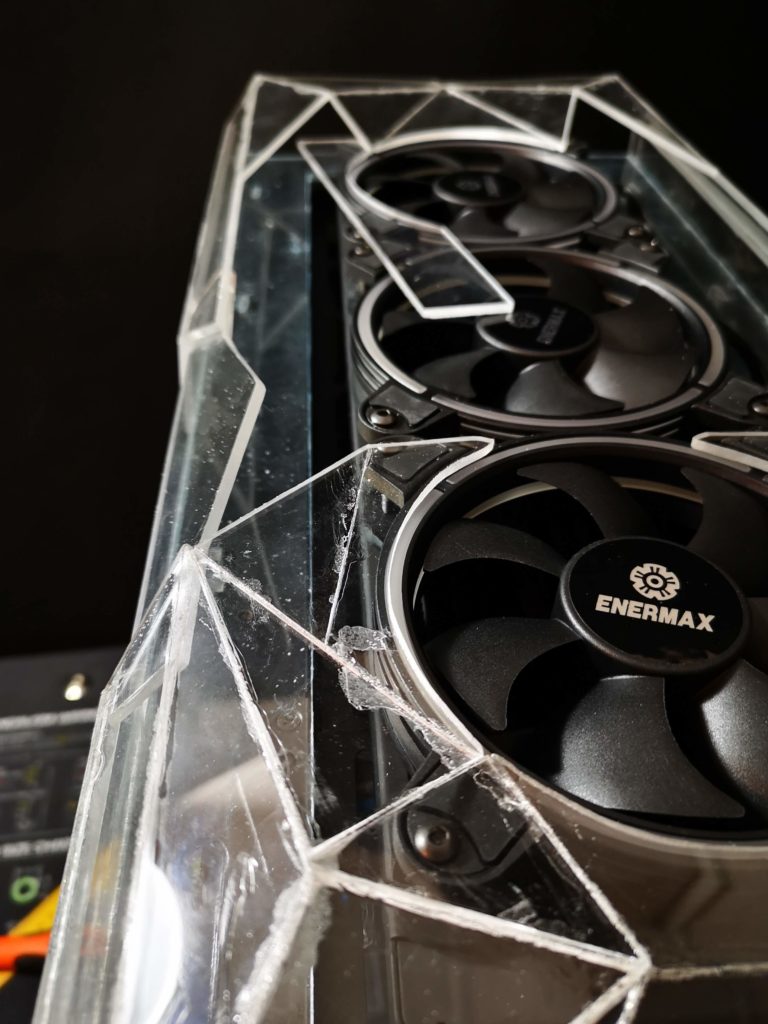
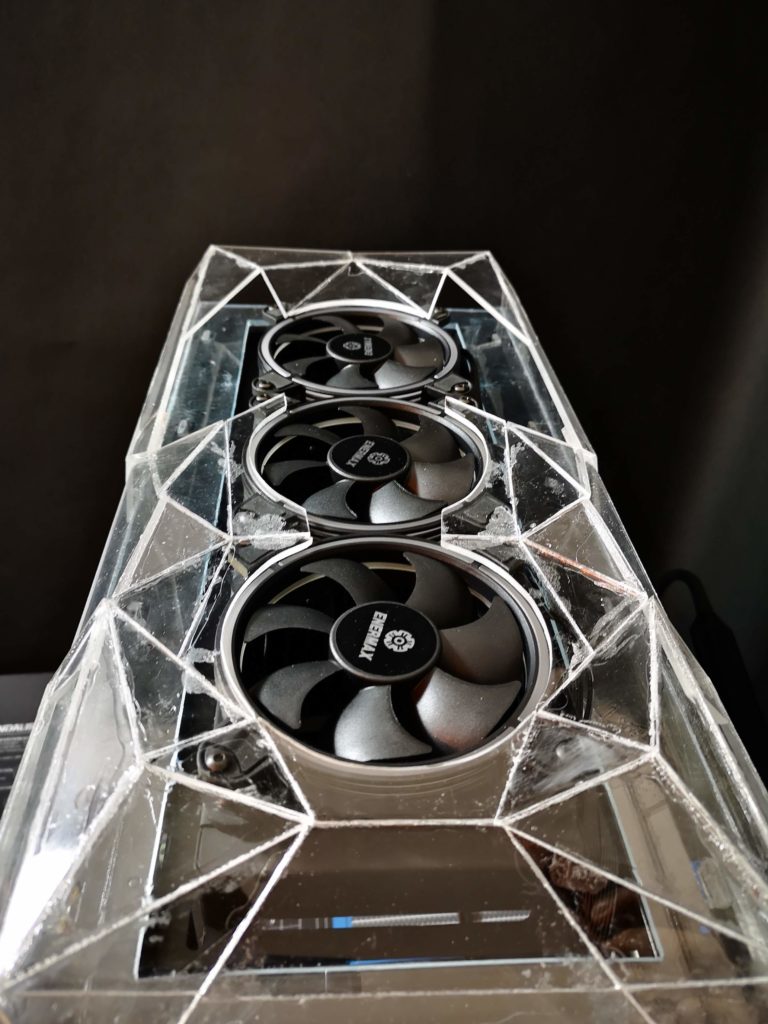
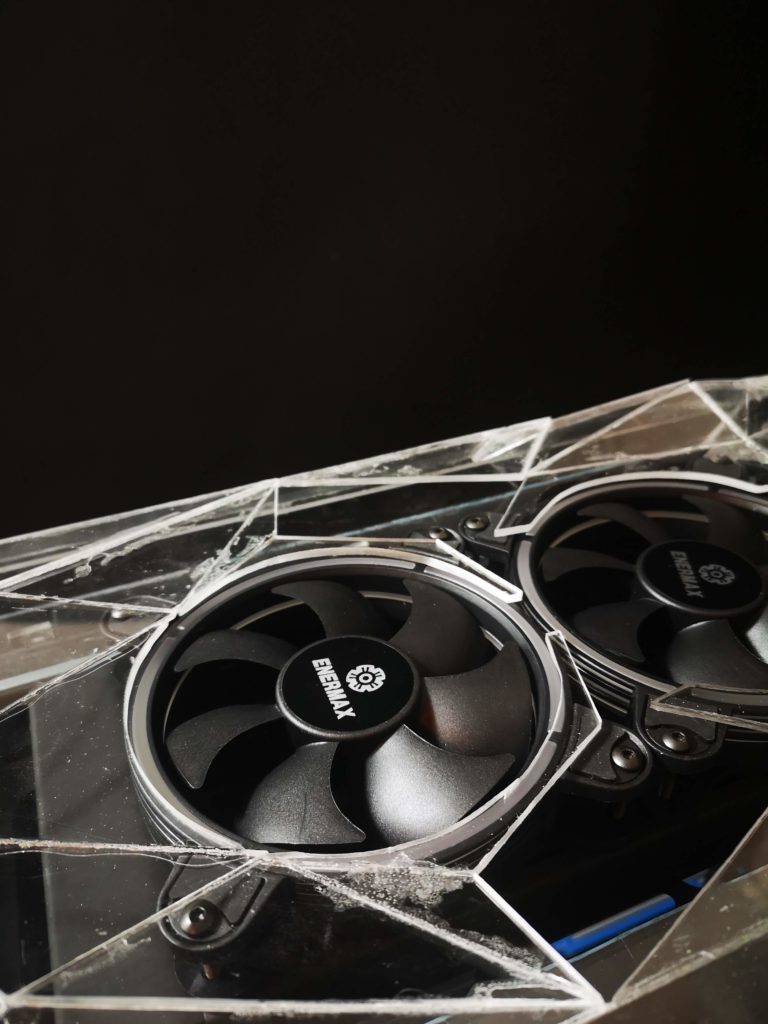
One last piece to make the first and top fan cut out ready.

This is how it looks before I go to work with my hand file
Takes A LOT of filing, but eventually it will be the right shape.
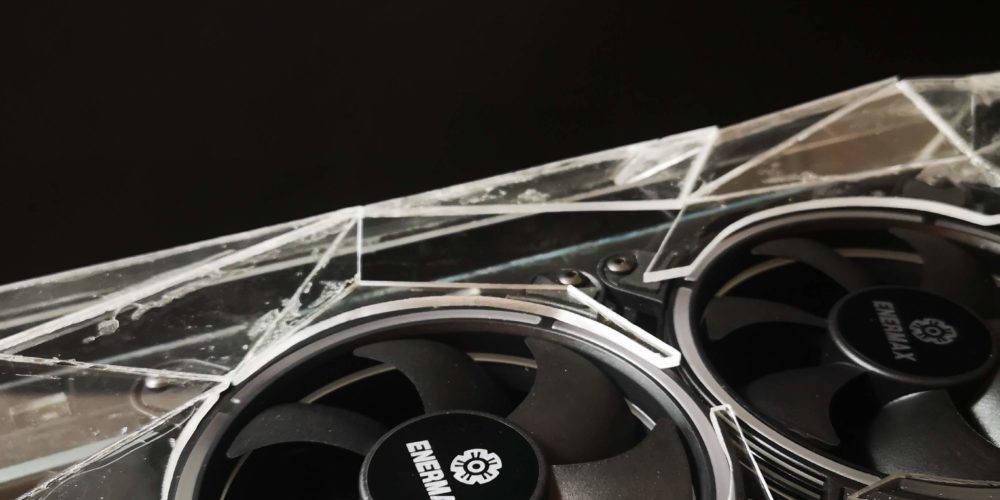
Look at that. First connection and first cut out ready. Long update this one. Next update will hopefully be the full front, but first I’m taking a small break, redesigning my modroom, due to a new very exciting sponsorship with Ryobi.