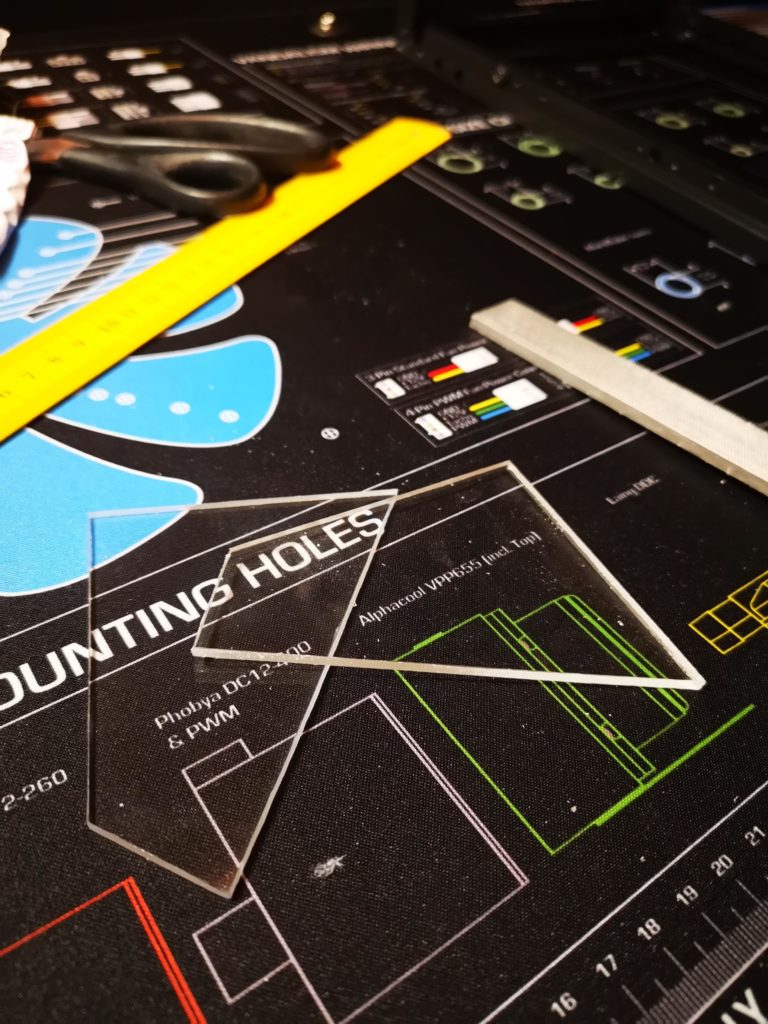
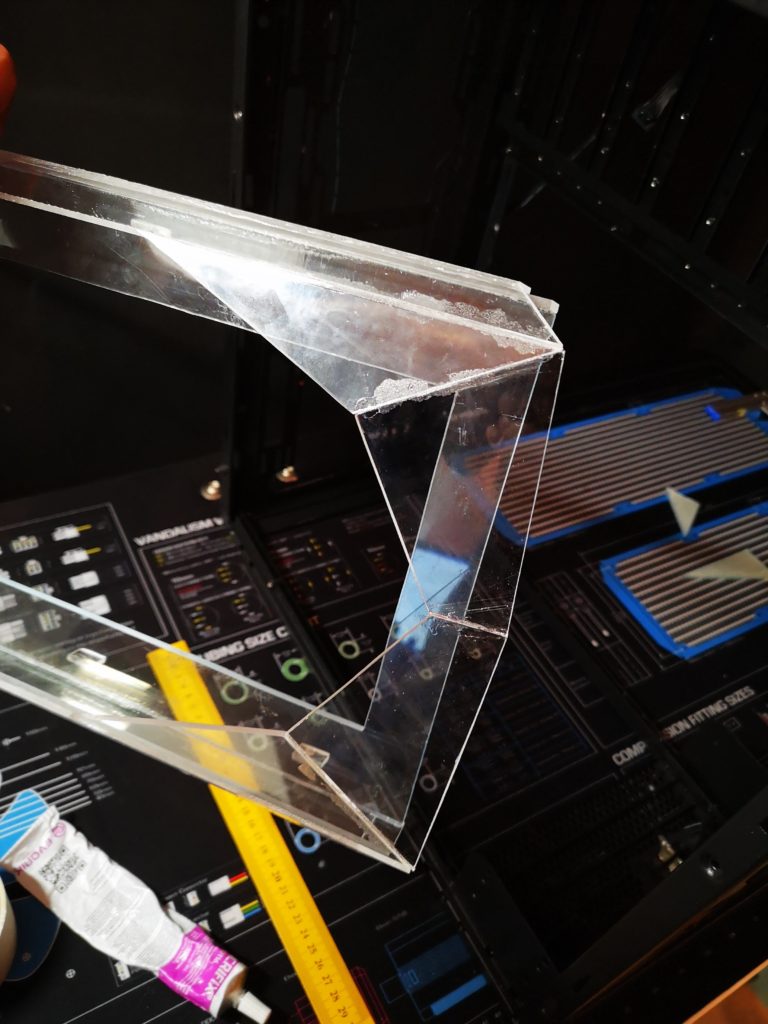
With the base structure done from the previous part it was not much to wait for. The hard part about this part of the mod of creating an angled front structure is that each piece will influence all the others. The size, the angle, the shape all influence eachother. Almost like laying a puzzle without the picture, the size and the pieces them self.
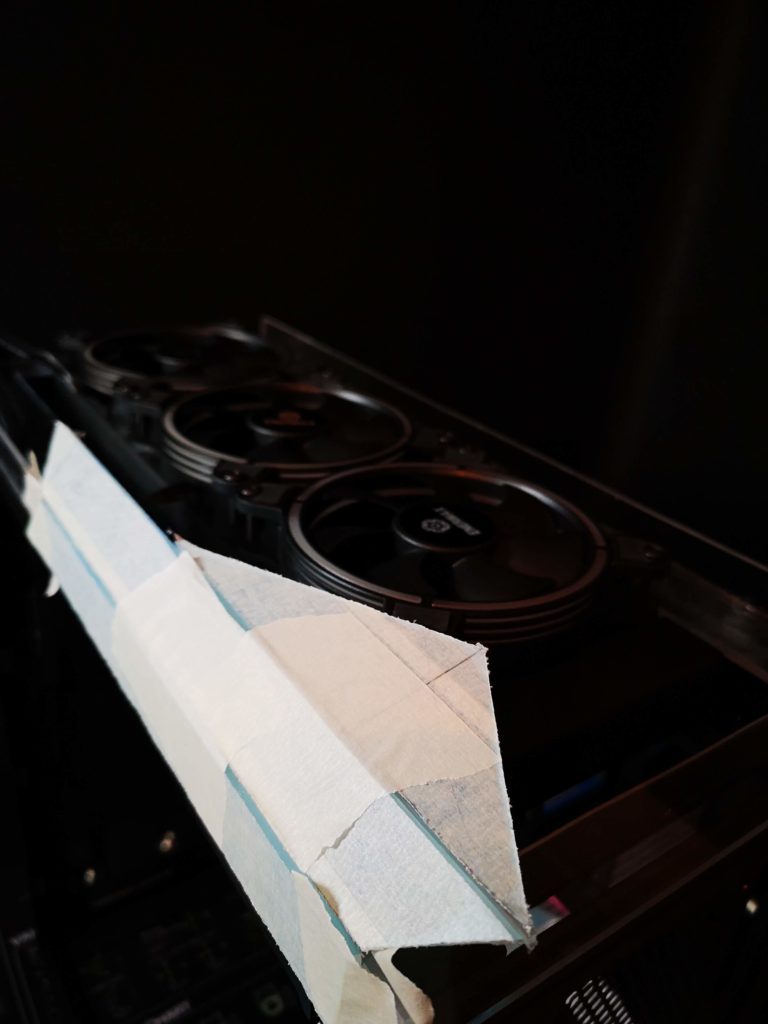
The best solution to solve the puzzle turned out to be tape. Made it possible to fix each piece while take measurements for the next.
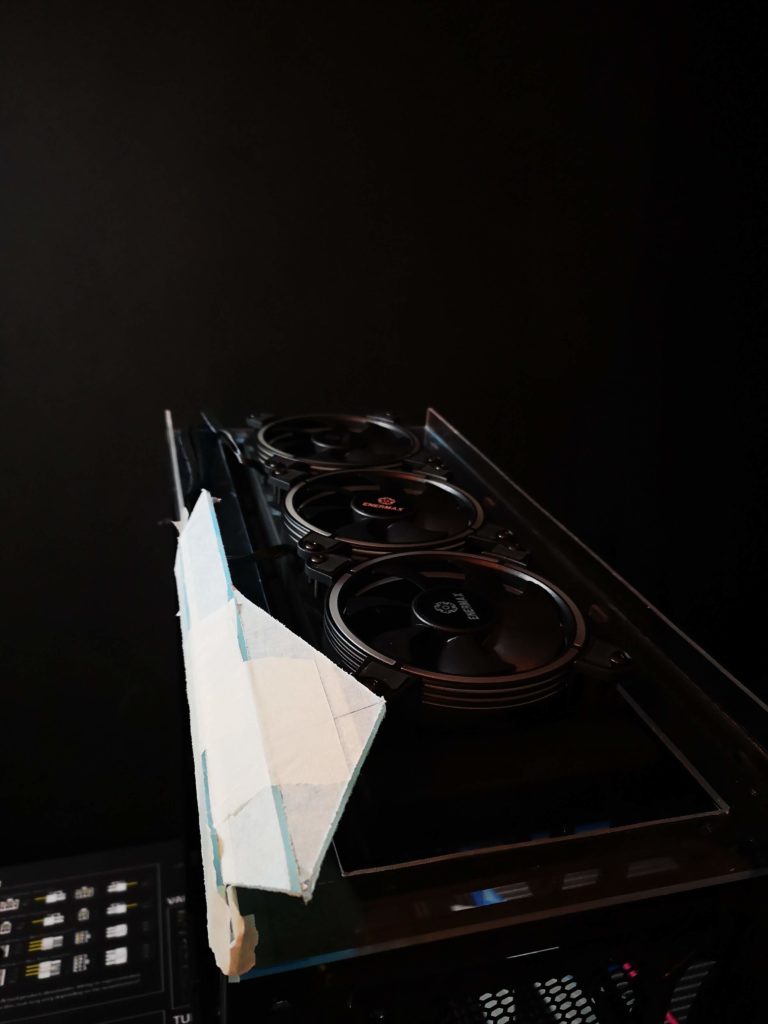
First piece of the puzzle fixed for real.
Moved on to fix the next part. Both of these pieces was the last pieces created in the previous part of the mod.
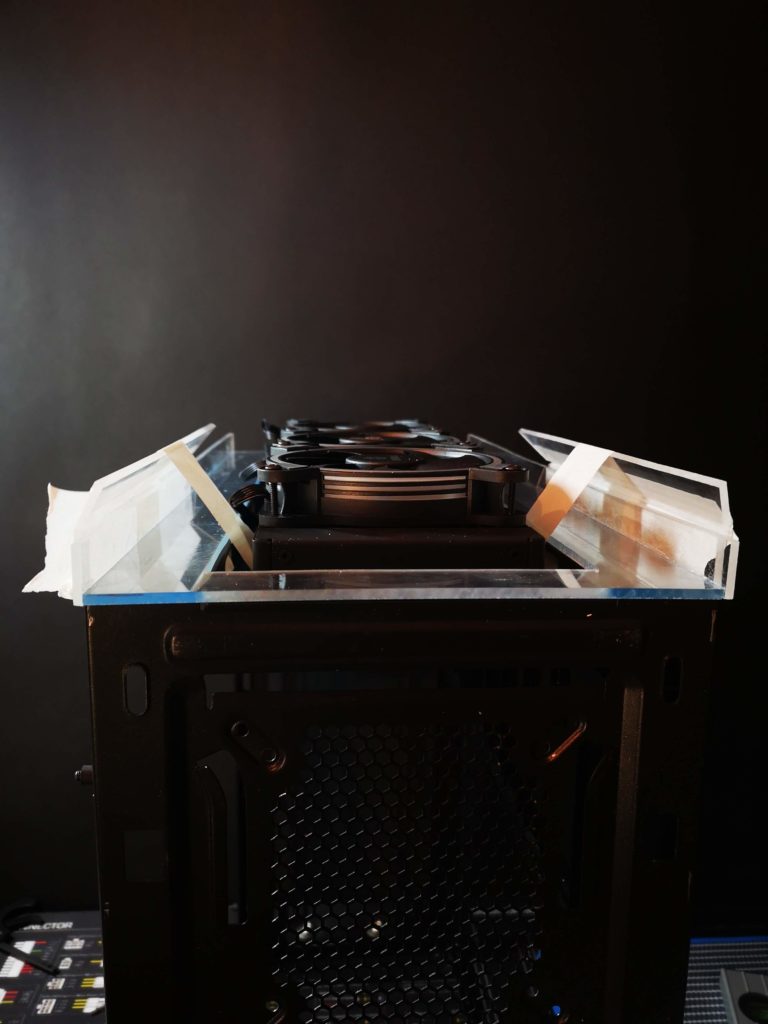
With tape tightly attached on the outside I could use tape on the inside to stretch and bend it into the right angle.
Secured. Only down real downside of the tape solution is that the tape will suck upp Acrifix and make the surface look like ****, but with the need to sand it down, the upside it much larger the the downside.
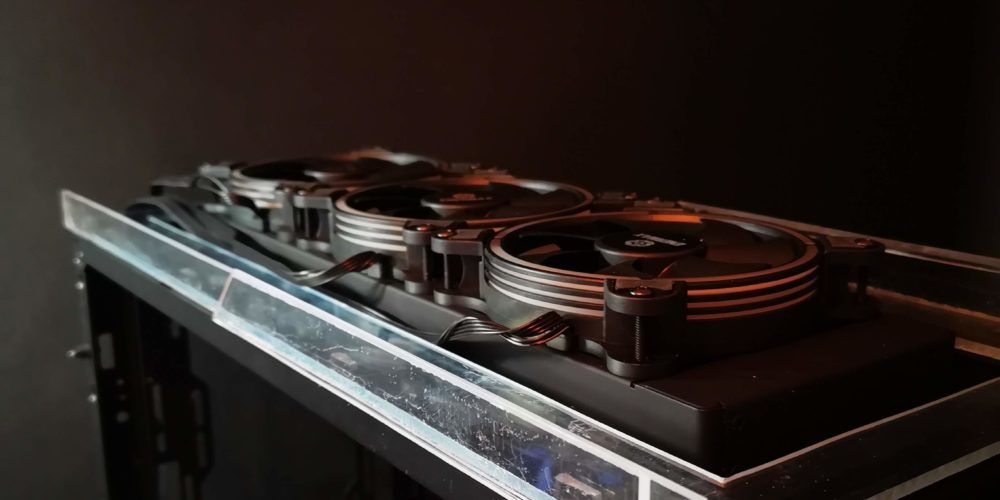
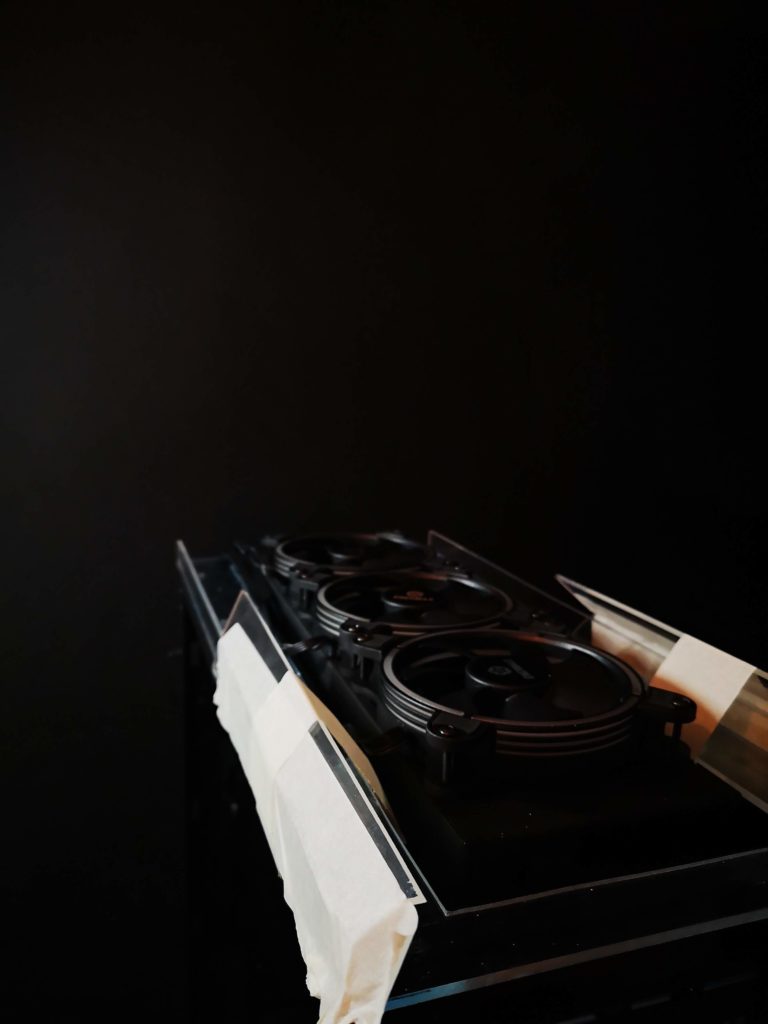
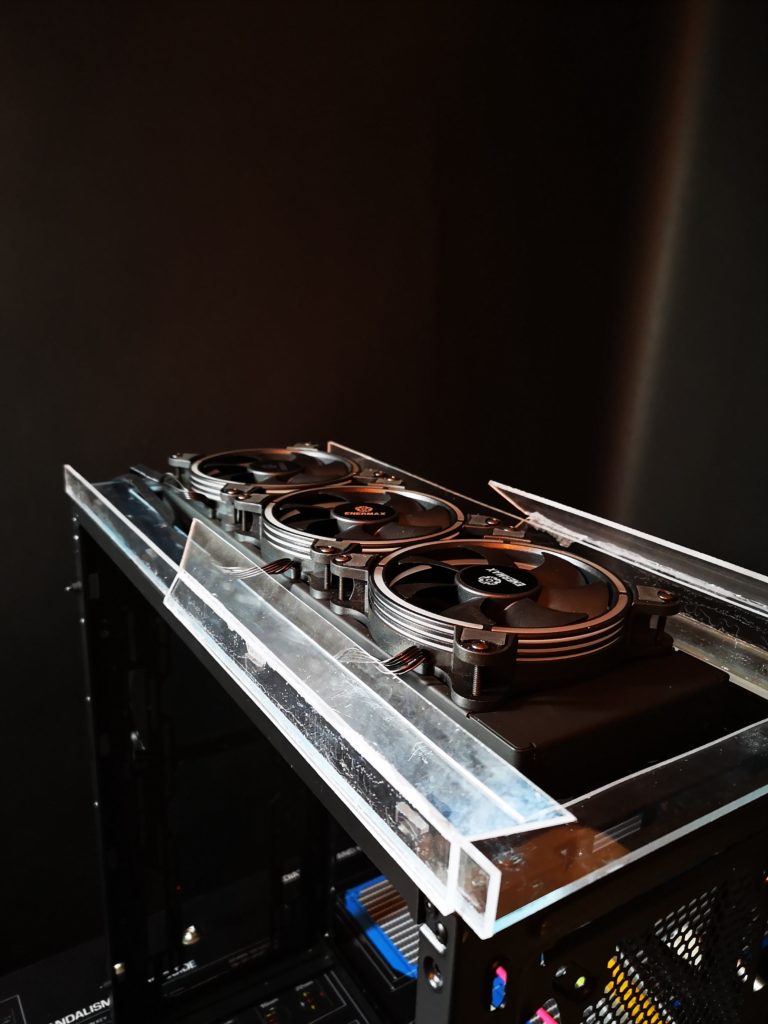
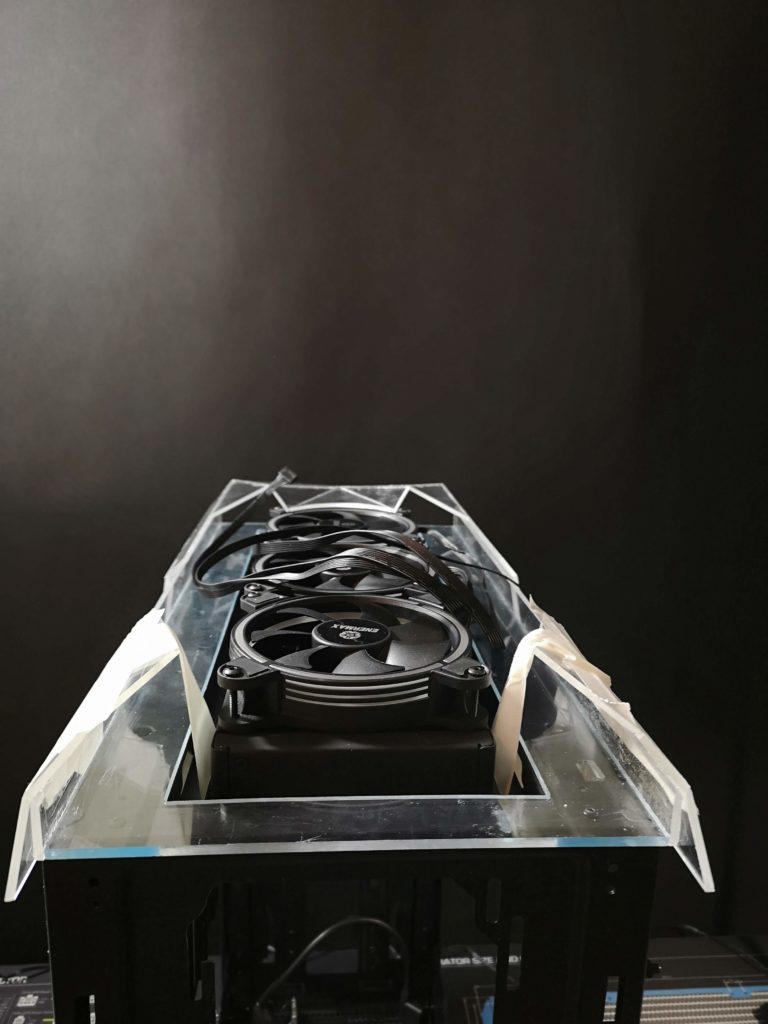
Starting to fold it self over the fans. Starting to feel a good tingling feeling. This might work!
Two wings for finishing up the front and bind the sides together.
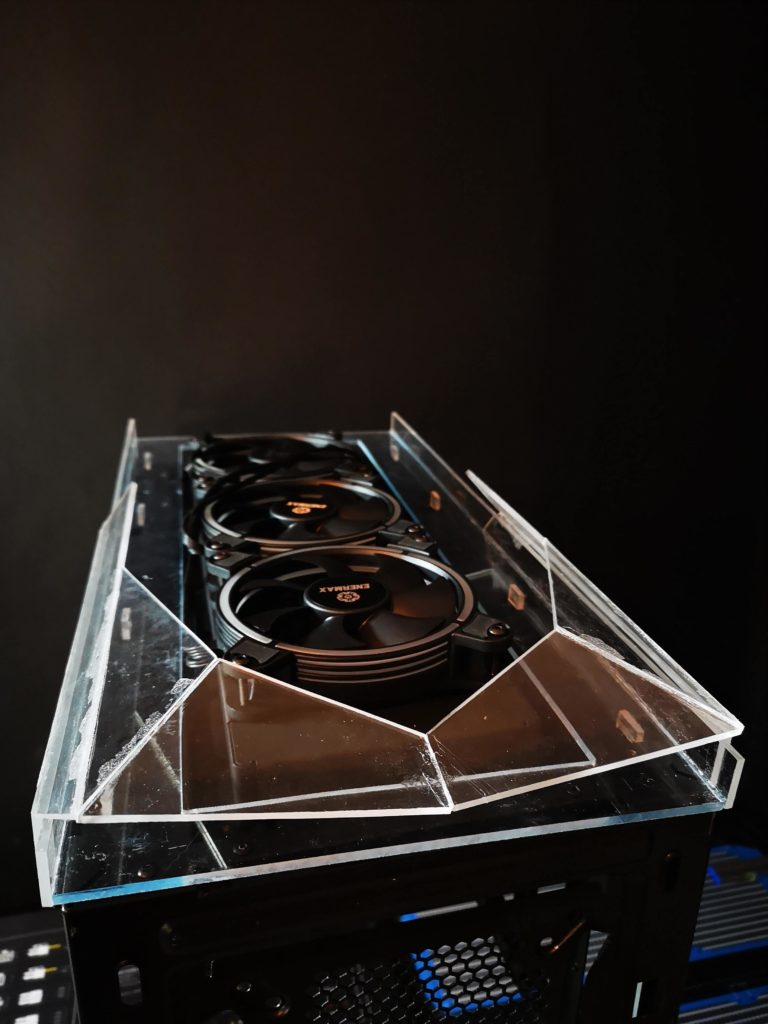
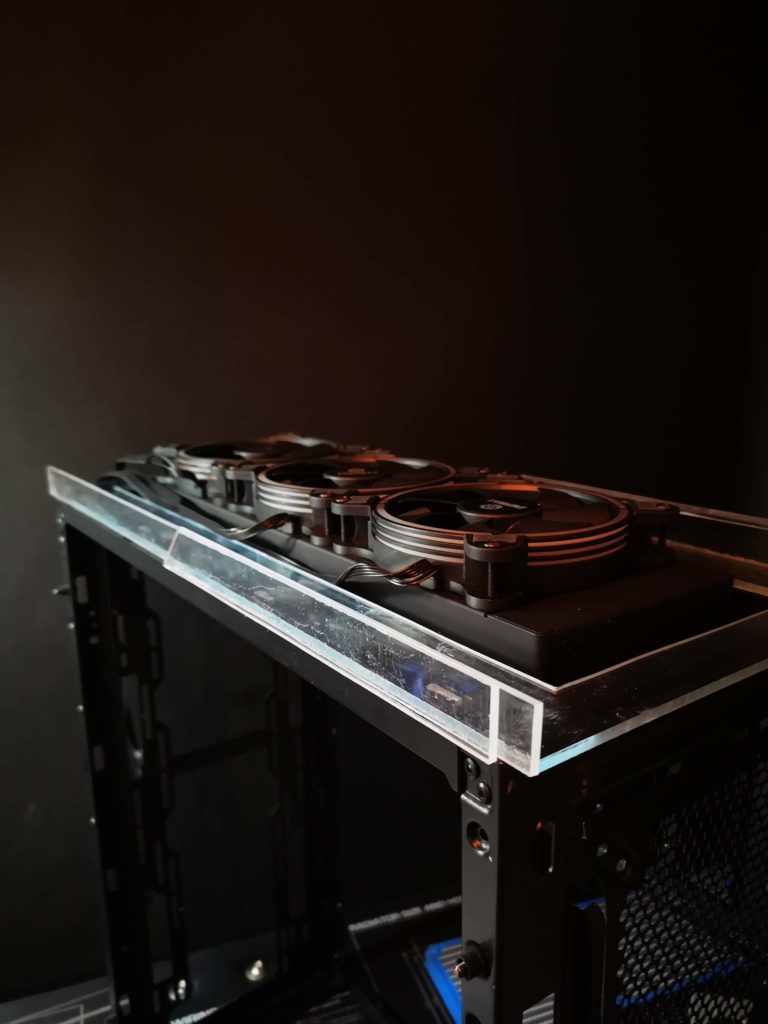
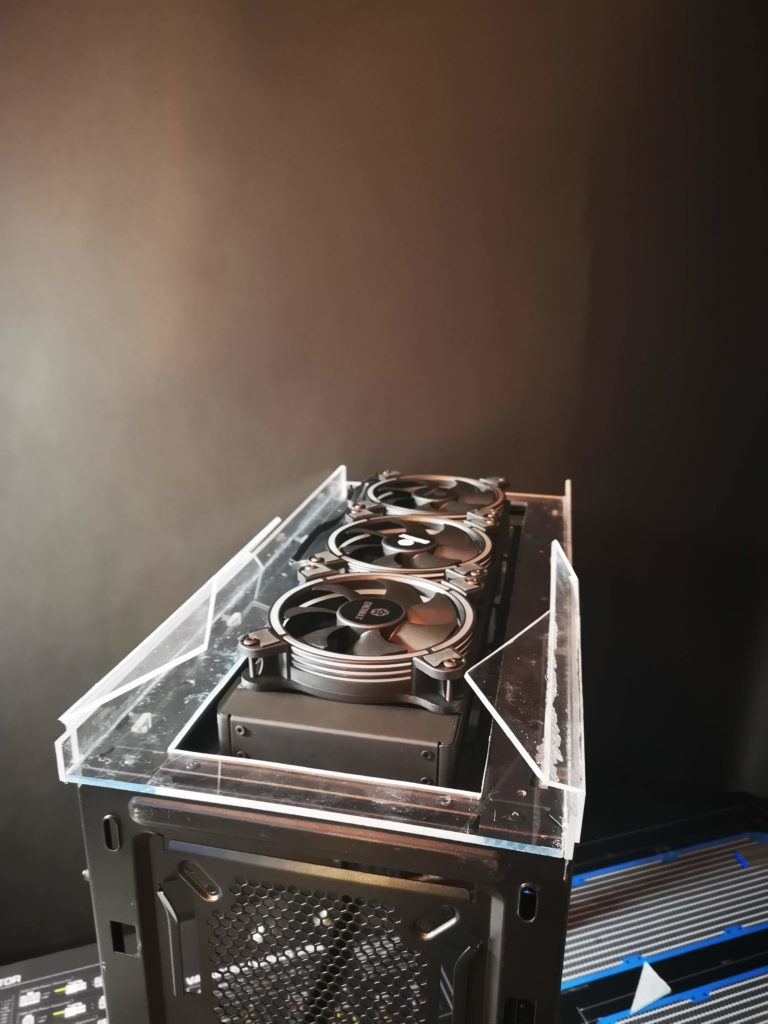
Not bad, not bad at all.
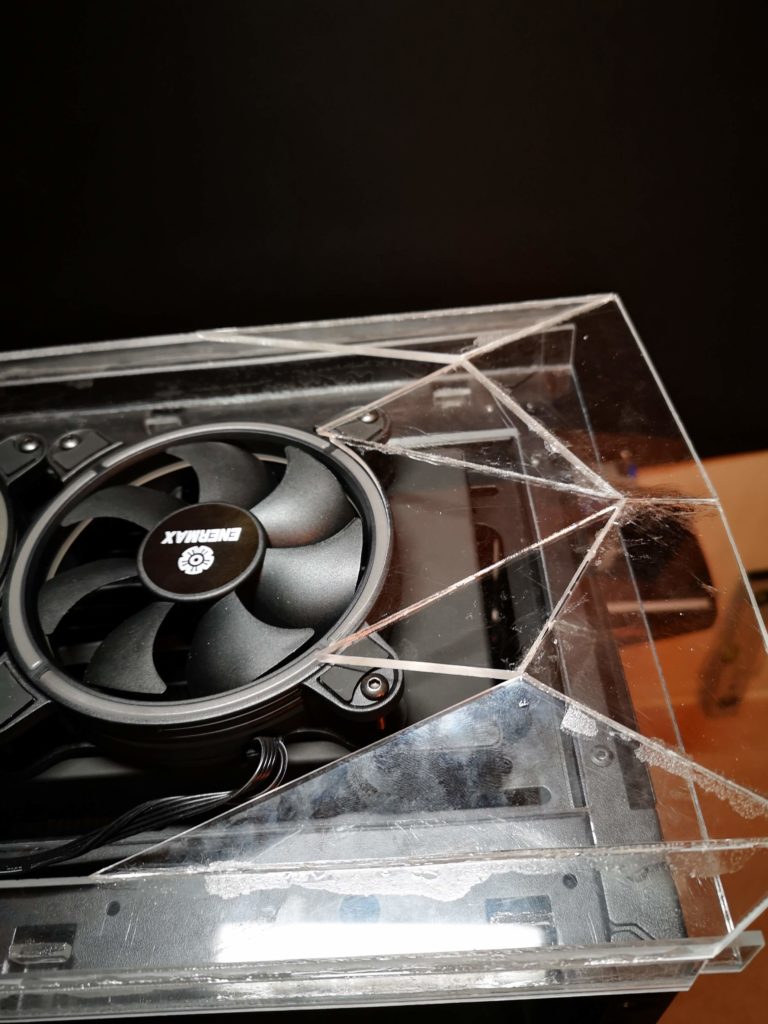
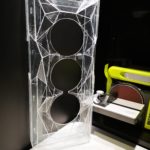
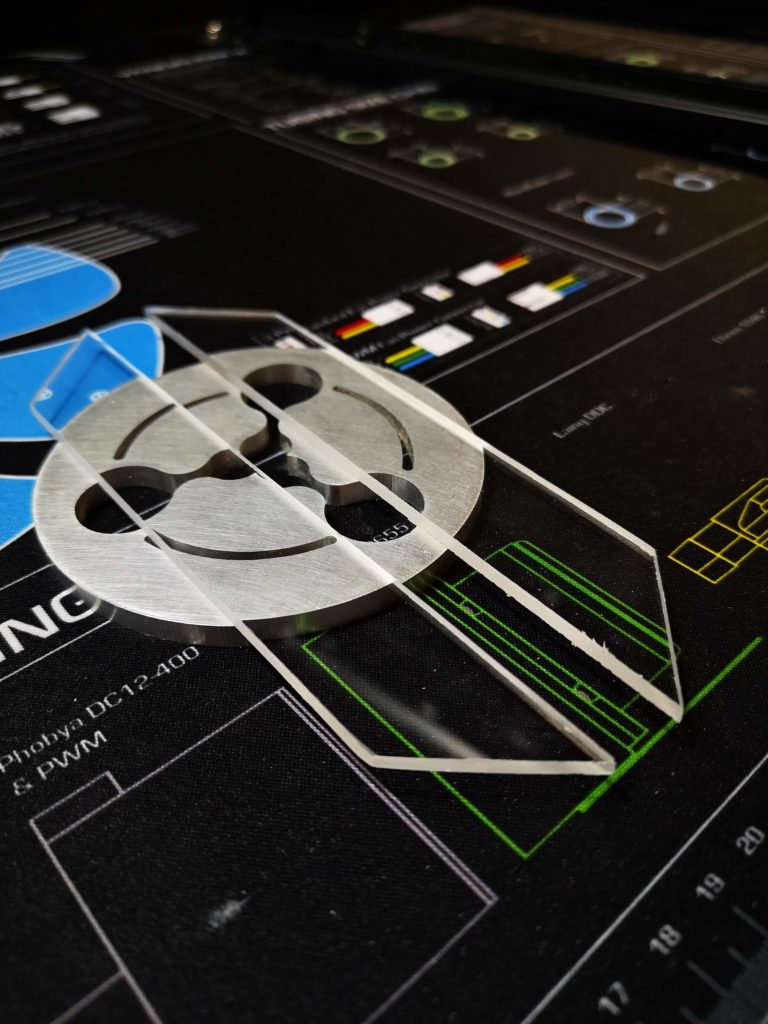
After A LOT of hand filing I managed to create part of a circle to match the diameter of the fans. This also reviels my plan for the front. I want to leave the front with 3 open “holes” for the fans to be both visible, but also for a air intake. Only thing I lack with the be quiet! Dark Base Pro 900 is a windowed front door. This is my take on that. With Enermax front RGB ring, this will also bring light to the front. Will fit a dustfilter between the fans and radiator.
Needed to start on the top part of the bottom after realizing I have a problem…
Same procedure…
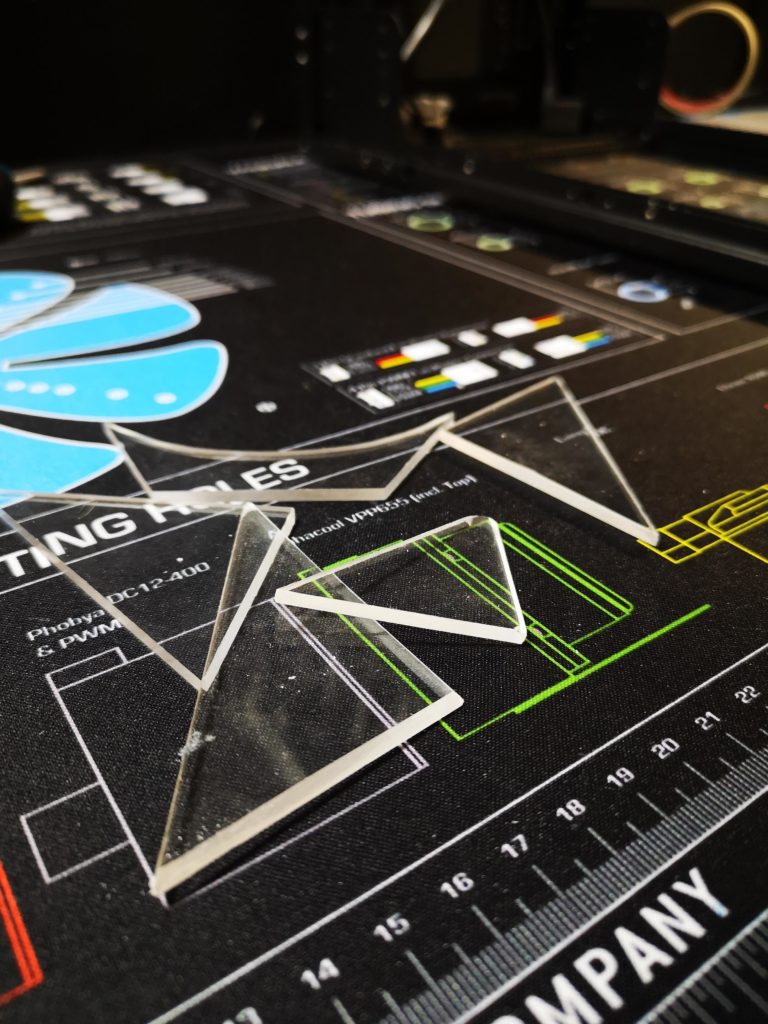
More parts. The cirle cut outs are a pain to create with just a saw and a hand file, but do add a nice finish.
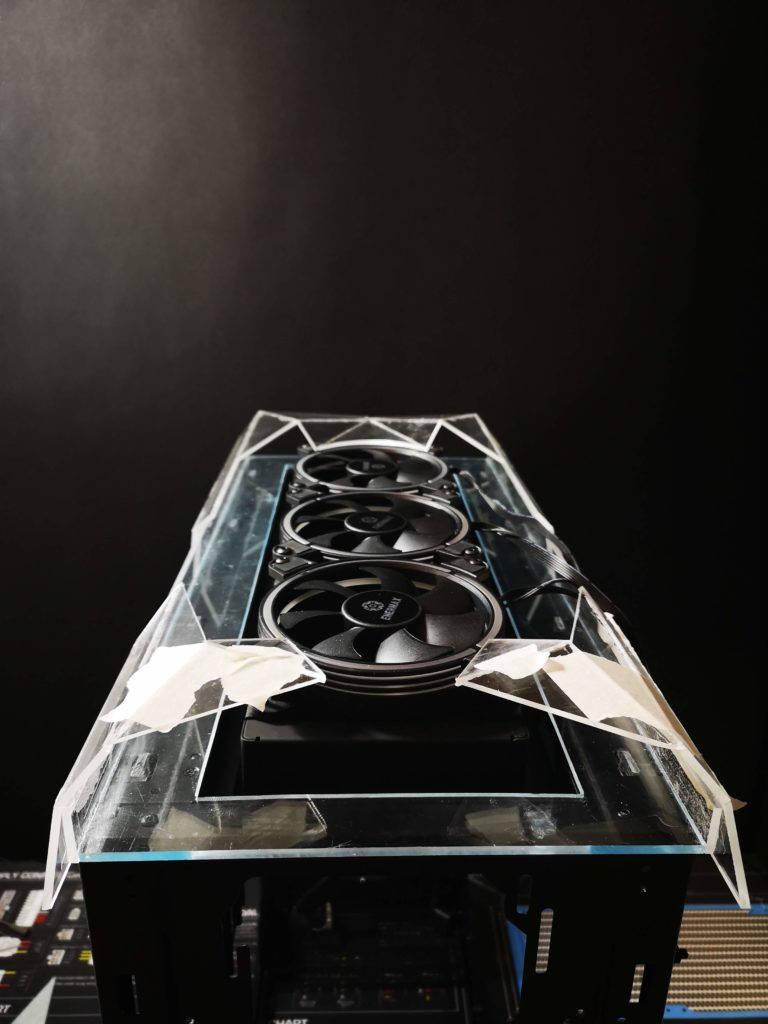
Had to remake and refit several times. One mm or even less both in elevation or size and I’m not centred and the fan cut out will be off or the look will look crocked. But eventually…

Several hours later I’m happy with the end result…
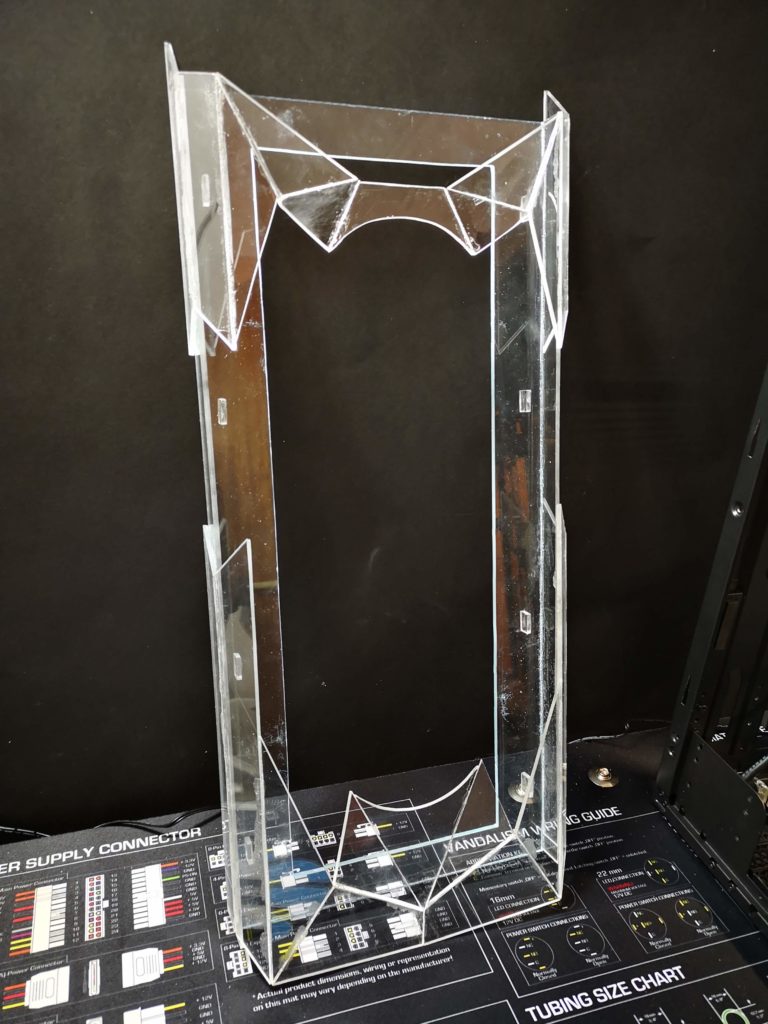
This is how far I managed…