Was with extra excitment that I was ready to start working with the front case part of this mod. I have had an idea about the front since I started this project. In fact, it was the idea of the front that even started this whole project.

First I need to ensure it’s located in the right location. Had an idea how to fasten this part. Still thinking modularity…
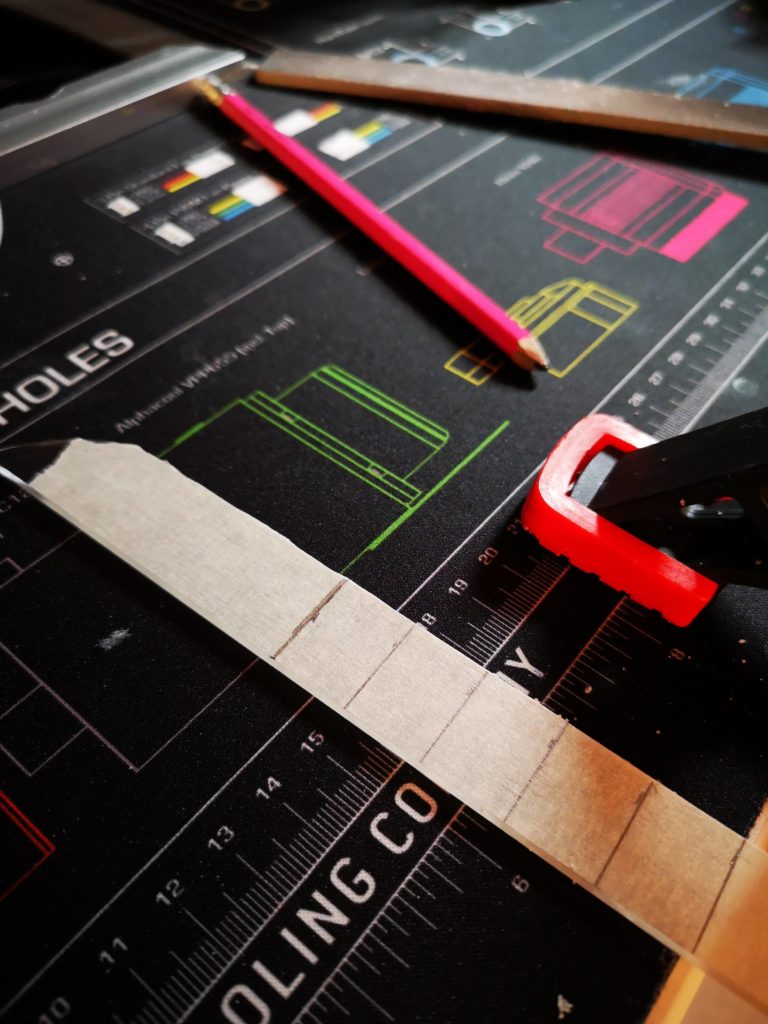
10mm wide, small stuff…
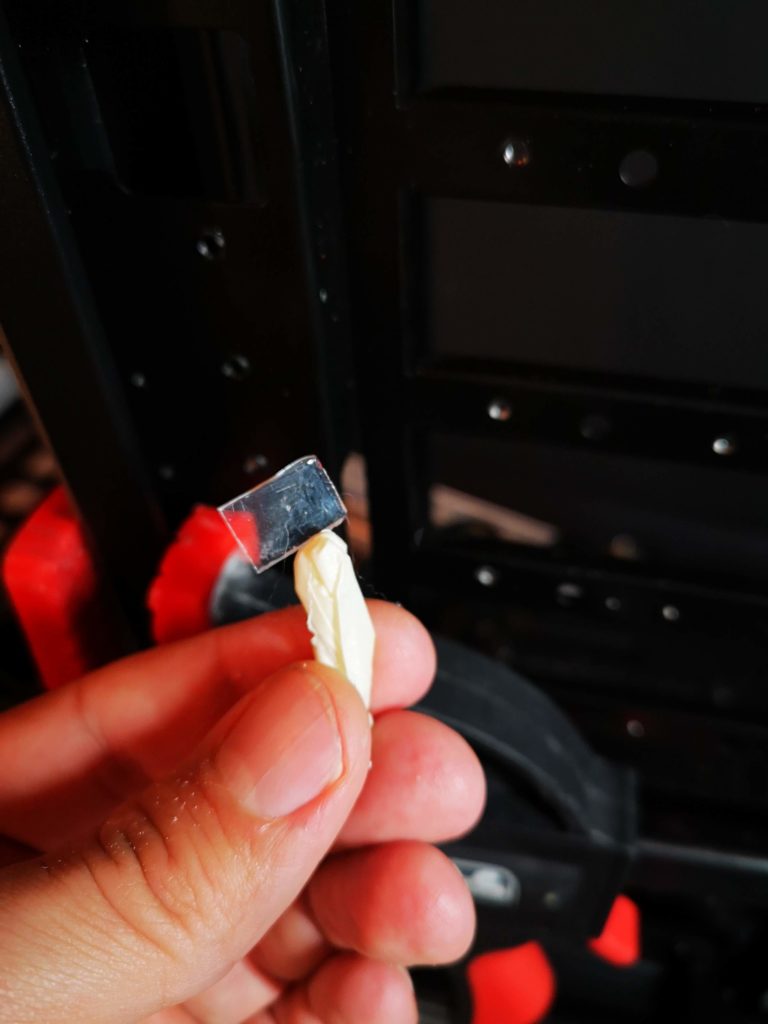
My idea of a fastening “tool” to get these clamps in the right location.
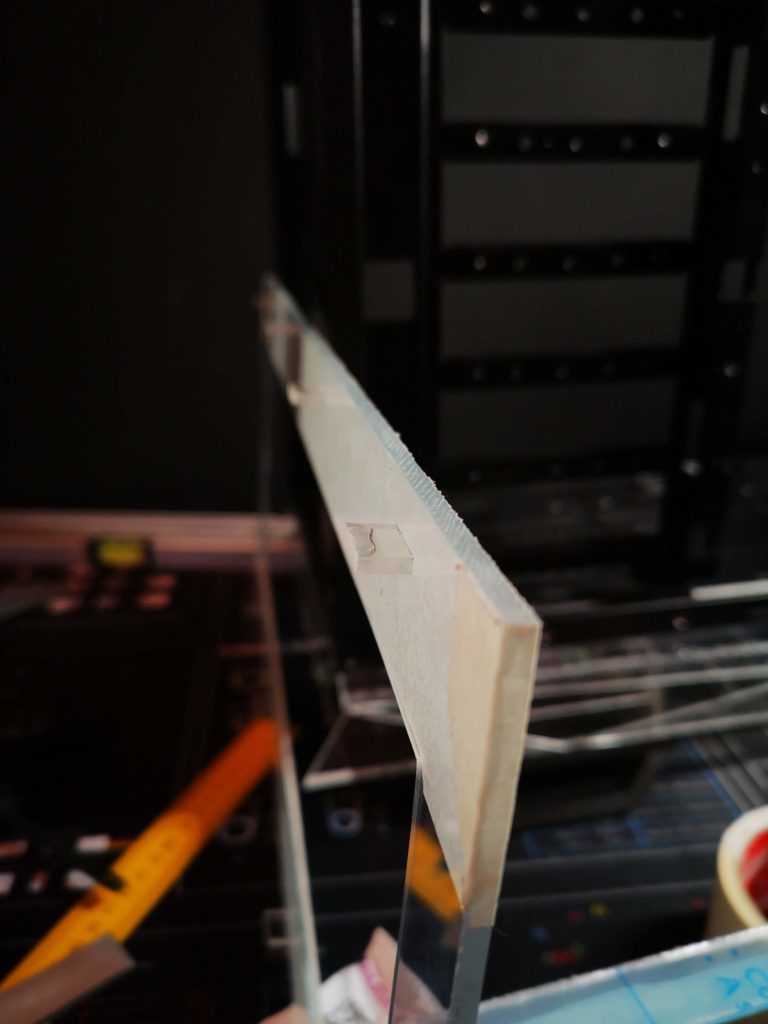
Added Acryfix to create a ridge that I then filed down into a rectangular edge…
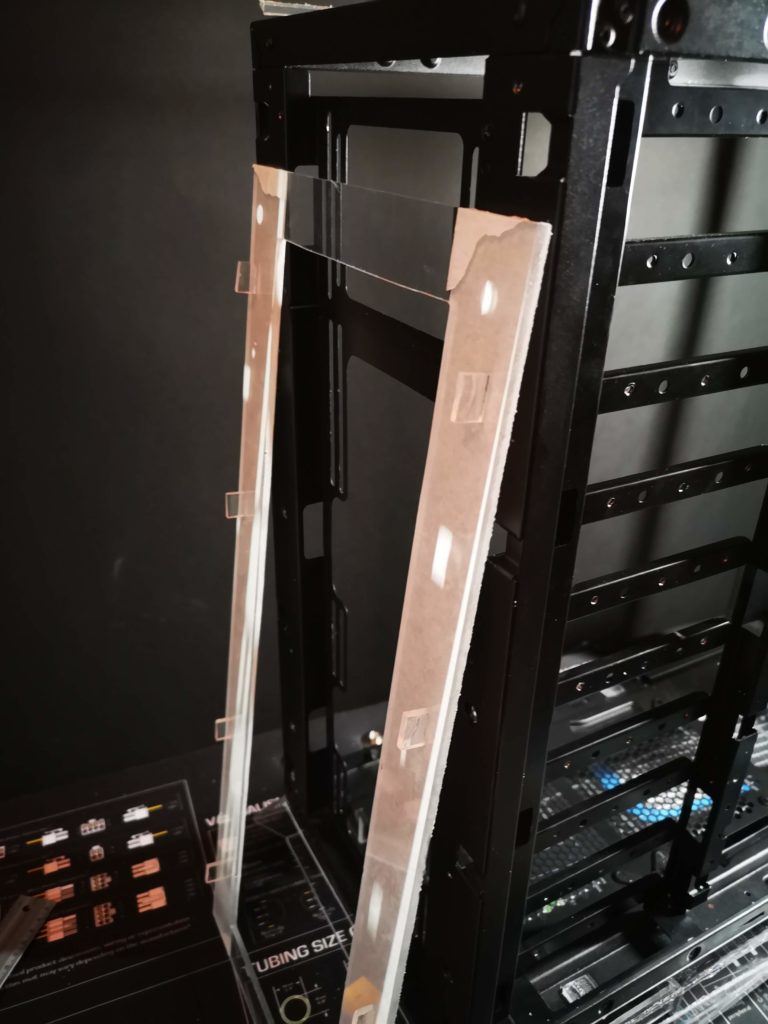
All eight fastening brackets in place.
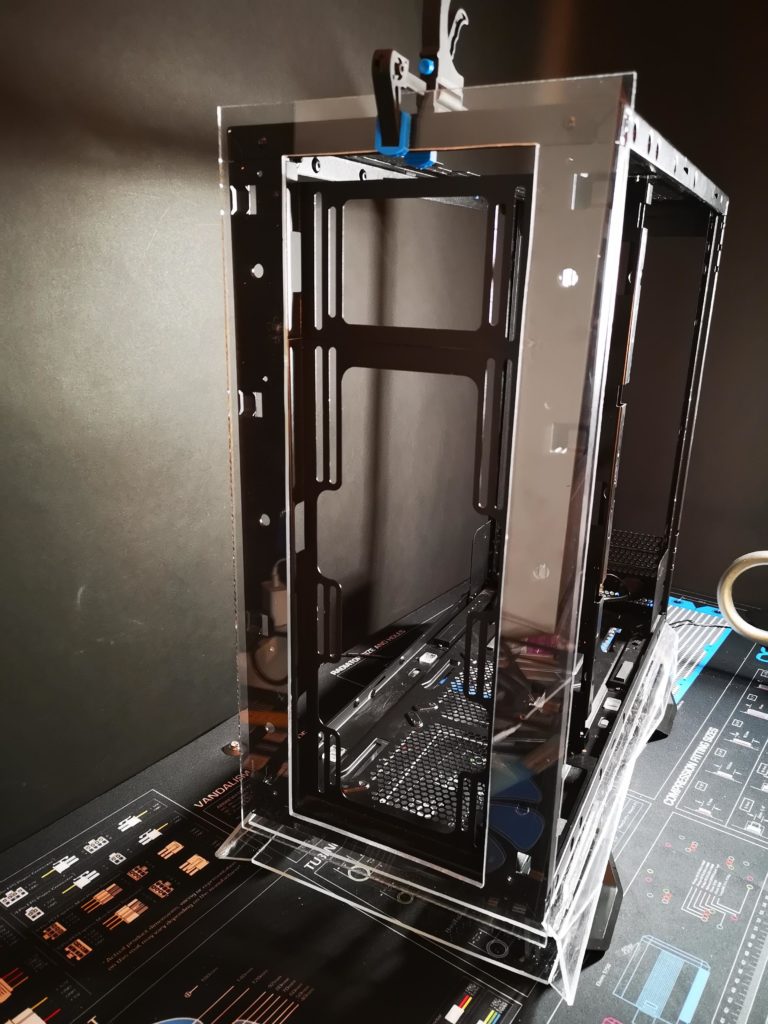
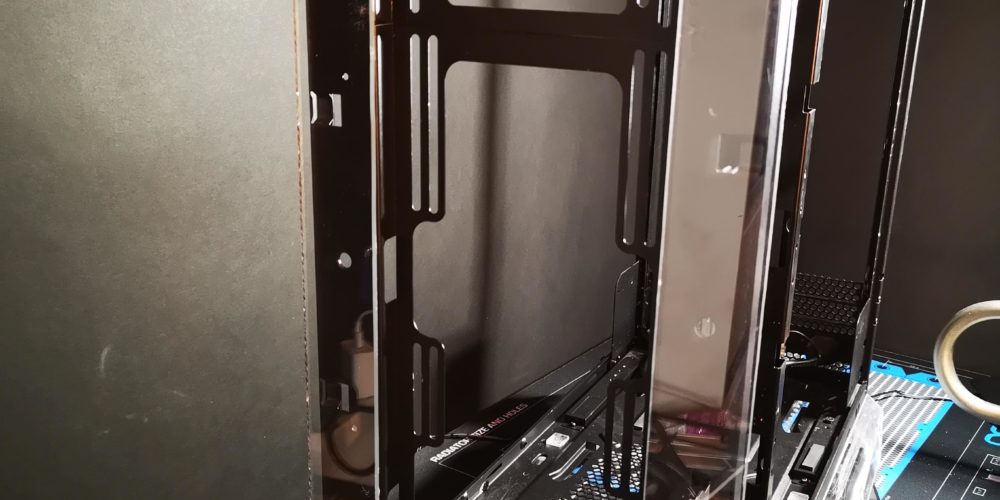
Decided to go with a little different solution for the front. I need a frame to anchor the other parts. More stability and I can also create parts in different levels.

Look at that. It snapped even harder than the original. Amazing what you can do with a little acrylic and a file.
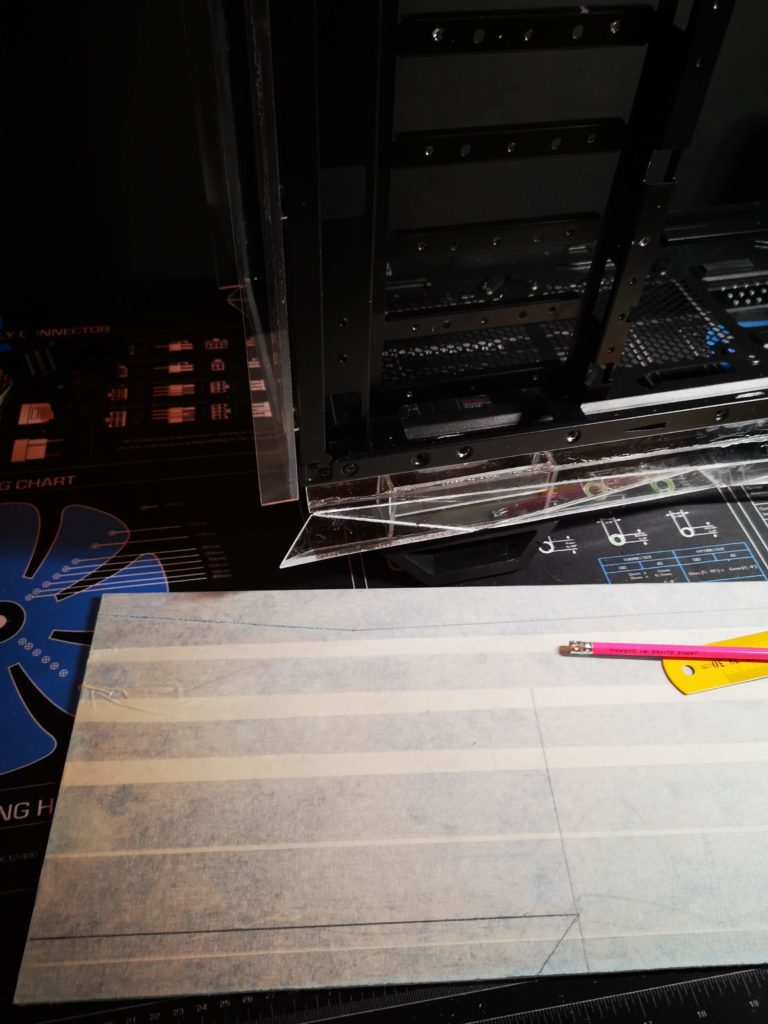
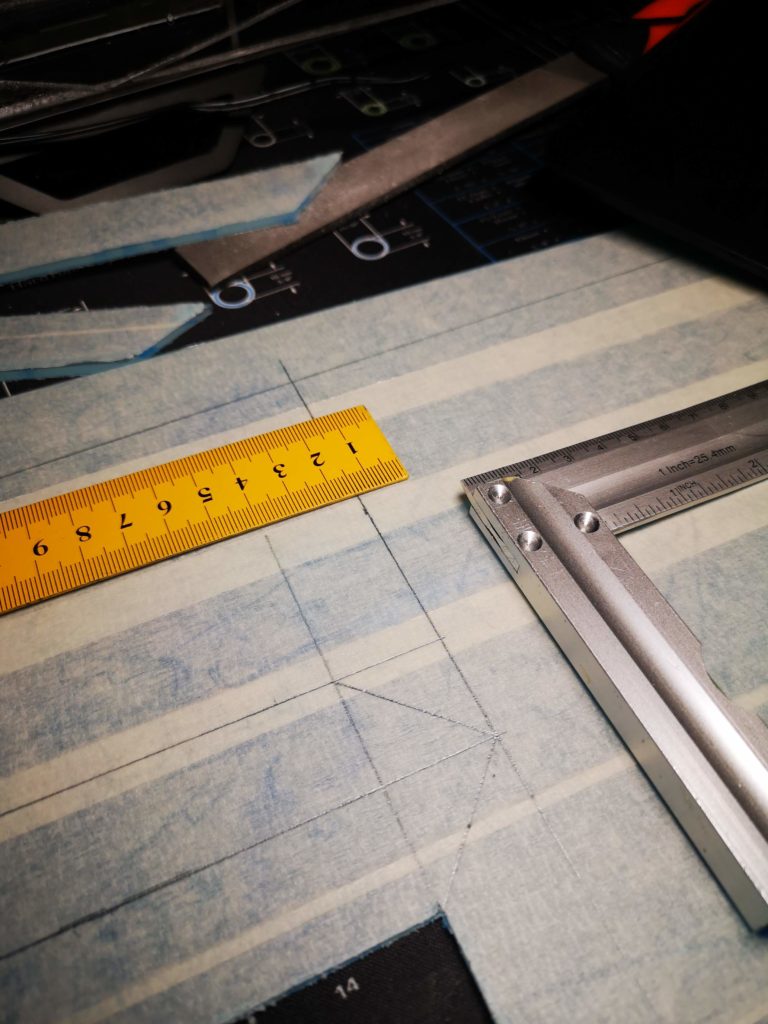
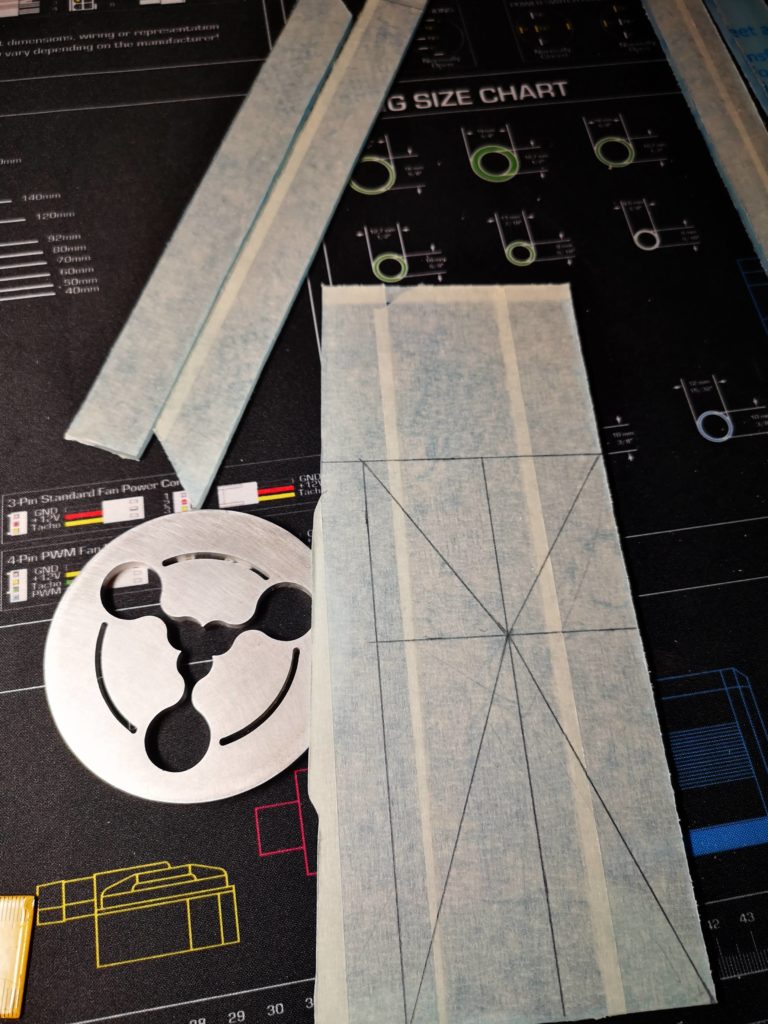
Next step is to start to build the shape and design of the front. After a few paper templates, tape and four mugs of coffee I decided for a design.
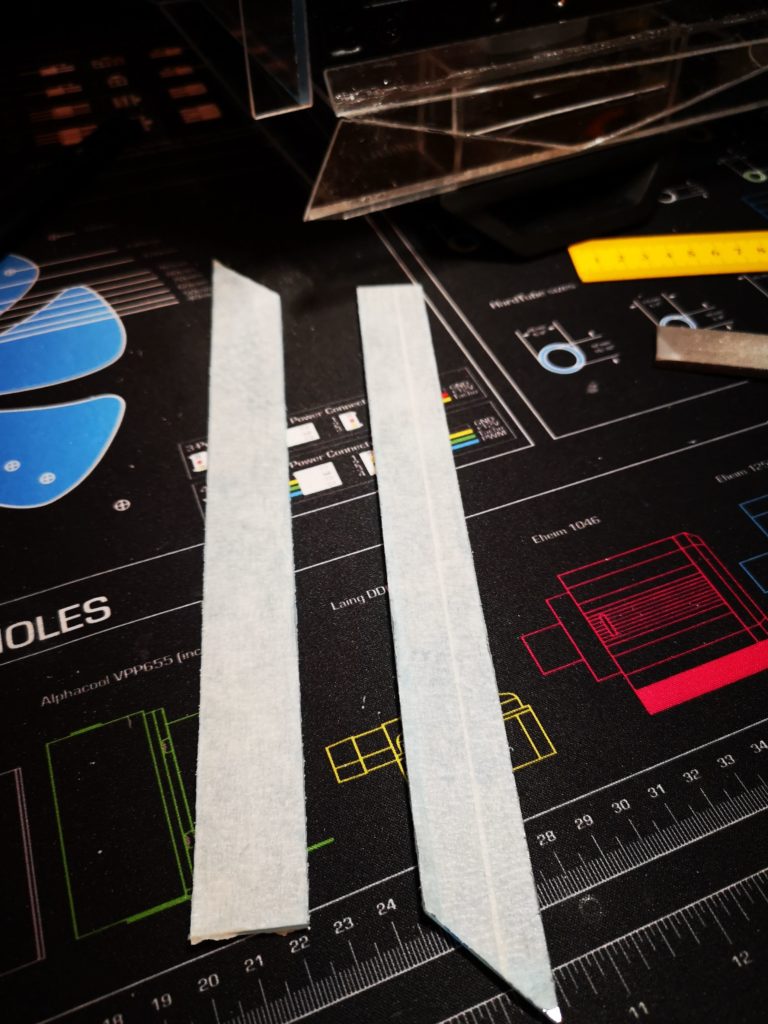
Symetrical design requires two of each.
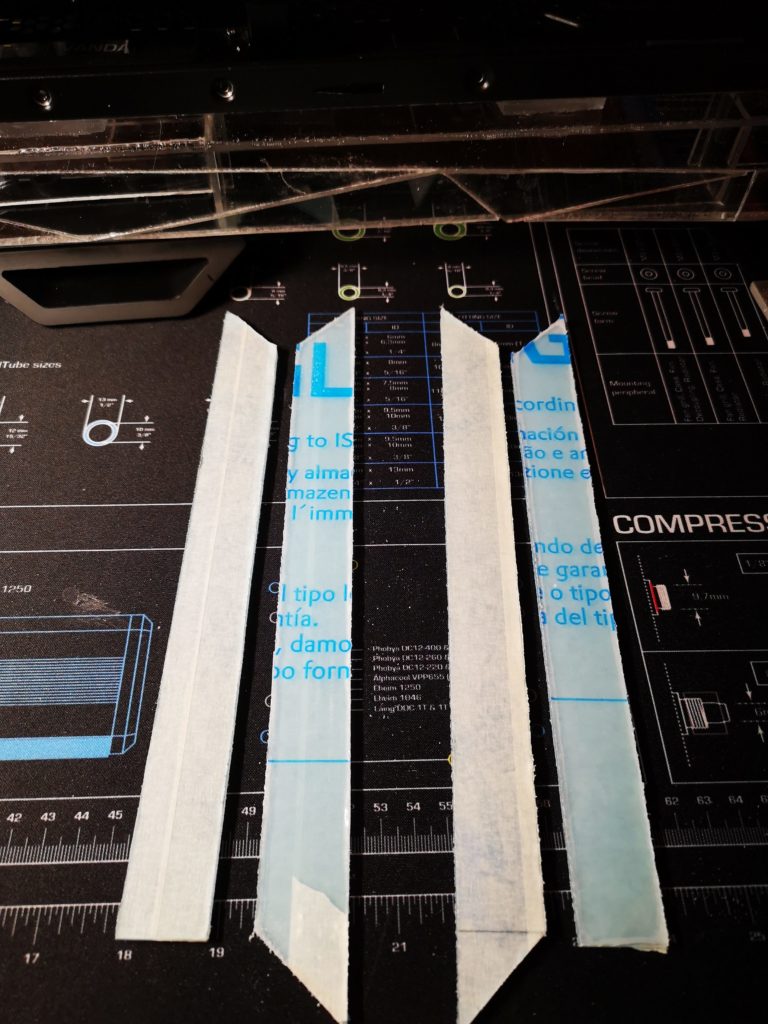
Two turns four.
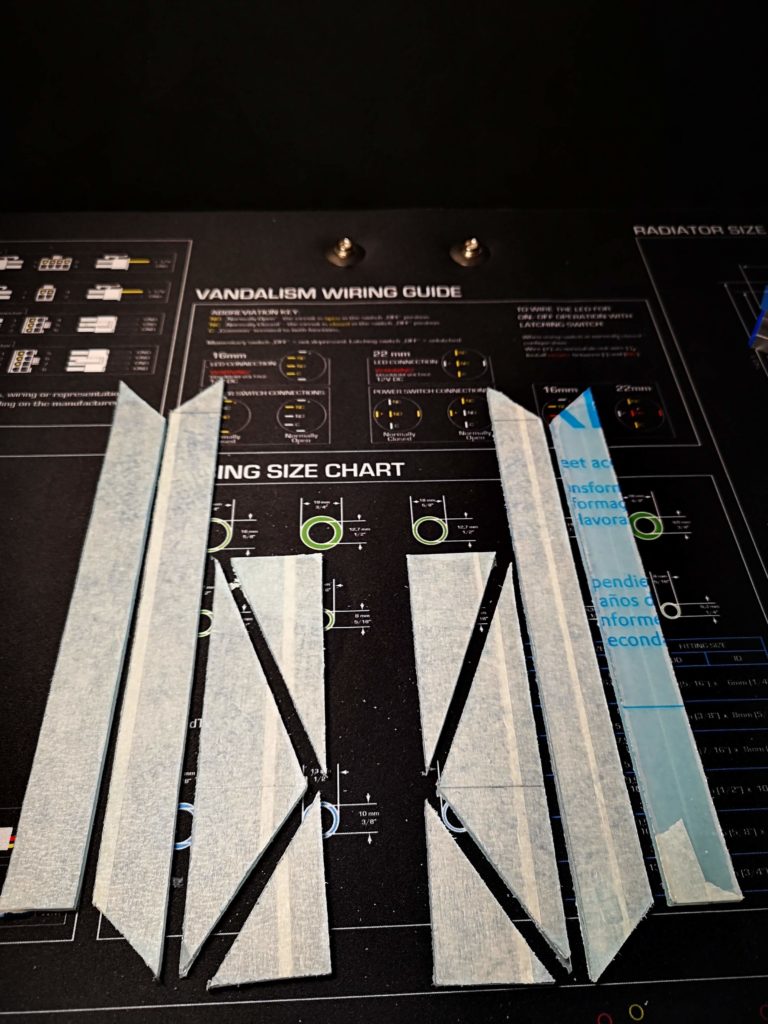
Enough parts to start to do the real first building.
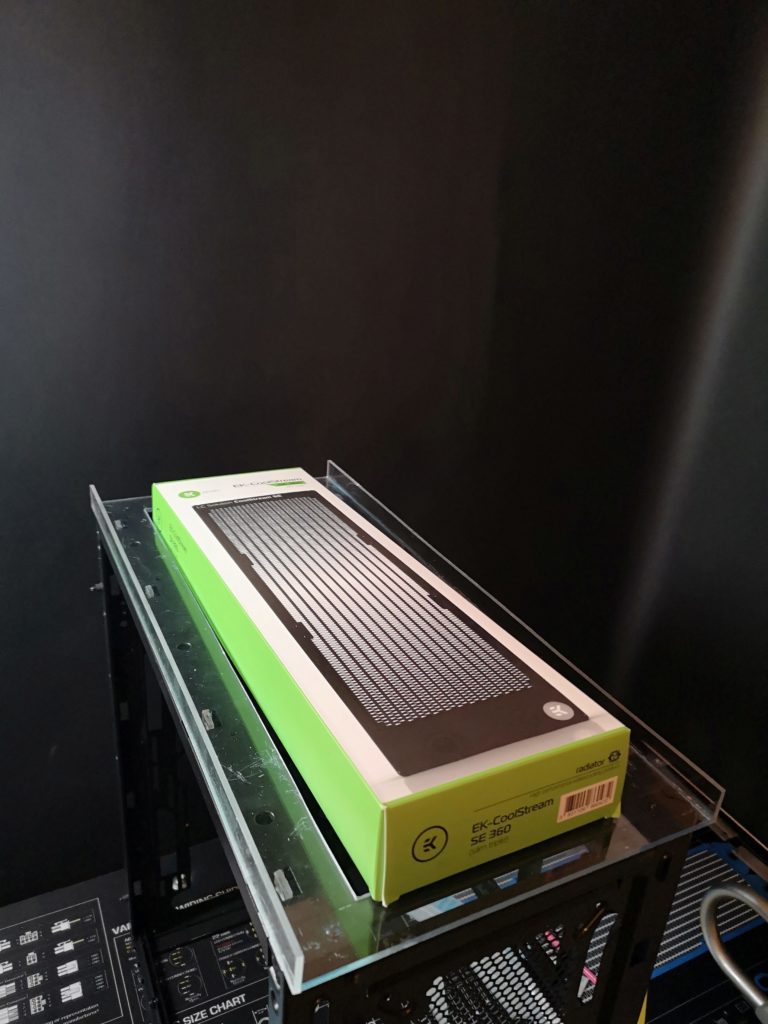
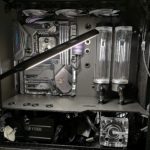
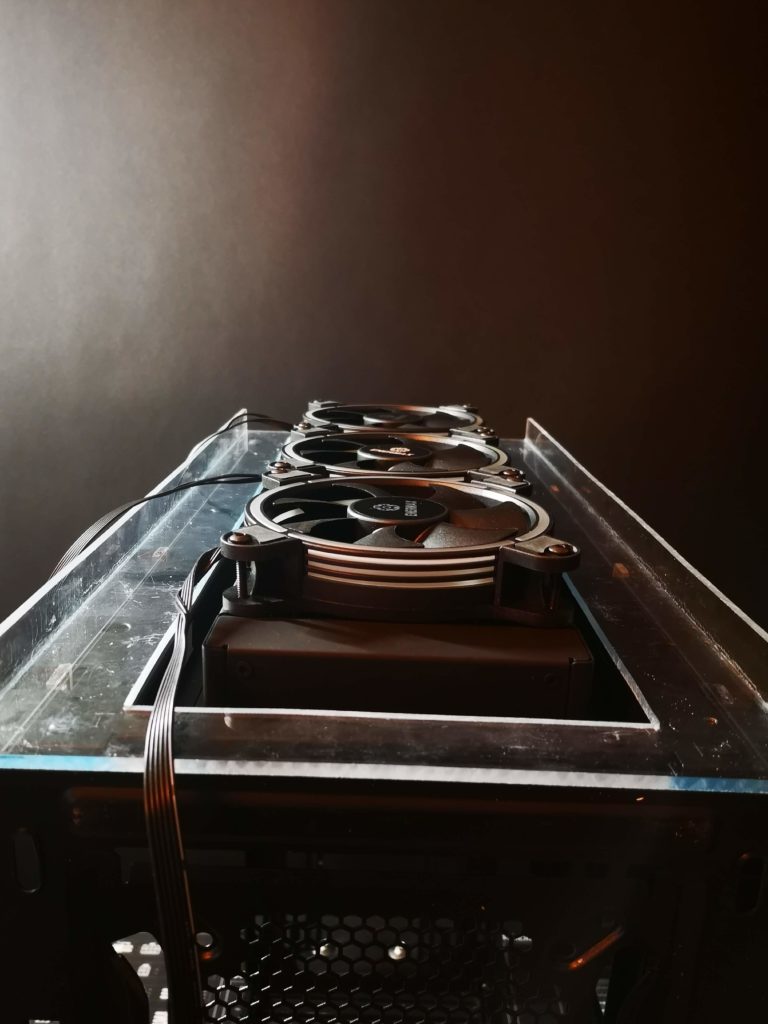
This is actually the front. The case is flipped. Just makes it easier to work with. Here this beautiful radiator from EK will be mounted on the outside of the case frame.
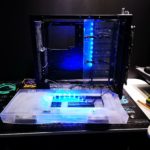
I starts to look like a real computer. Love when you reach the part where you can start to unpack components for the first time.
Next update will contain the real design of the front. Stay tuned and as always, please share your thoughts or questions…