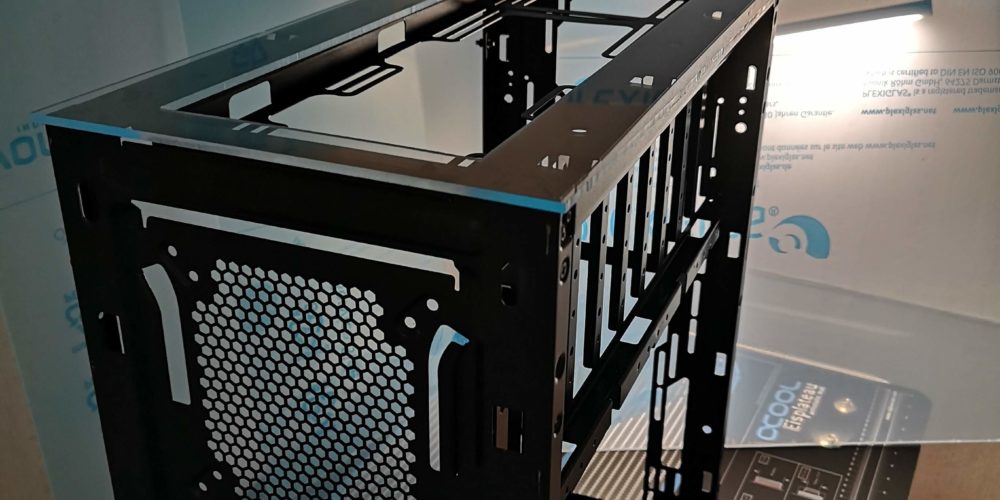
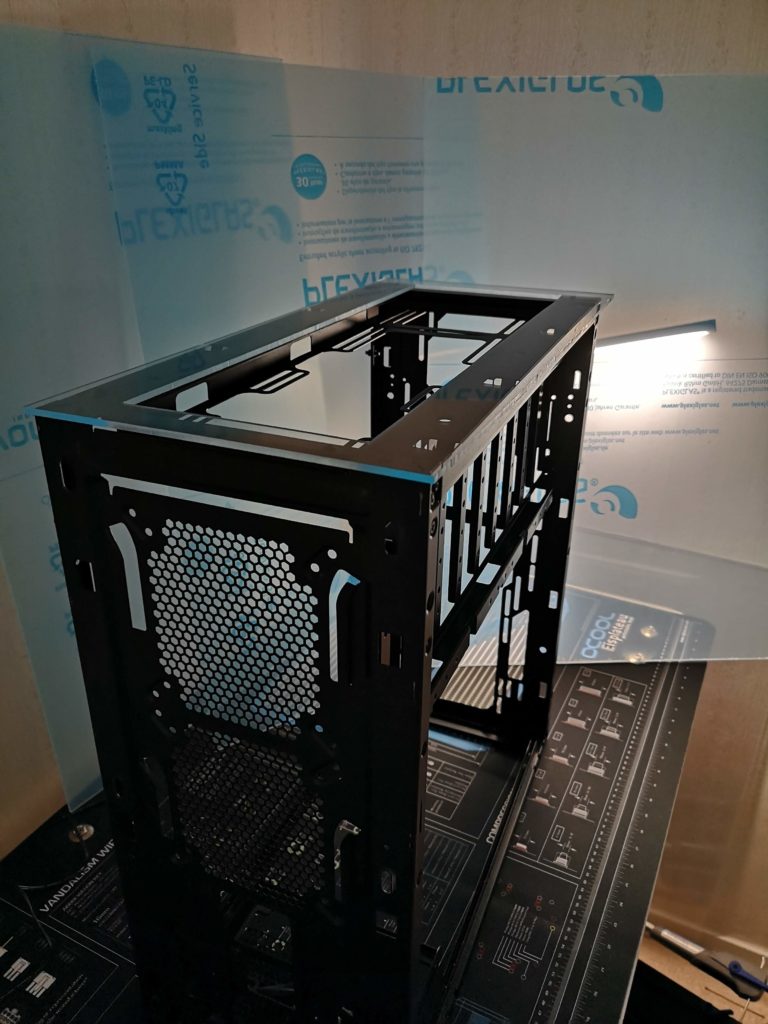
A custom hand made exterior case in acrylic for the Dark Base Pro 900 will be a challenge. A huge one, but a challenge I knew from start would be needed to complete the vision of the project.
TBH, I don’t even have a plan, but need to make it up as I go along. After some fiddiling and thinking I made the decision to build from the ground up. If it can’t stand it can’t function. Took a trip to the local hardware store and picked up 2m2 of 3mm acrylic and 1m2 of 5mm acrylic.
3 sheets of acrylic in the background. It will be enough for a few days.

After previous struggle with keeping straight lines with the type of acrylic I can get my hands on at the local hardware store, I decided to try this little saw. Expensive, but worth a shot.
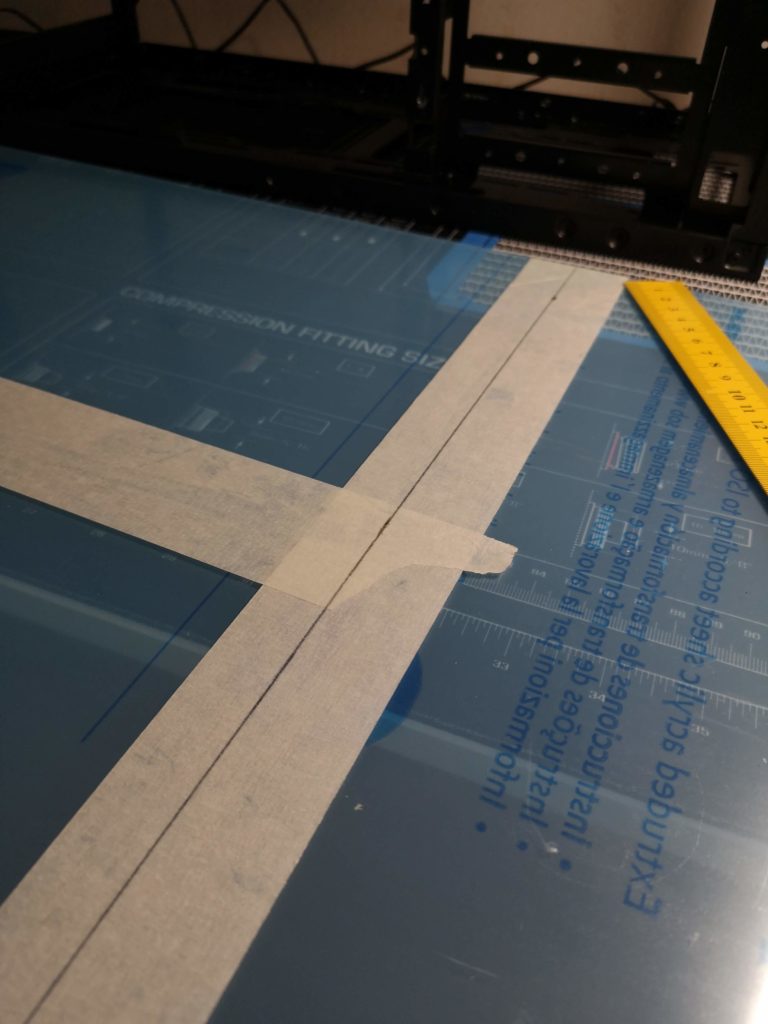
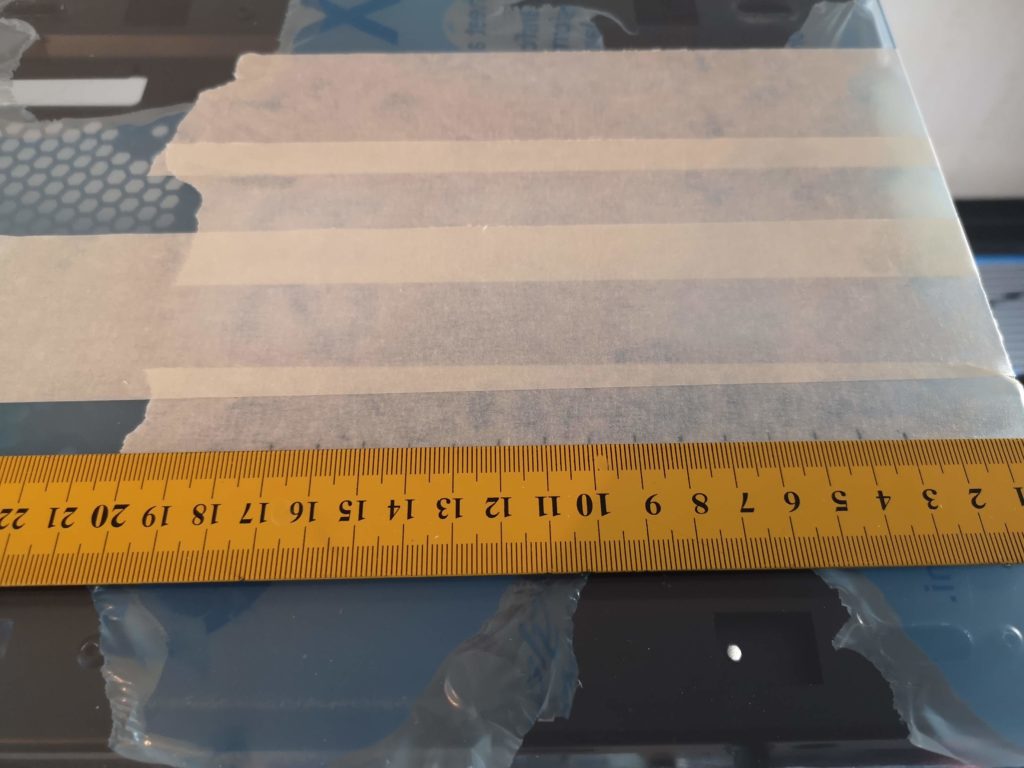
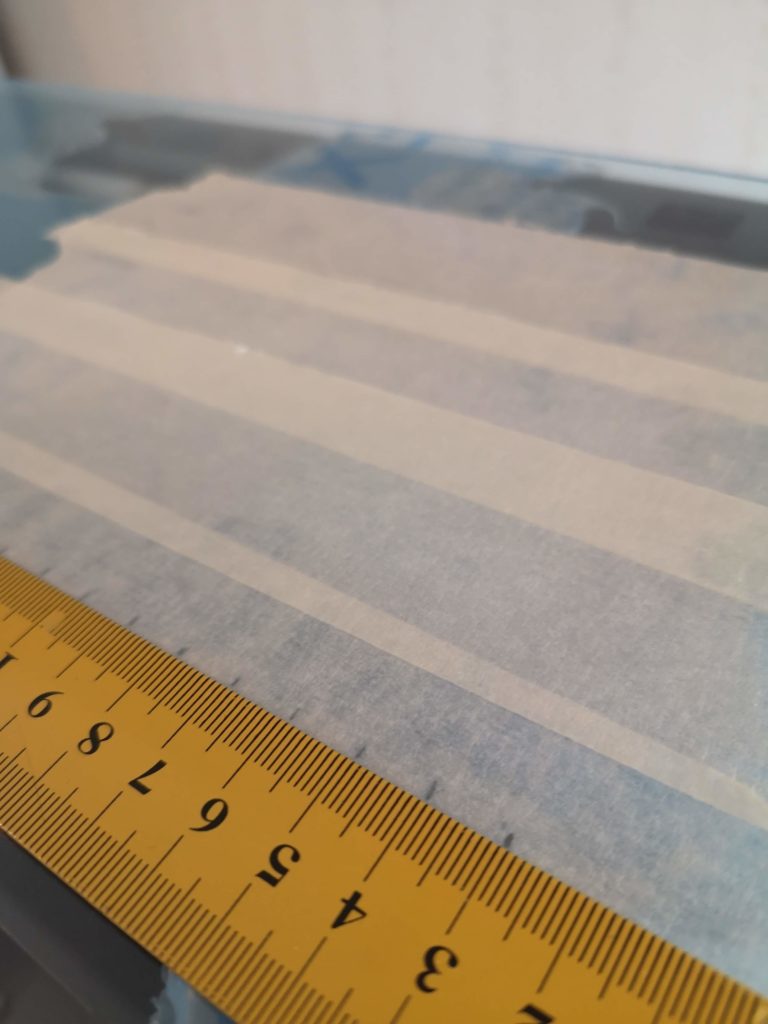
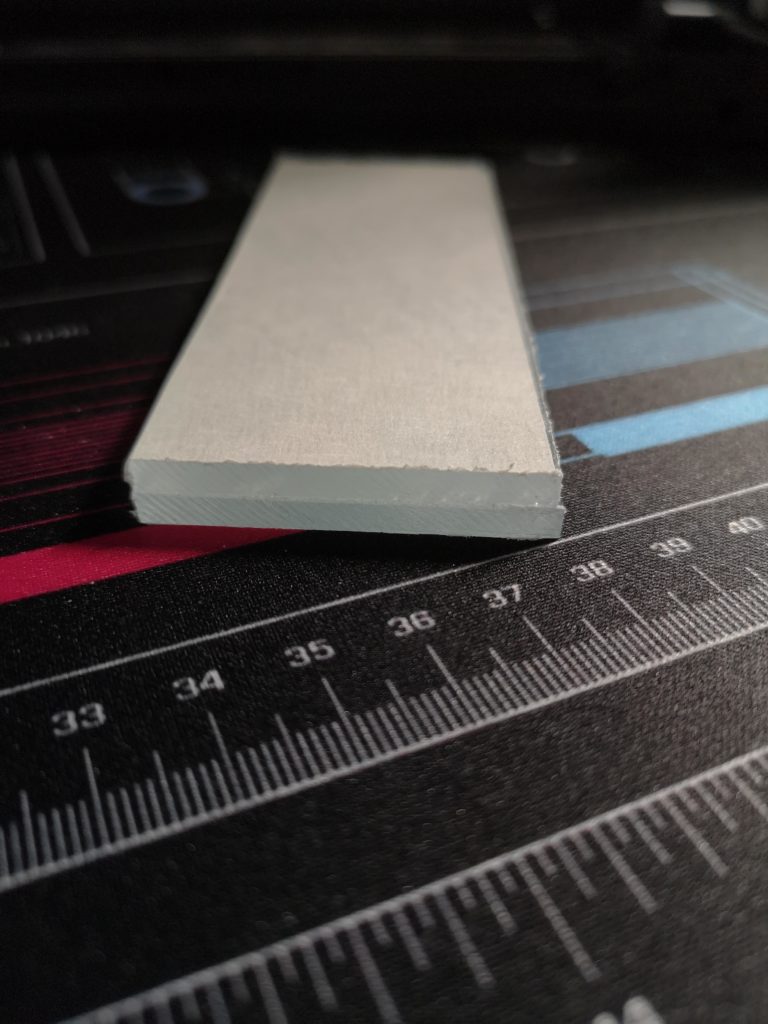
The case is 525mm long, so had to get 1000×750 sheets (of course). Marked out 525x240mm for top and bottom sheets and made a short prayer for my new saw.

Really happy with the saw. Fast to saw and it performed over expectations. Straight, fast and fairly clean cut. Not that much (only a few min per cut) to file.
I have a plan to keep the lower part of the case a little larger than the footprint of the rest of the case. That way I get a more visual base and I can also angle my angles slightly outwards, making the overall design cleaner. Atleast I hope so, as I don’t have a blueprint…
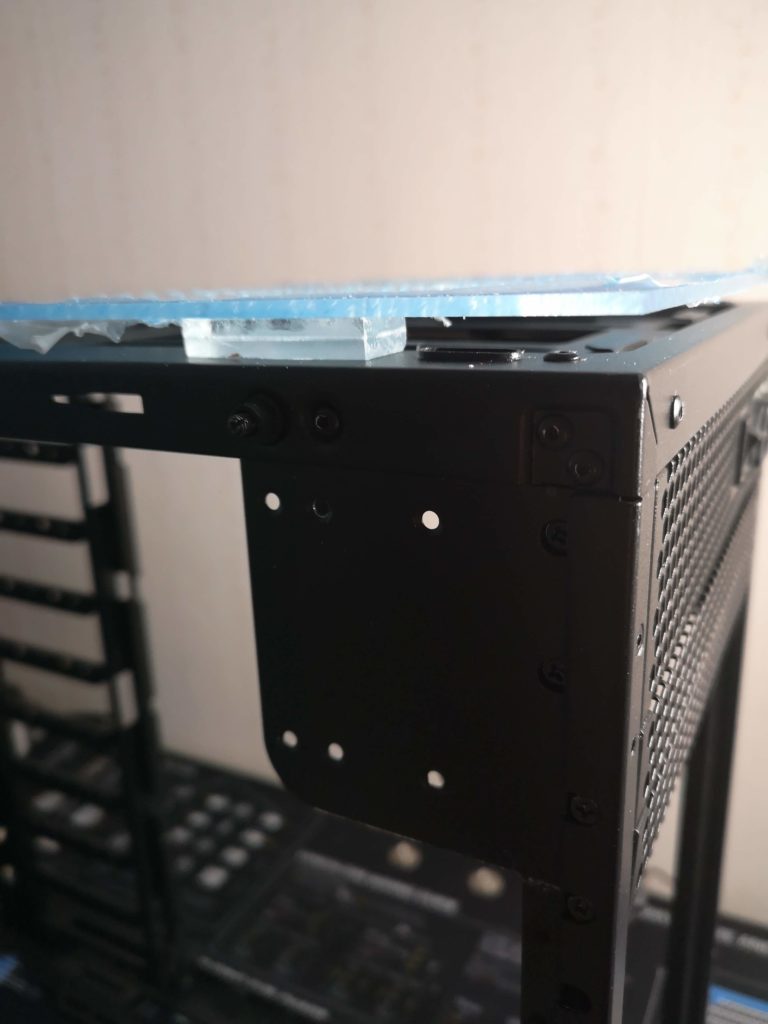
In the picture, the case is fliped upside down.
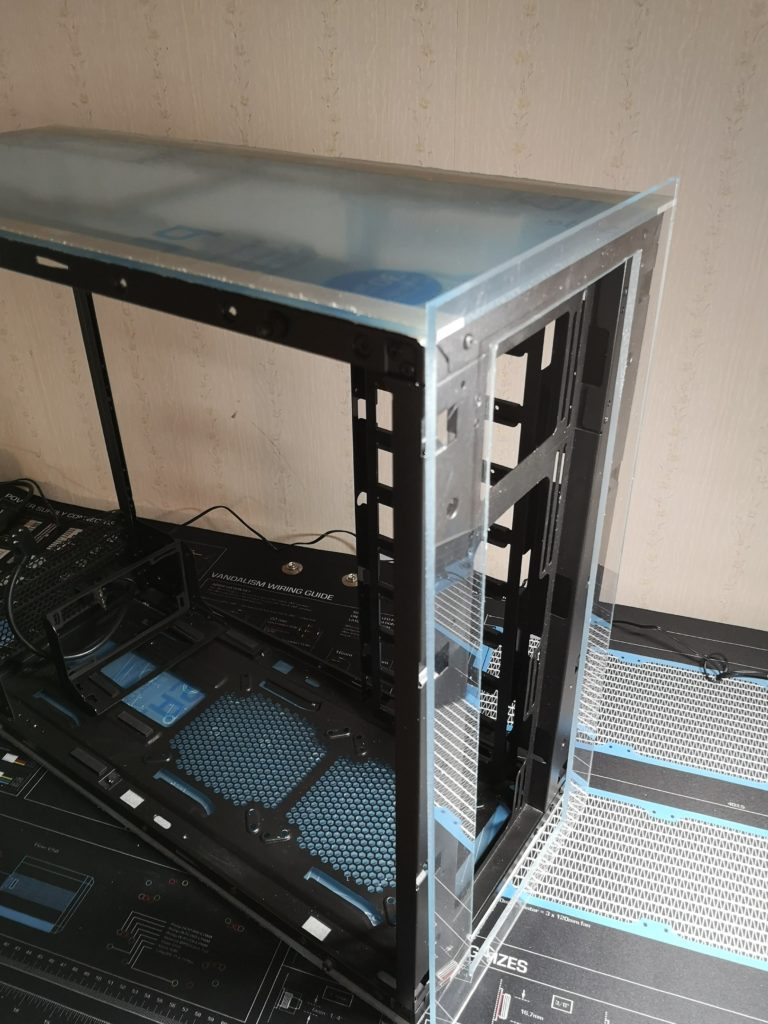
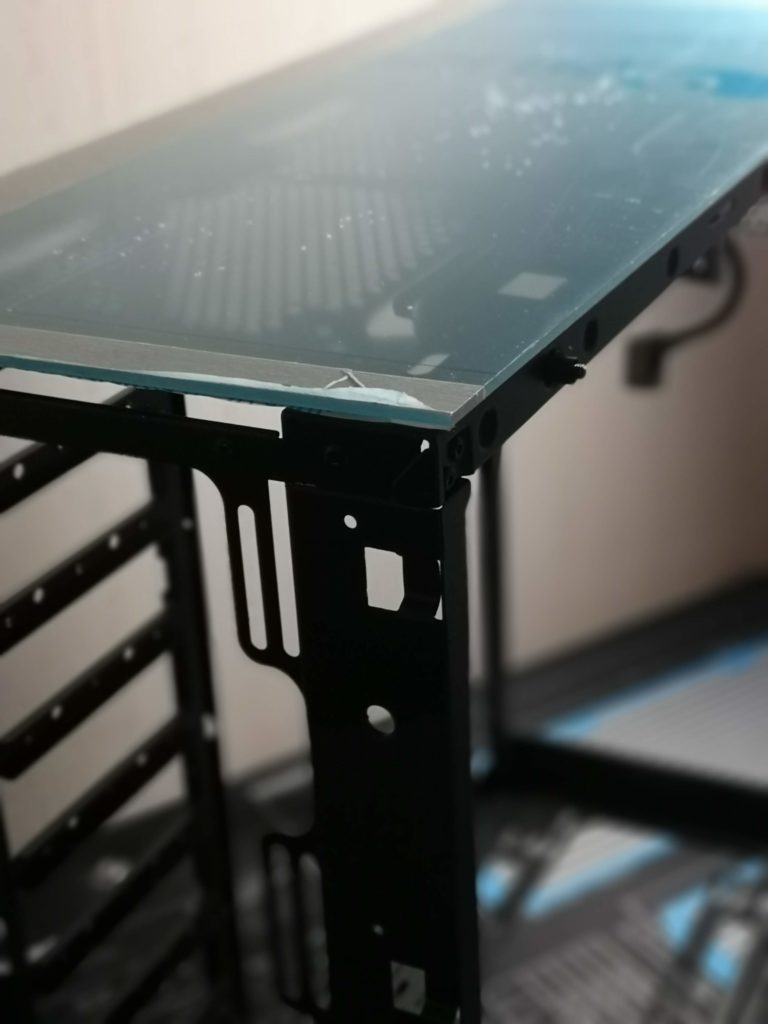
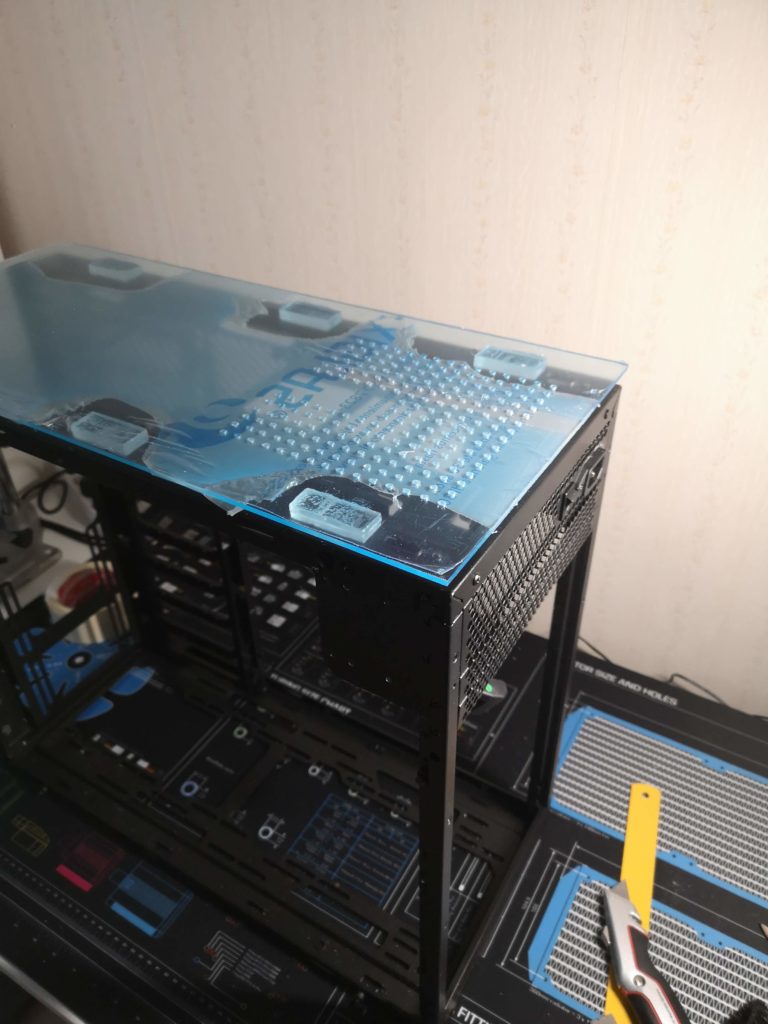
A test fit of the 3 parts, bottom, top and front and some measurements, calculations I was ready to start for real. Bottoms up!
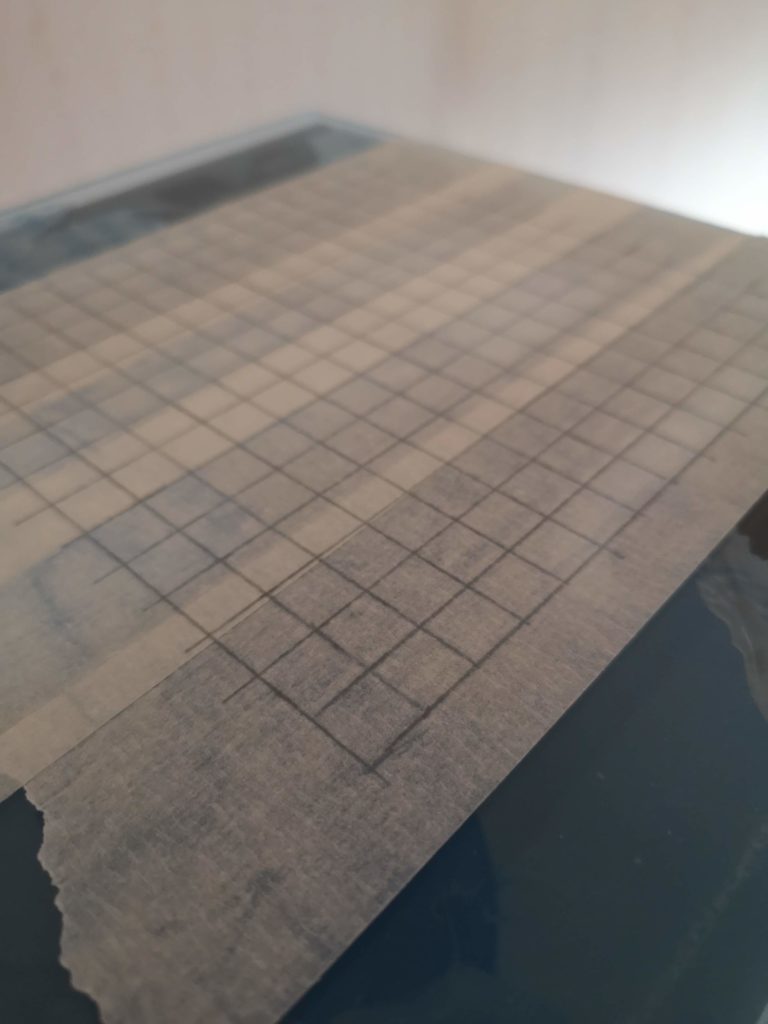
I will need to ensure that the PSU will be able to ventilate itself, so I have to make room for airflow. Time to mark for some Dremel action.
Every 10mm feels like a good space. Keeps maximum amount of holes (staying sane while drilling) and least amount of risk breaking the entire plate. It’s a measurement I have used in the past for this type of work.
A few holes to drill…
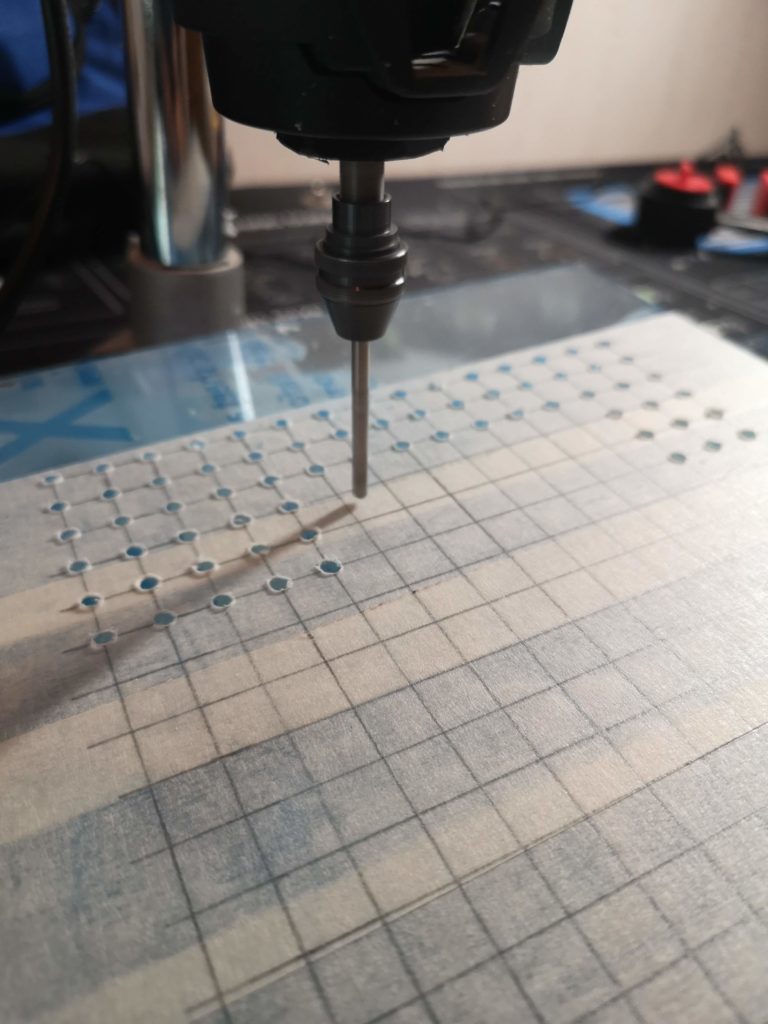
I still feel the small Dremel actually performance surprisingly good. One way I do is to jug the drill up and down (as it tends to bend a little in the shaft) untill I have a round mark where I want the hole and then add preasure to make the actuall hole. Keeps it straight and accurate.

After 30min all the holes are drilled and I’m happy with the result. Trying to keep the protective plastic on as long as possible.
Used my Acrylic fix and “glued” two pieces of 4mm together. I had an idea both for the modilarity I always try to keep when I build, but also for it turned out to be a good distance for the base plate.
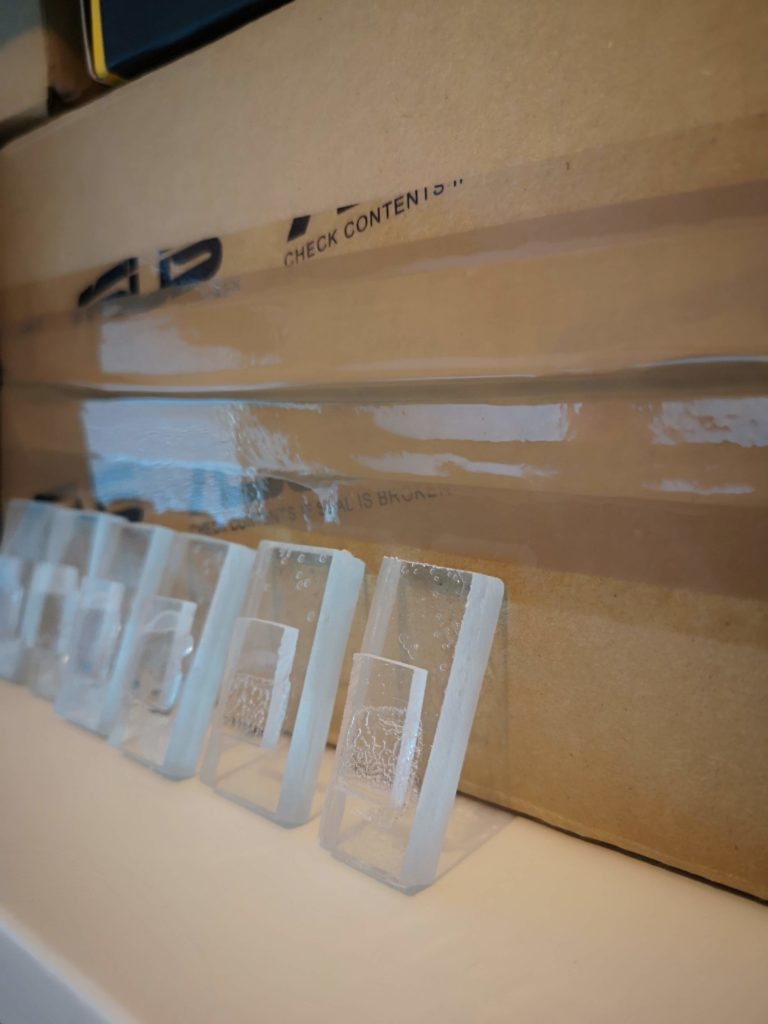
Looks more messy than it is, still not dry here. Not sure you can guess what I’m up to?
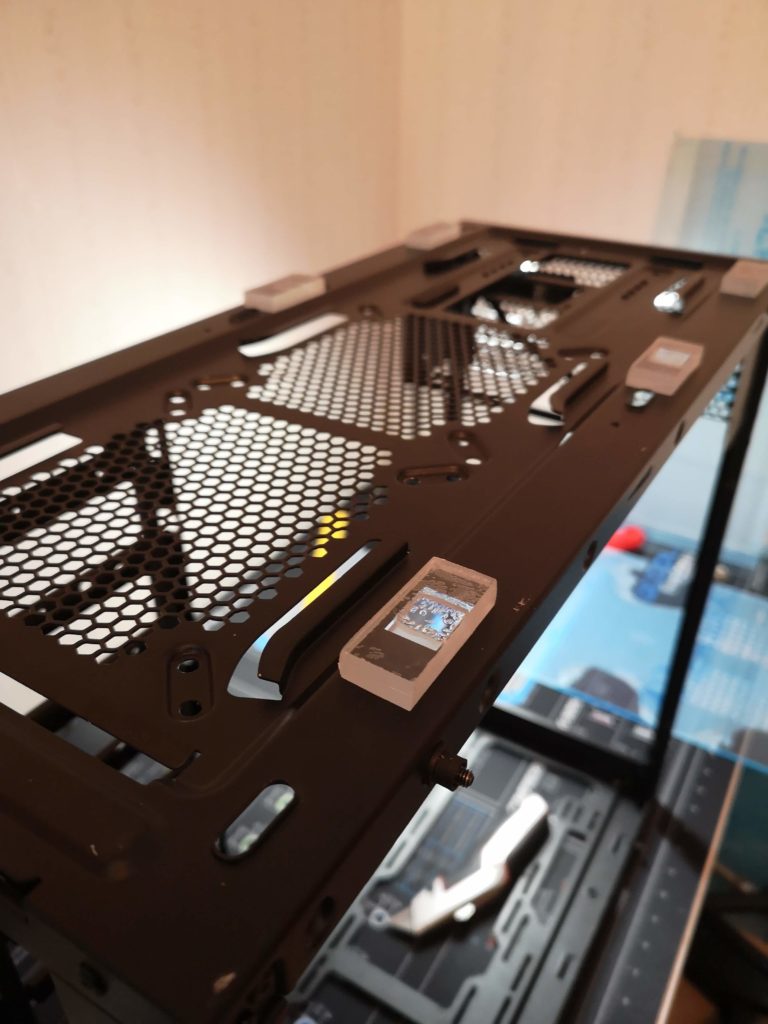
Clips for the entire bottom piece. It worked out amazing. Resistance, without any room to wiggle. Super happy.
8mm distance and a base plate that sticks to the case just like the original piece. With 5mm wider plate than the case and 8mm of distance I will have a nice angle of the exterior angles that I will start to create in the next part of the base floor.