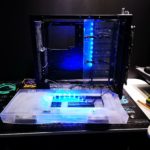
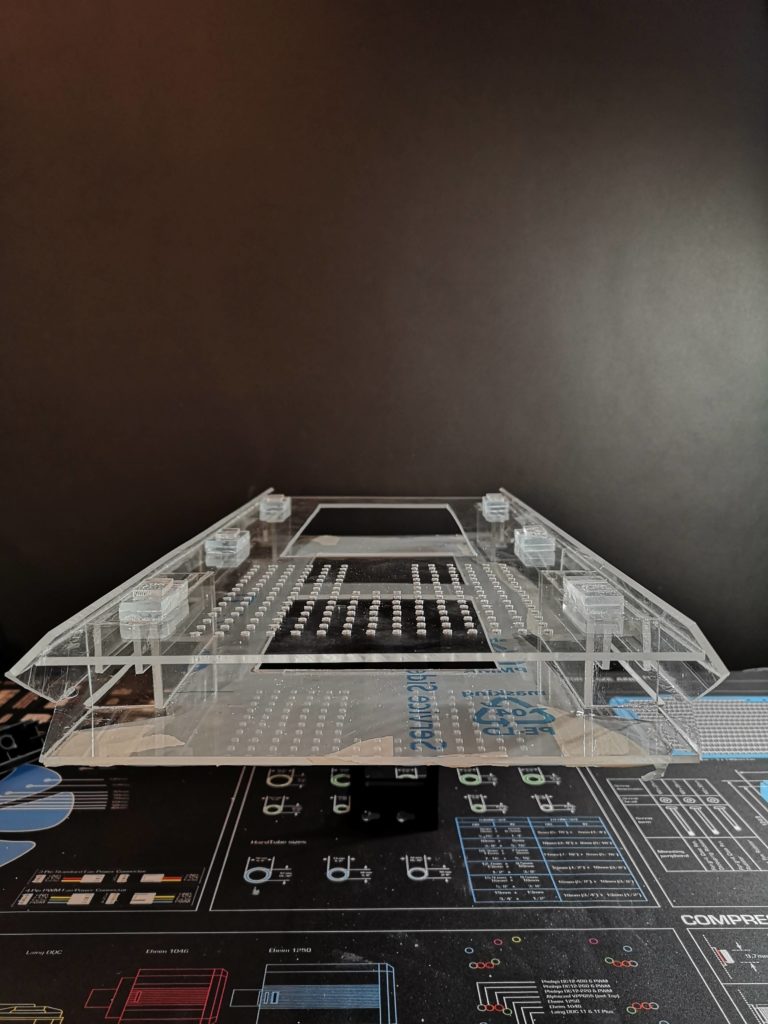
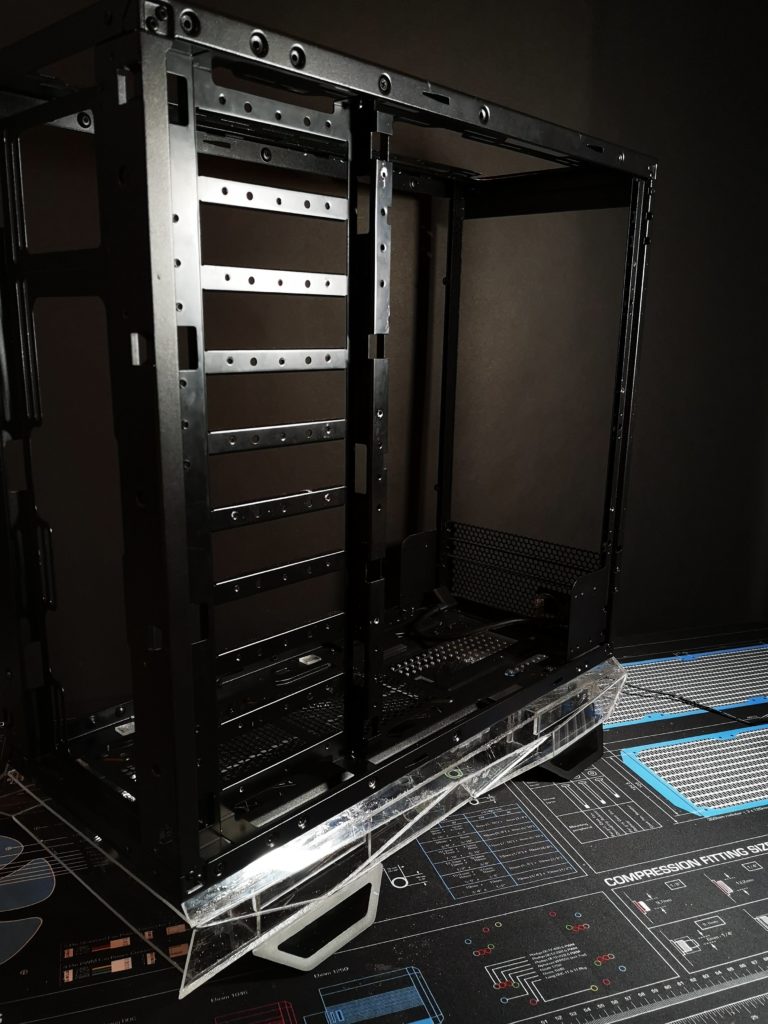
Big progress on the base structure and bottom part of the custom pc casemod. With the last part of this mod finished with a fairly solid structure, this part will be all about filling the gaps in the exterior acrylic and make one solid structure.

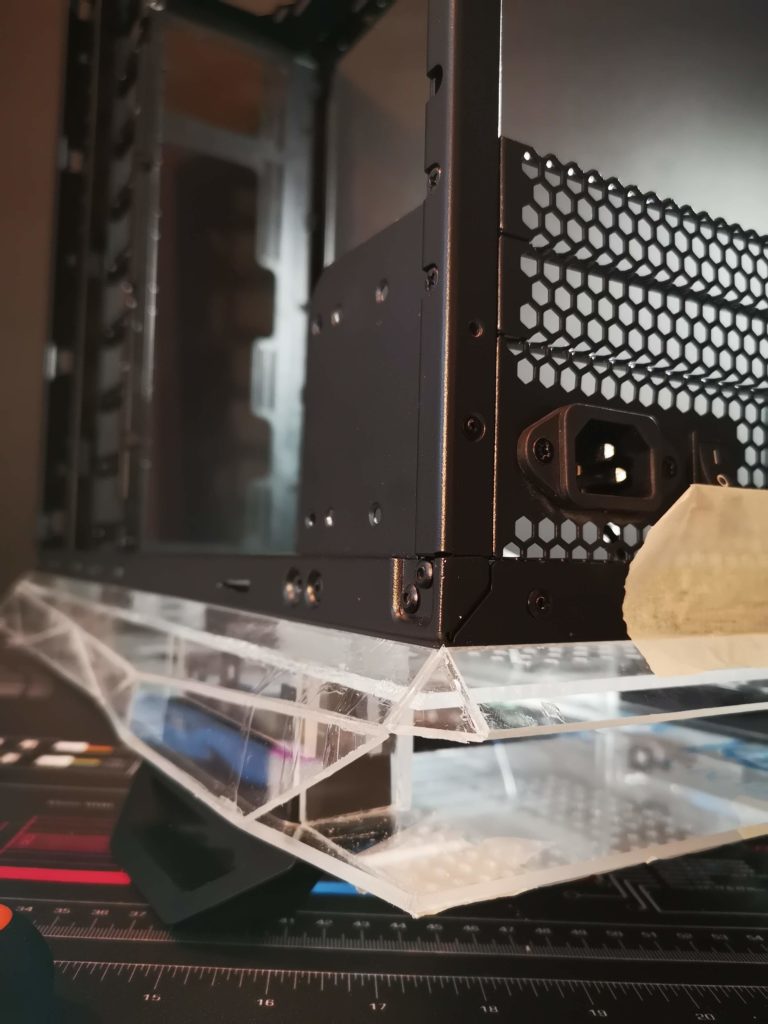
With the front part of the bottom almost done, I continued on the back side. First angle in place and I got my pattern and most of the parts already prepared.
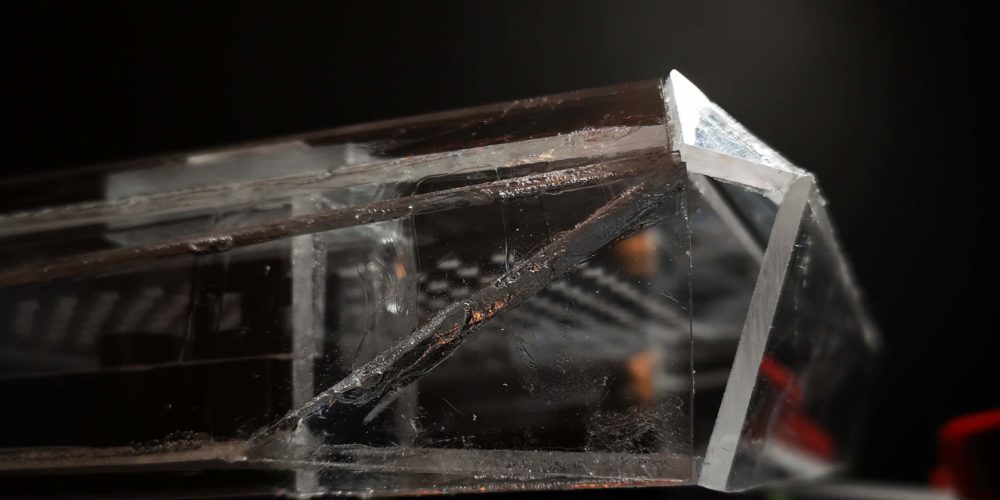
I just can’t stop creating angles and triangles in this mod 🙂
It will look amazing once it’s done…I hope…
Hard to see on the pictures, but each triangle creates an angled to the next.
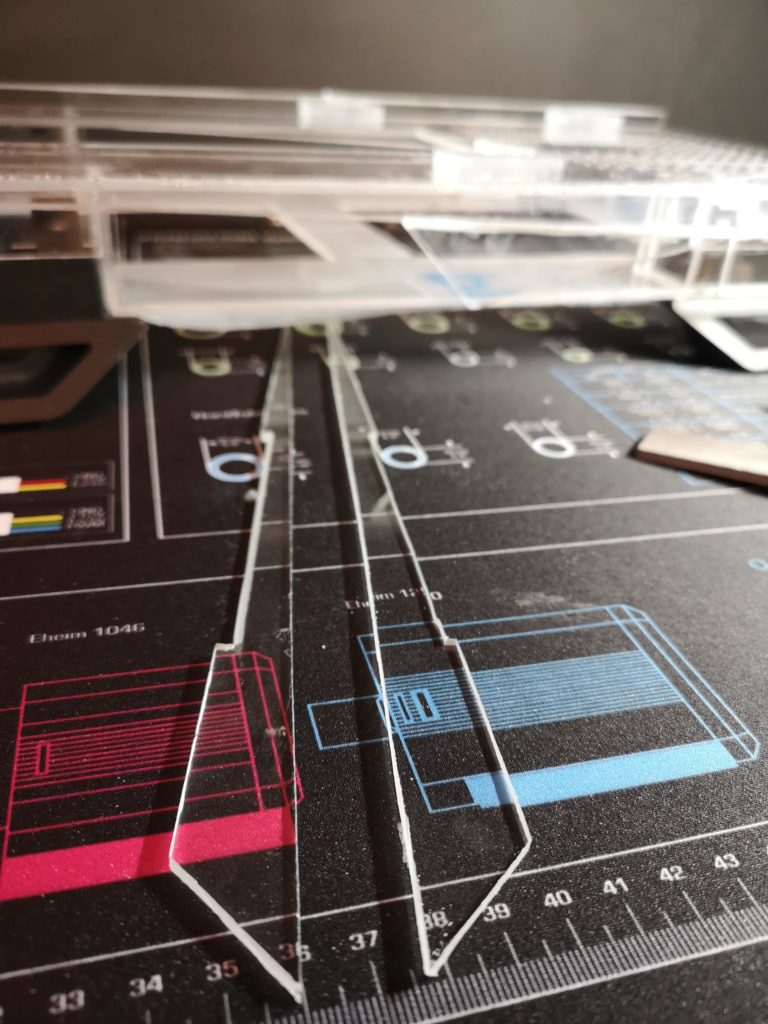
Two longer parts for the front, want the edge to move forward and create a bridge to the front exterior part.
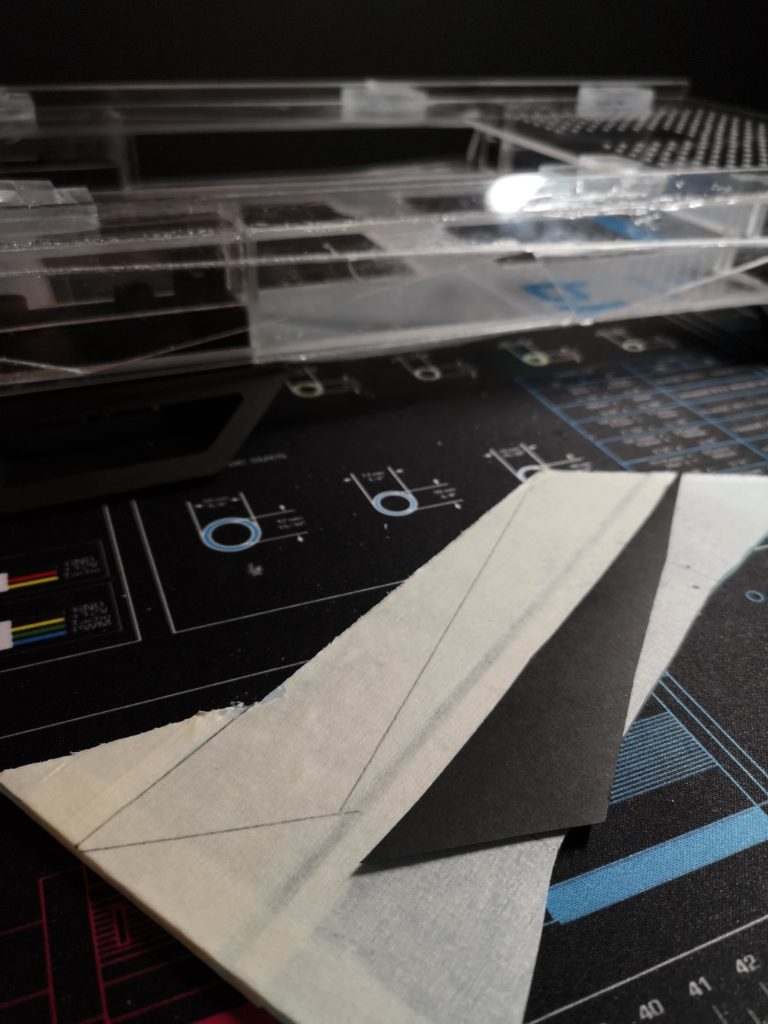
Forgot to replicate one piece, so had to measure and create a template.
A litte bigger piece to stay with a balanced look of the exterior.
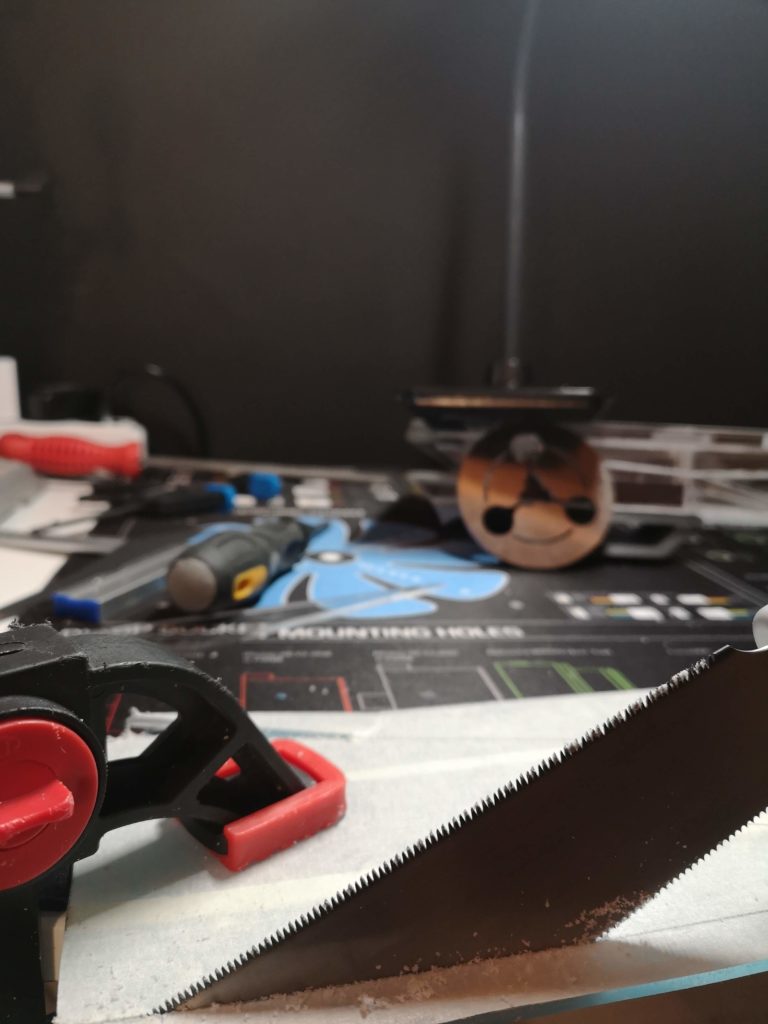
Like an arm workout this mod. Spent hours with this little saw already. Not a bad tool for hand-cutting acrylic tbh.
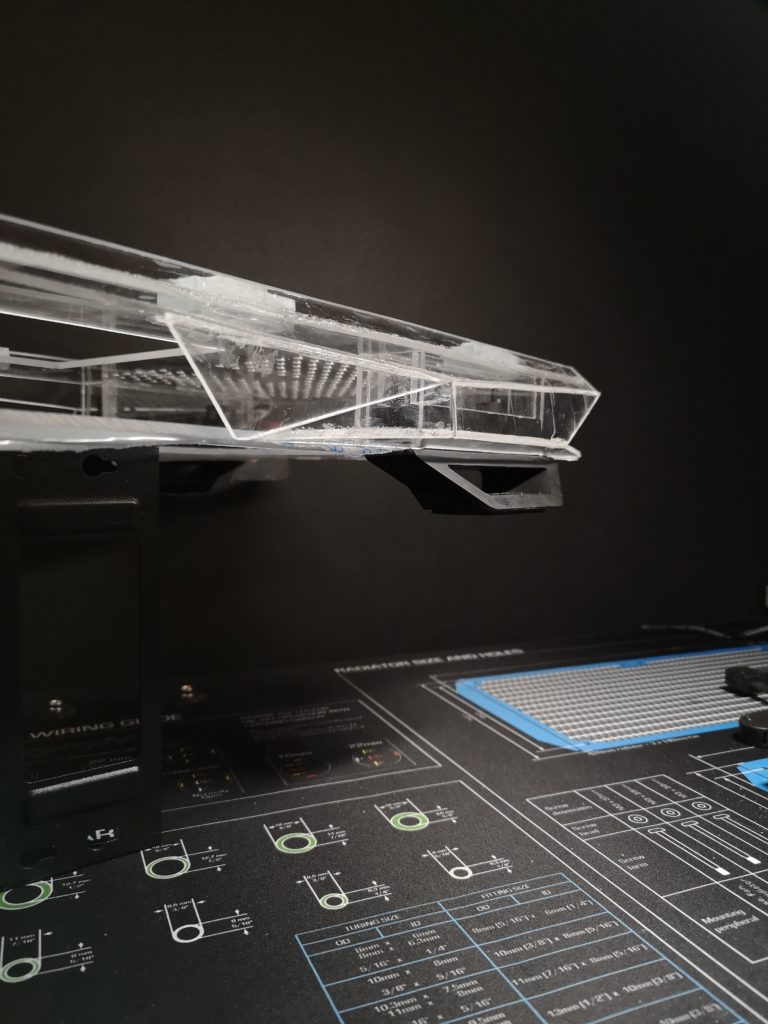
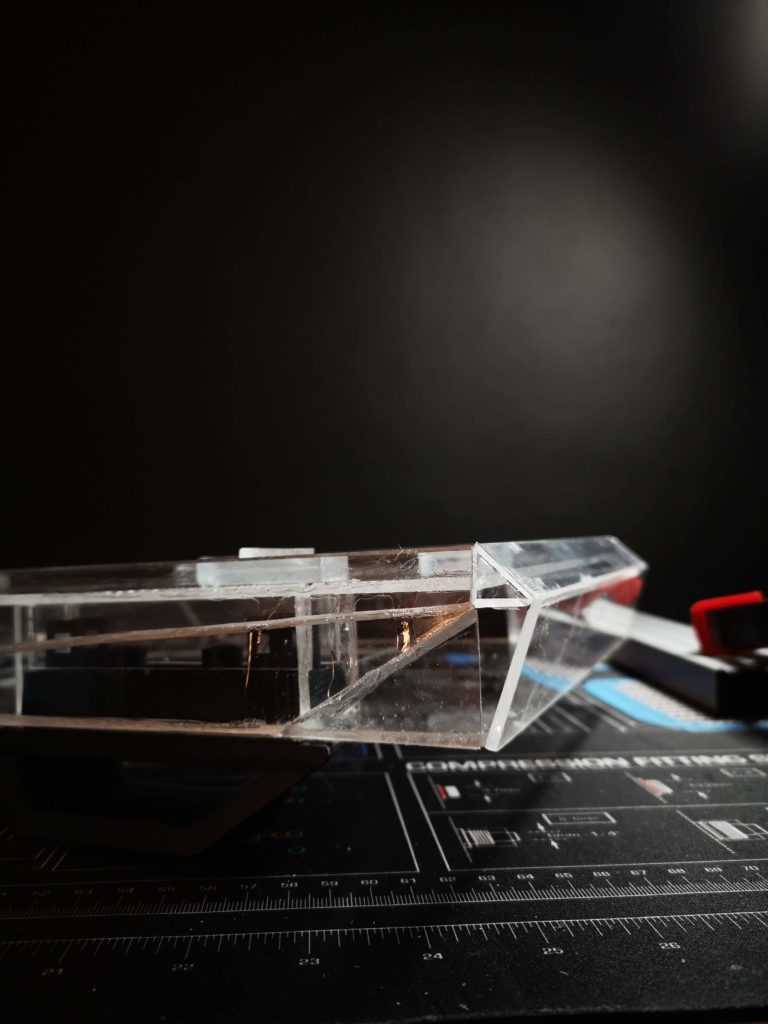
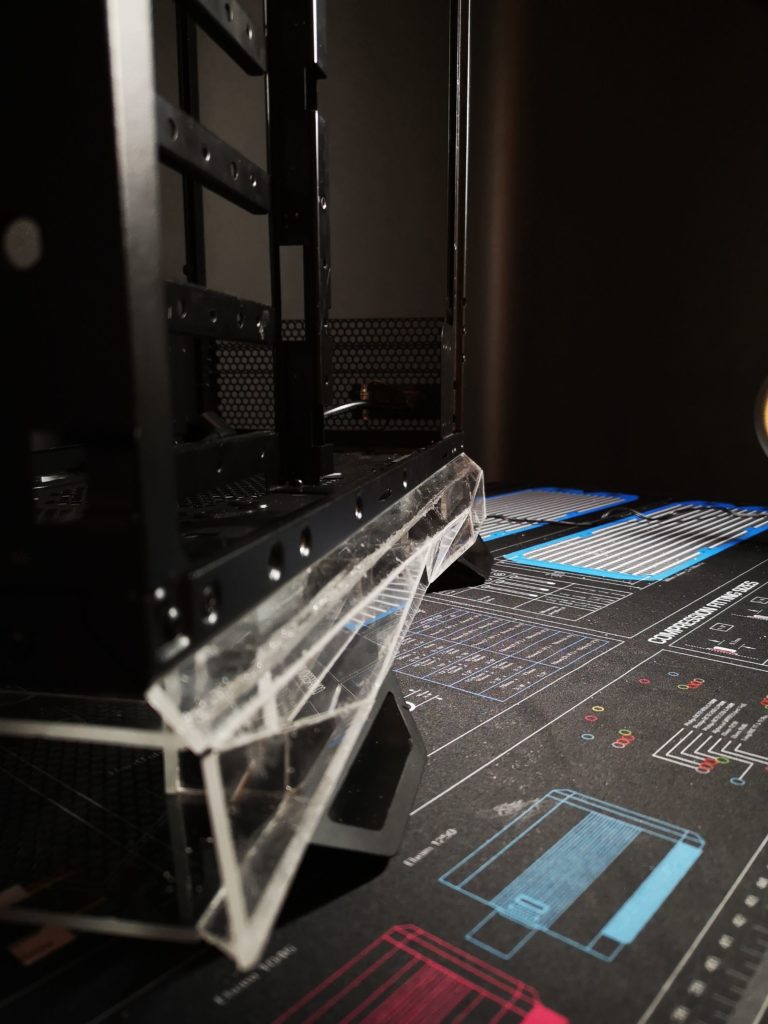
Final piece of the side. Long skarp edge.
Both symetrical and a little kickass.
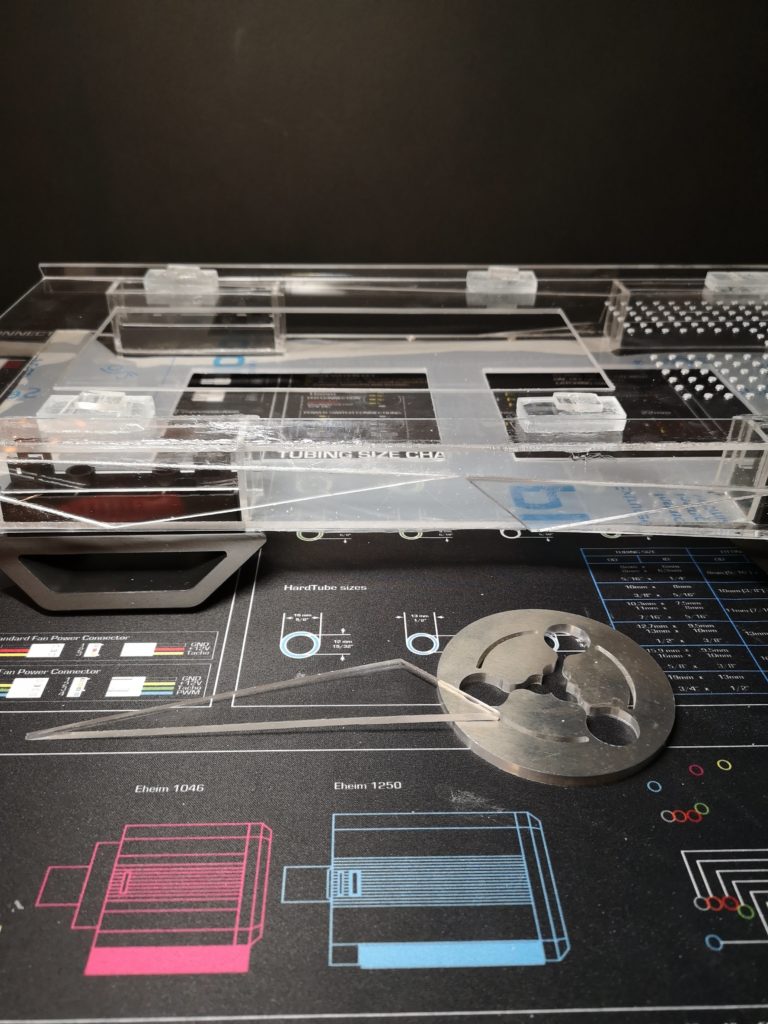
Just the backside to close before the entire back
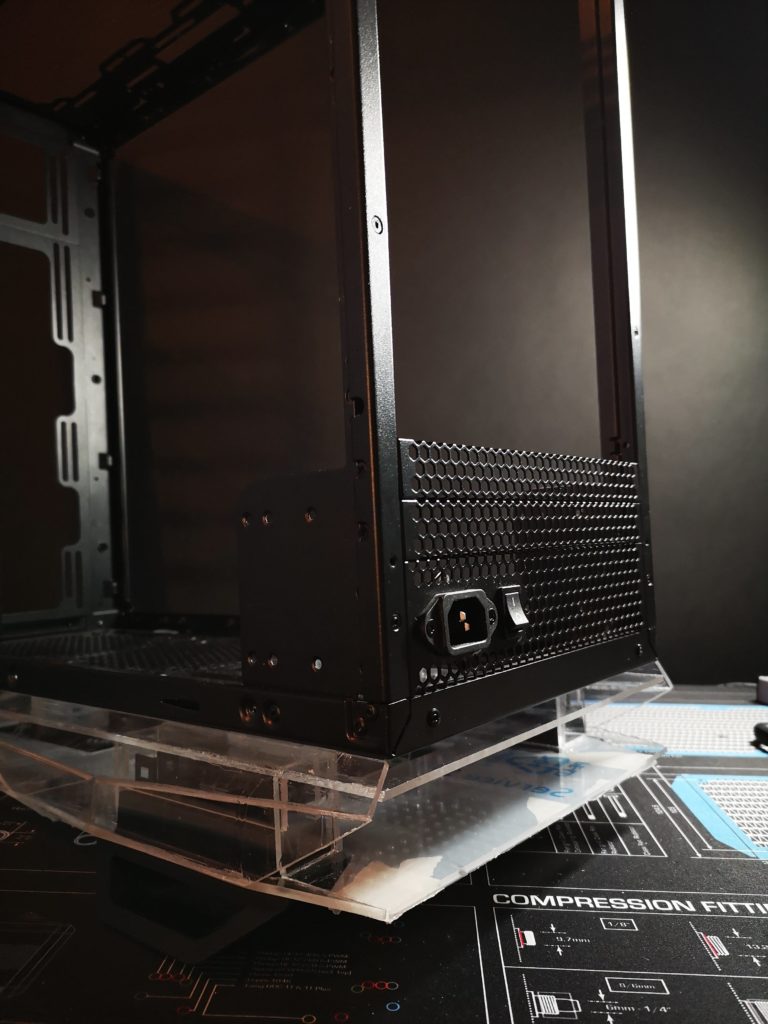
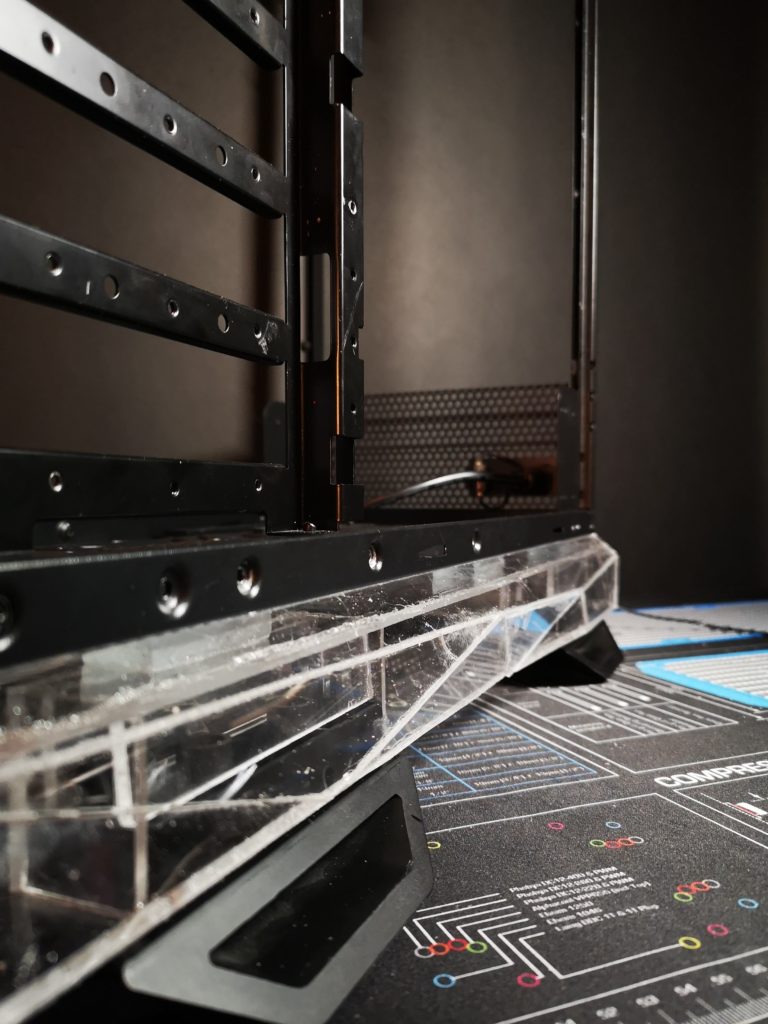
Snug fit…
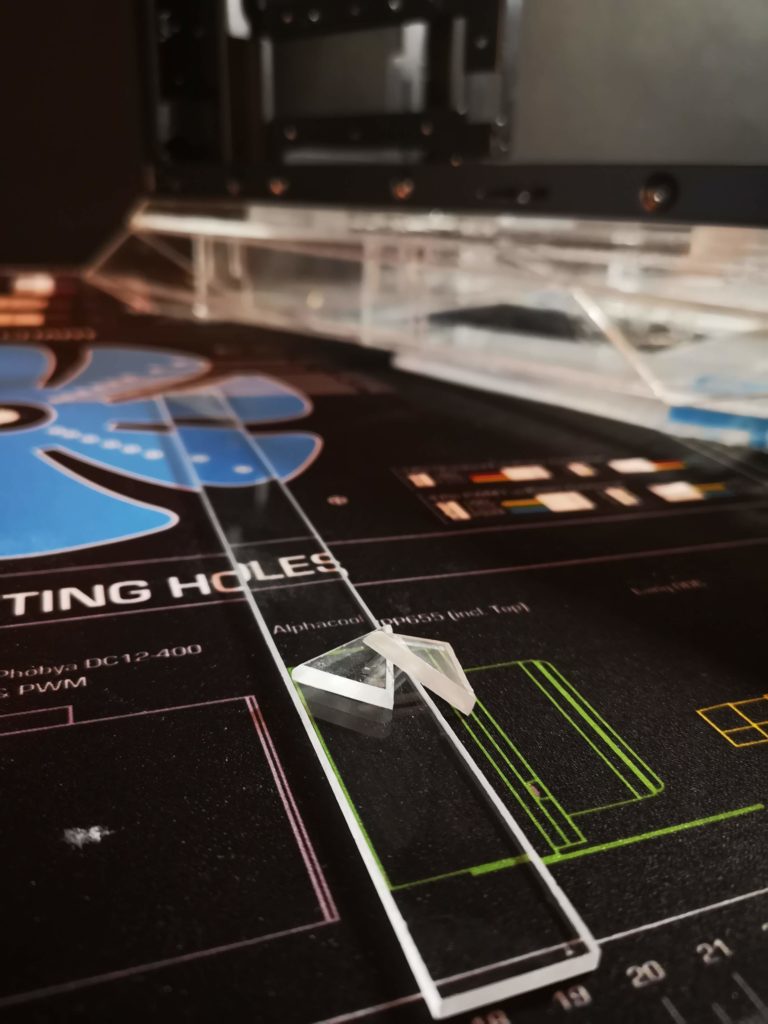
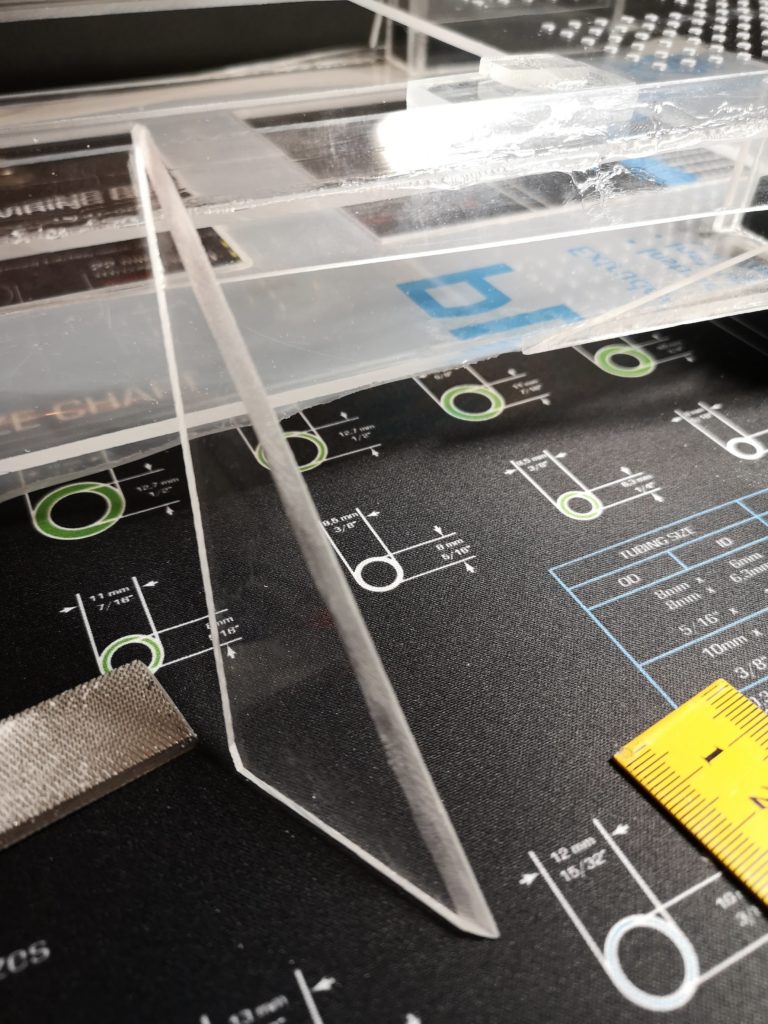
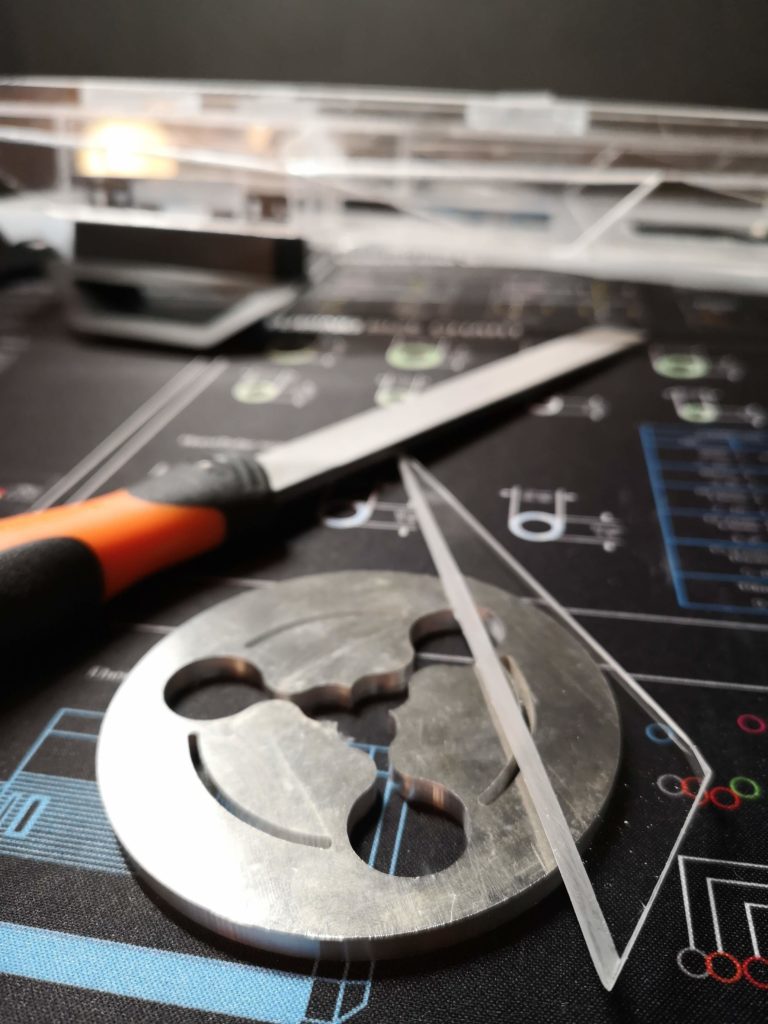
Small triangles with even smaller angled edges. Not sure how many times I cut my self on the hand file making these two…
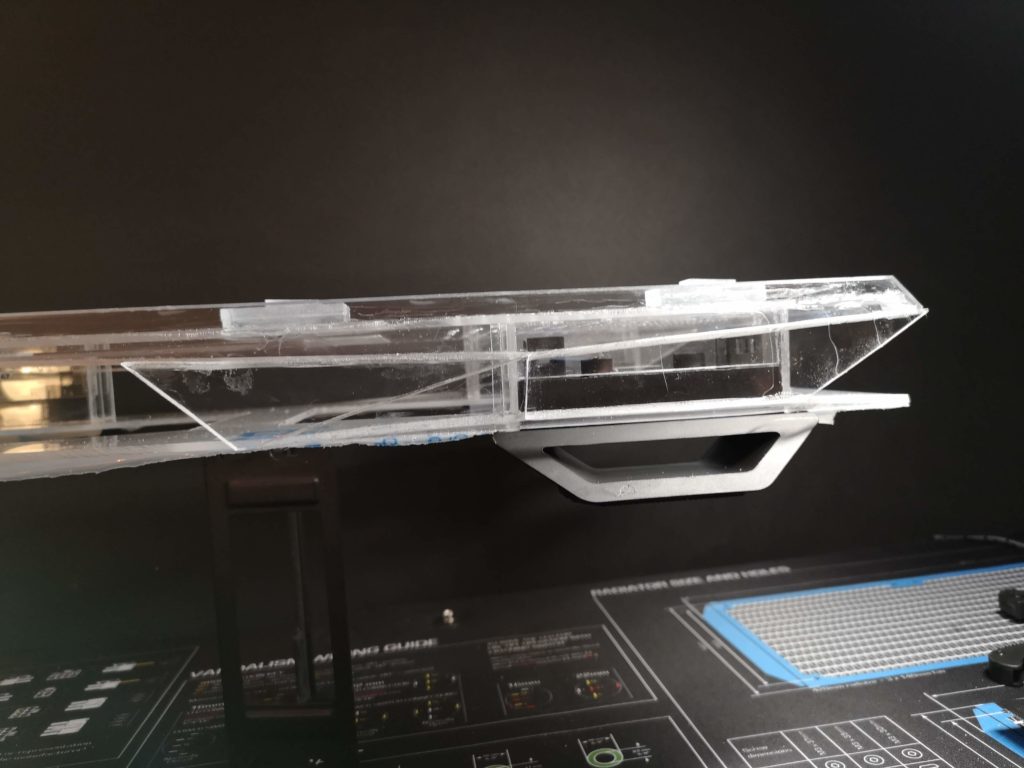
Almost done…
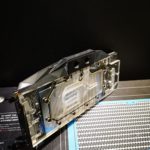
Looks a little messy, but as this will not be a transparent piece, I opted for speed and durability.
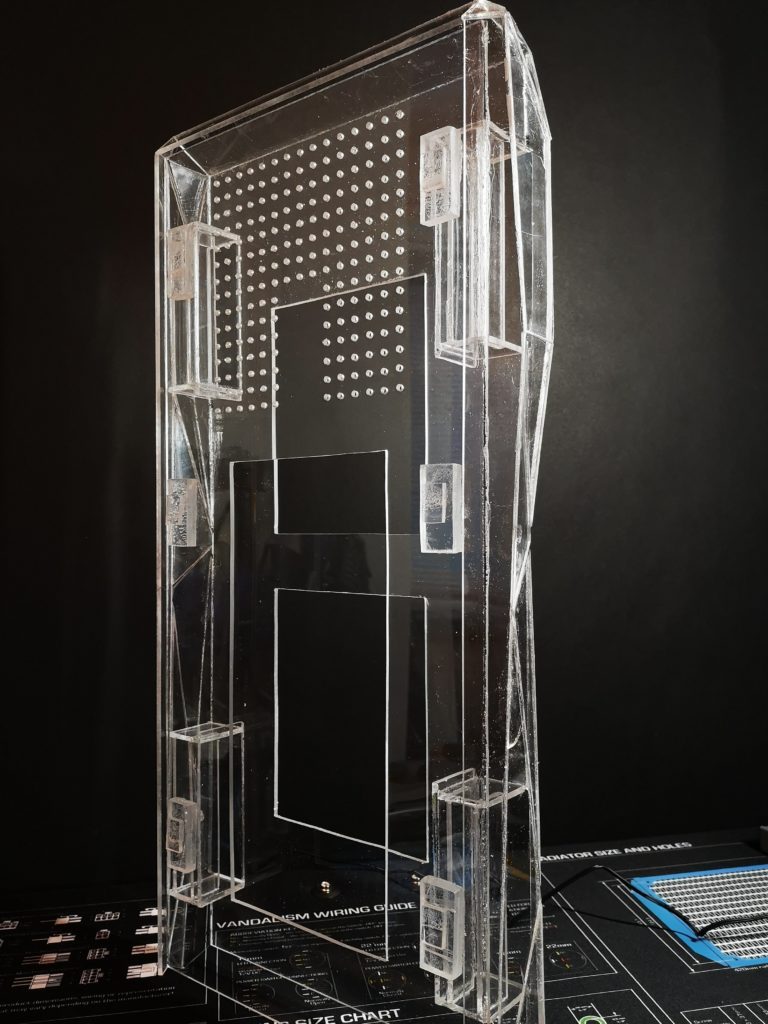
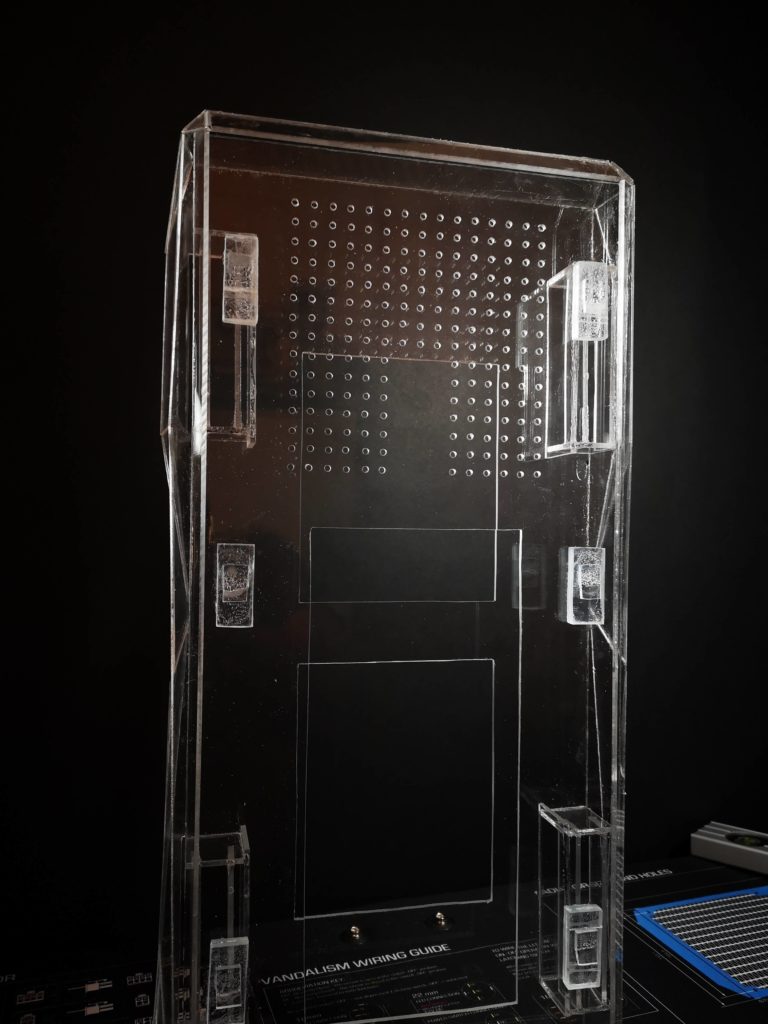
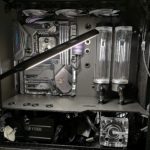
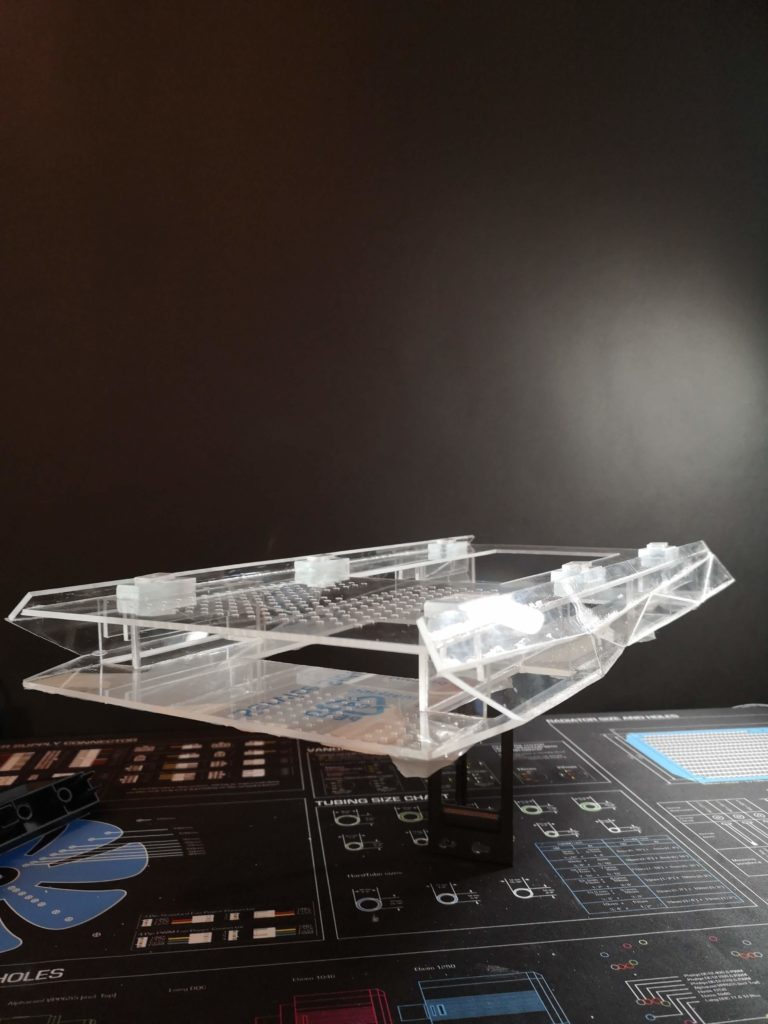
Fully assembled and without any protective plastic for the first time.
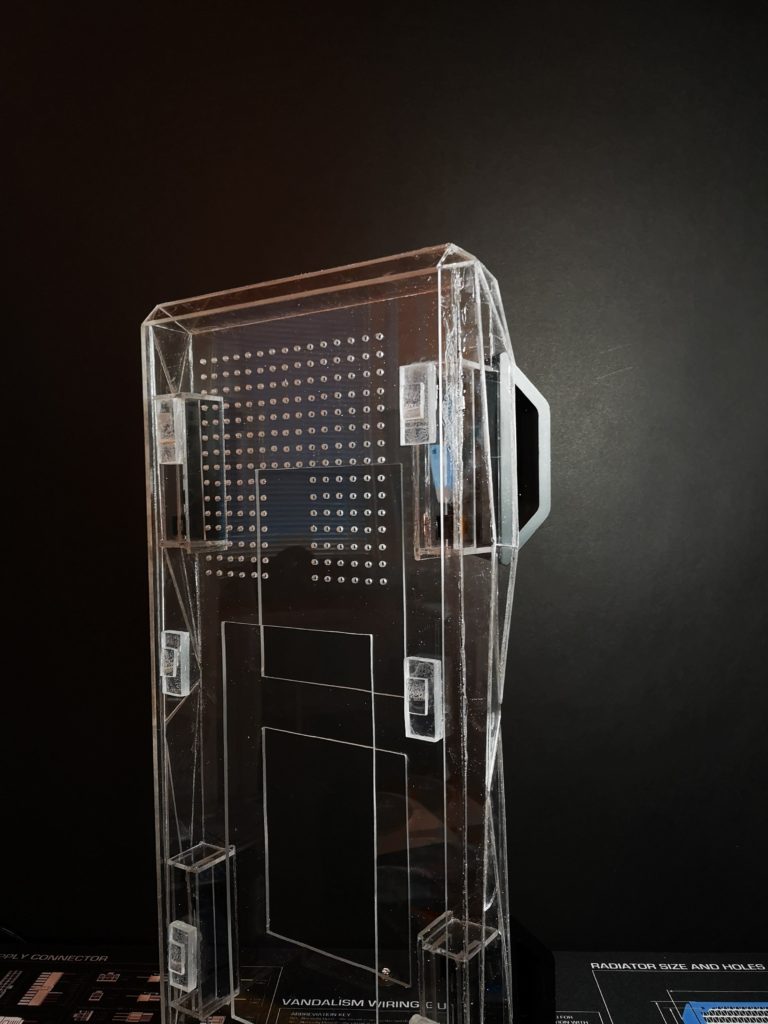
Feet still fits perfectly and completes the angled look really nice…
If you wonder, no, it will not stay this way, but will be either wrapped in a matt black car vinyl or painted black, depending on what result works the best.
I would love to hear what you think…