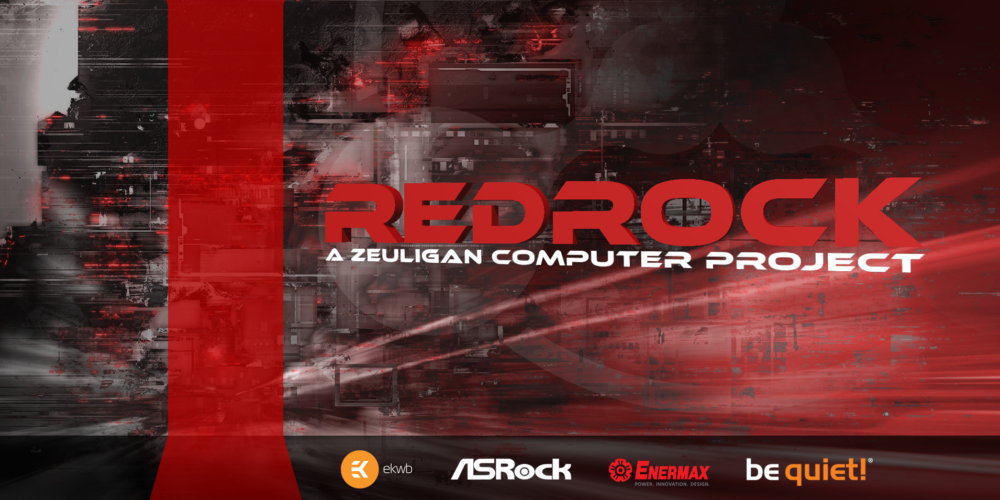
Awesome times with the possibility to do another project in the amazing be quiet! Dark Base Pro 900. My third consecutive project in the same case. The project is extra special for me as it will also be my ever first AMD build, with an AMD Threadripper 1900X. ASROCK, EK Water Blocks, be quiet! and Enermax are sponsoring the project. Most grateful for that.
With the clean build of Zeuligan with almost to empty tubing I decided it was time to bump up the game. Only good way to add more tubing without SLI it is time to incorporate pass throughs in the build.
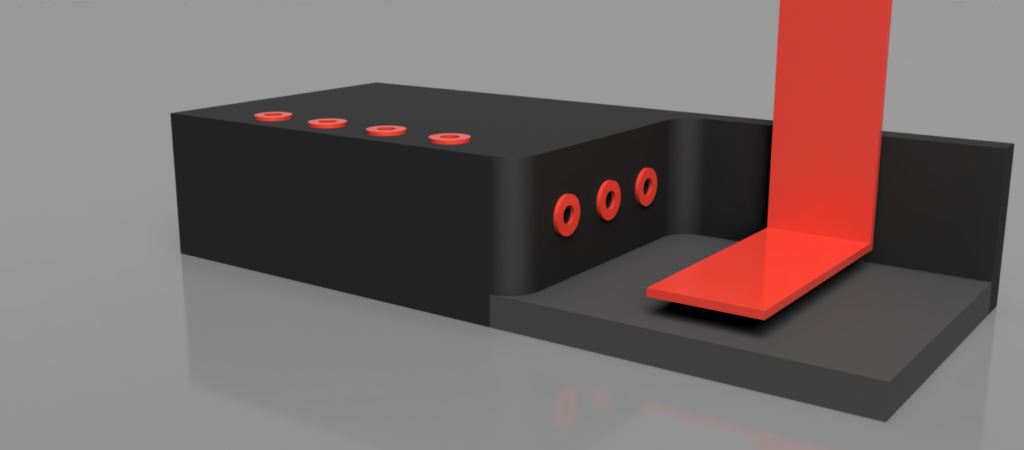
This is the concept sketch I did for the custom PSU shroud. Round edges to go with the EKWB D5 Plexi pump but straight lines to keep it clean. After all it’s a workstation build. It is also time for a black and red build.
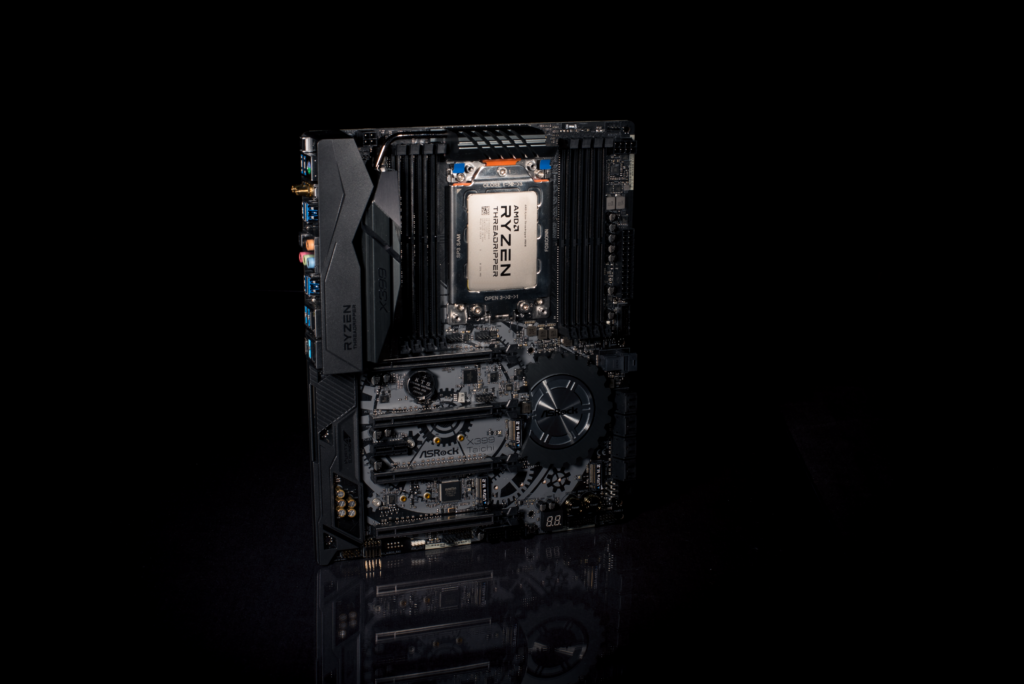
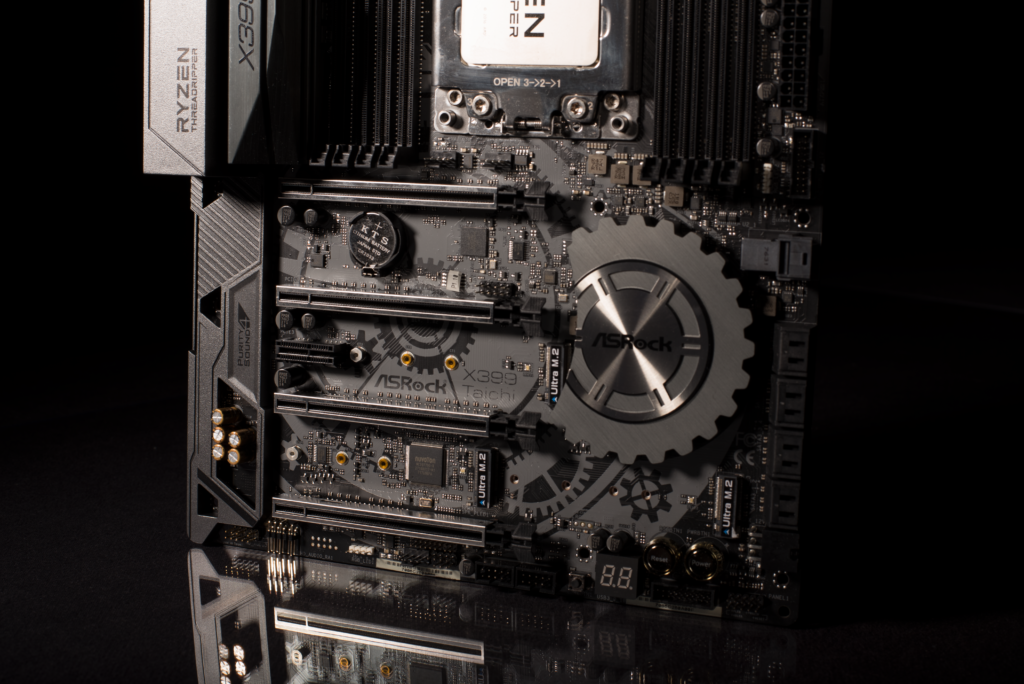
The ASROCK Taichi looks really nice, specially with that monster of a CPU that the AMD Threadripper is. This will be fun. The sprockets will be a detailed used in the theme of the build.
It was with some sorrow I decided to take Project Zeuligan apart. I need some of the component and decided it was time to move along. After a quick drain and taking the entire build apart I needed to get rid of the leather. Extra happy that I only used like a gallon of superglue, not. Glad I got real tools.
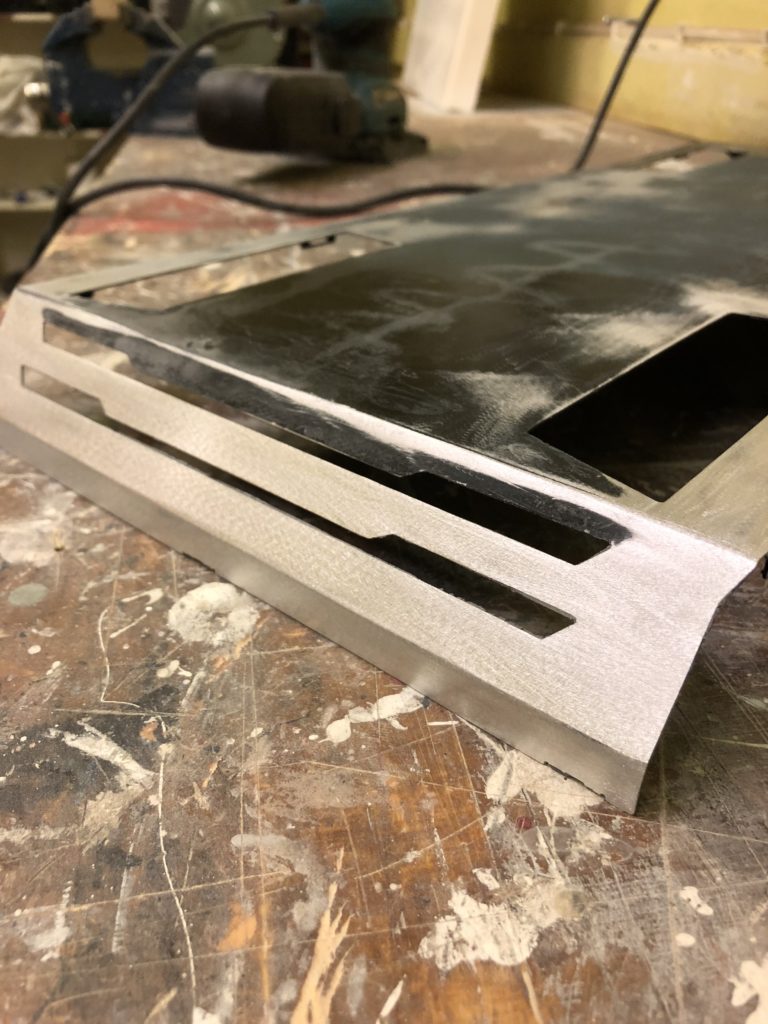
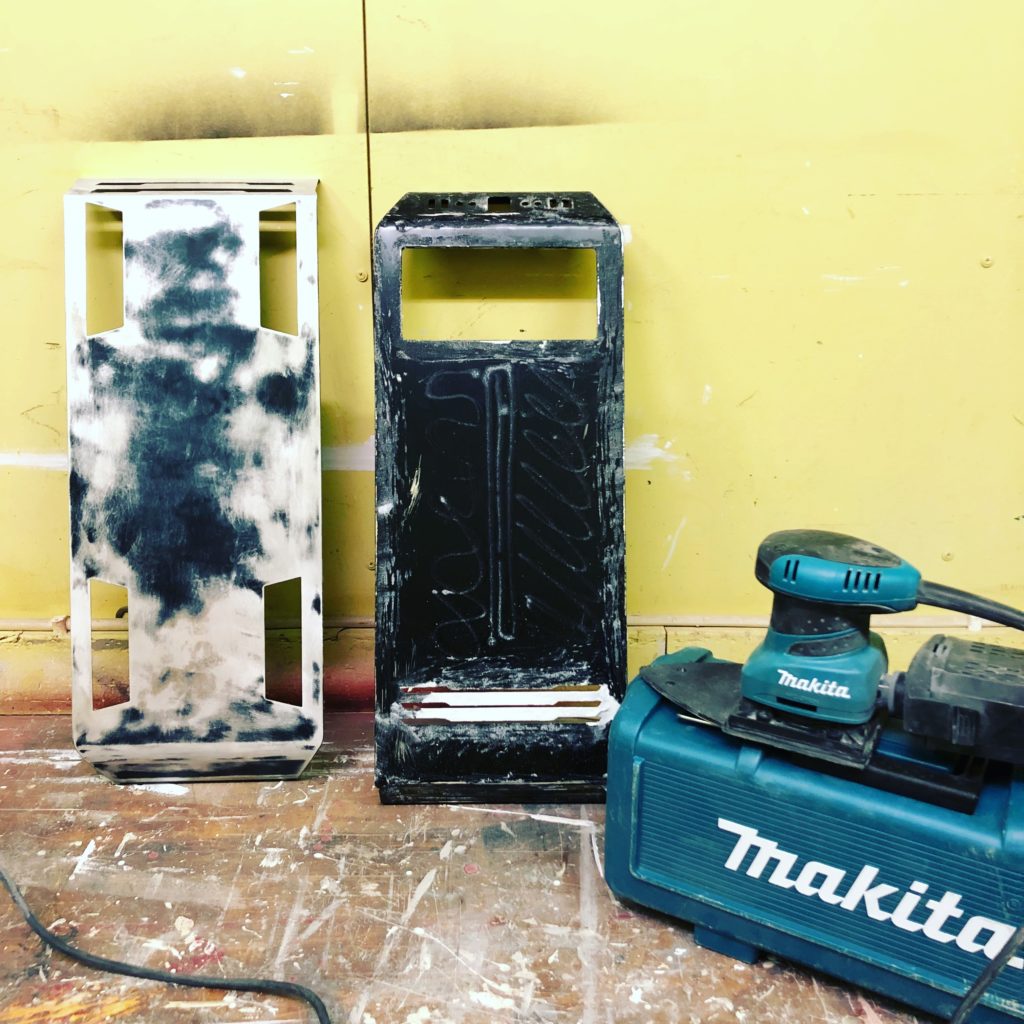
Very tempted to do a full chrome build after watching the naked brushed aluminium showing it self, but not this time.
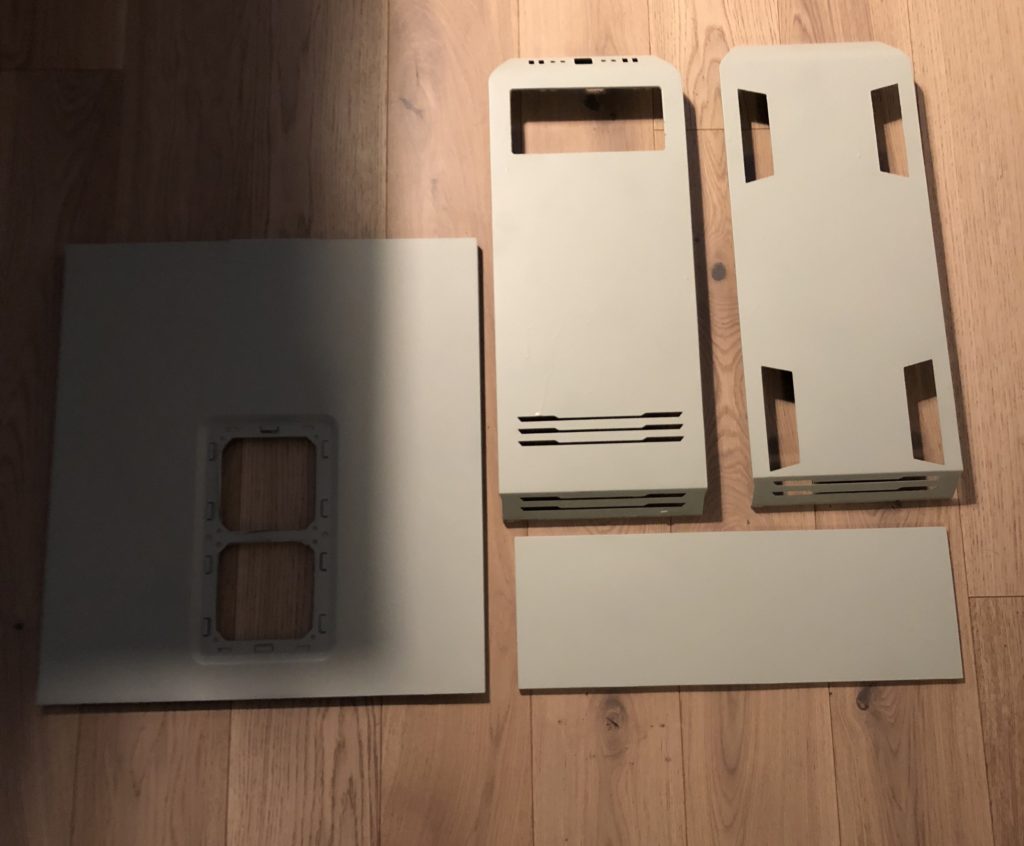
After a few hours with the grinder and two layers of primers the panels are looking really sexy. Ready for their new coating.
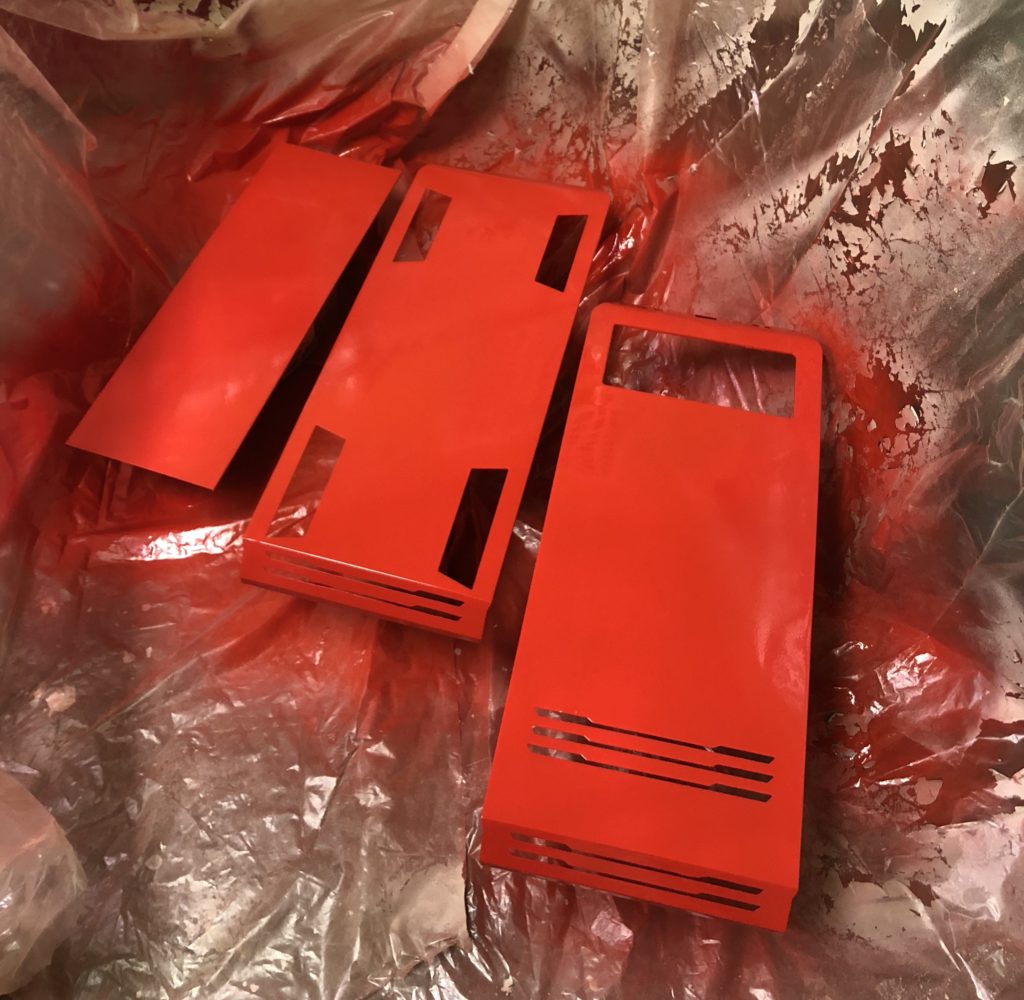
After constructing a temporary spray tent of some builders plastic I went to work with some very red spray paint. At this point I’m worried that it will be to red, but will no for sure once the paint has set.
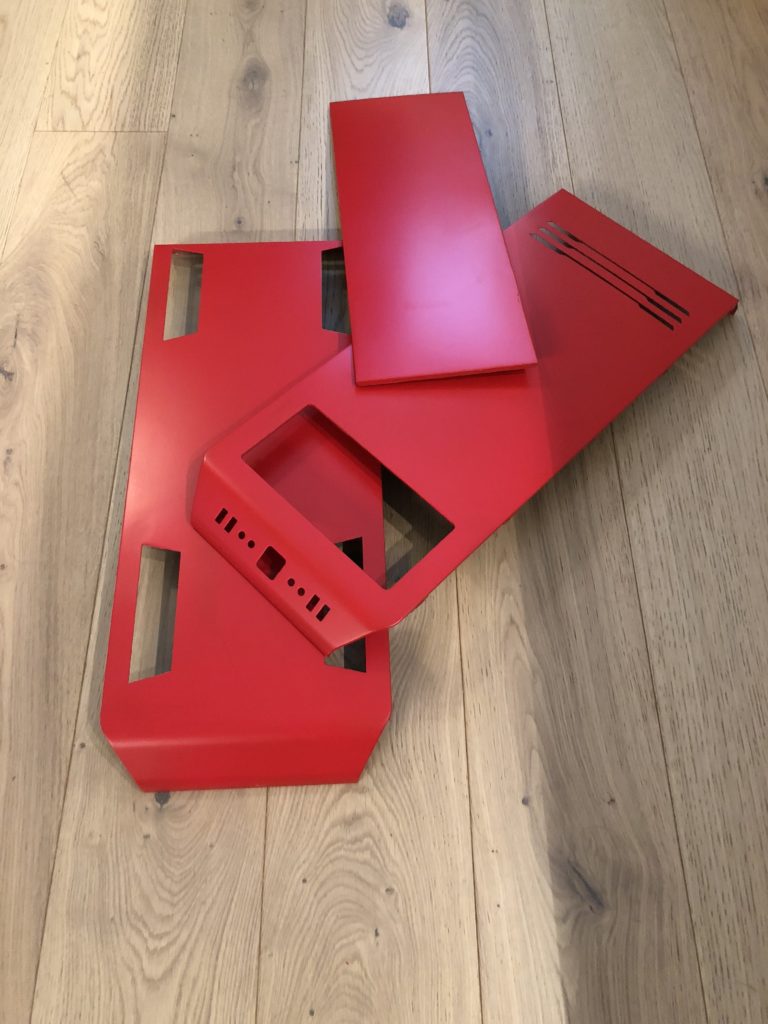
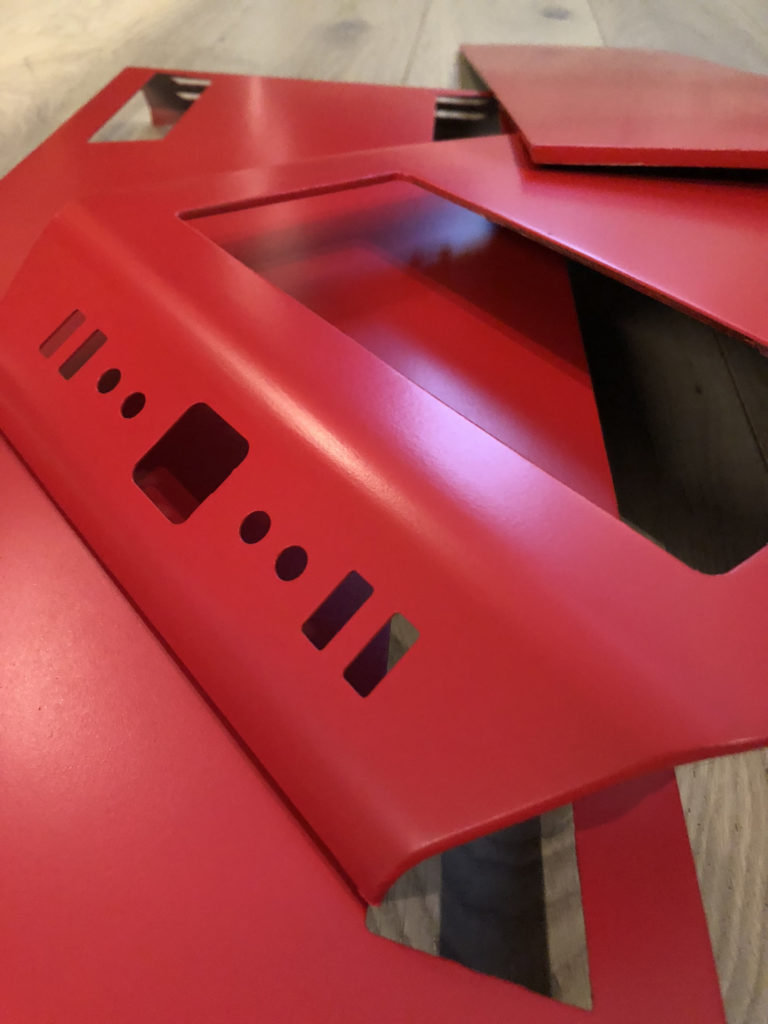
Smexy. The paint dried a little darker and will be a perfect match for my MDPC-X Italian Red sleeve. Will add two layers of matte varnish before it’s ready. That is two more days of literally watching paint dry 🙂
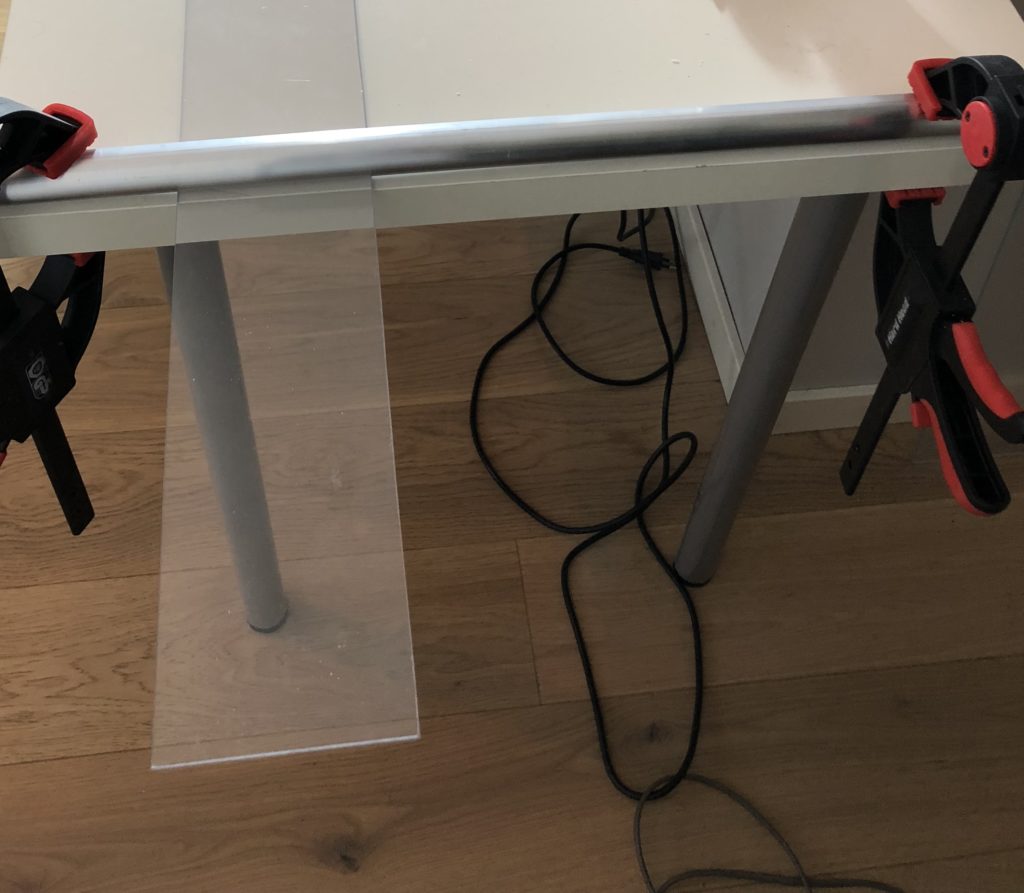
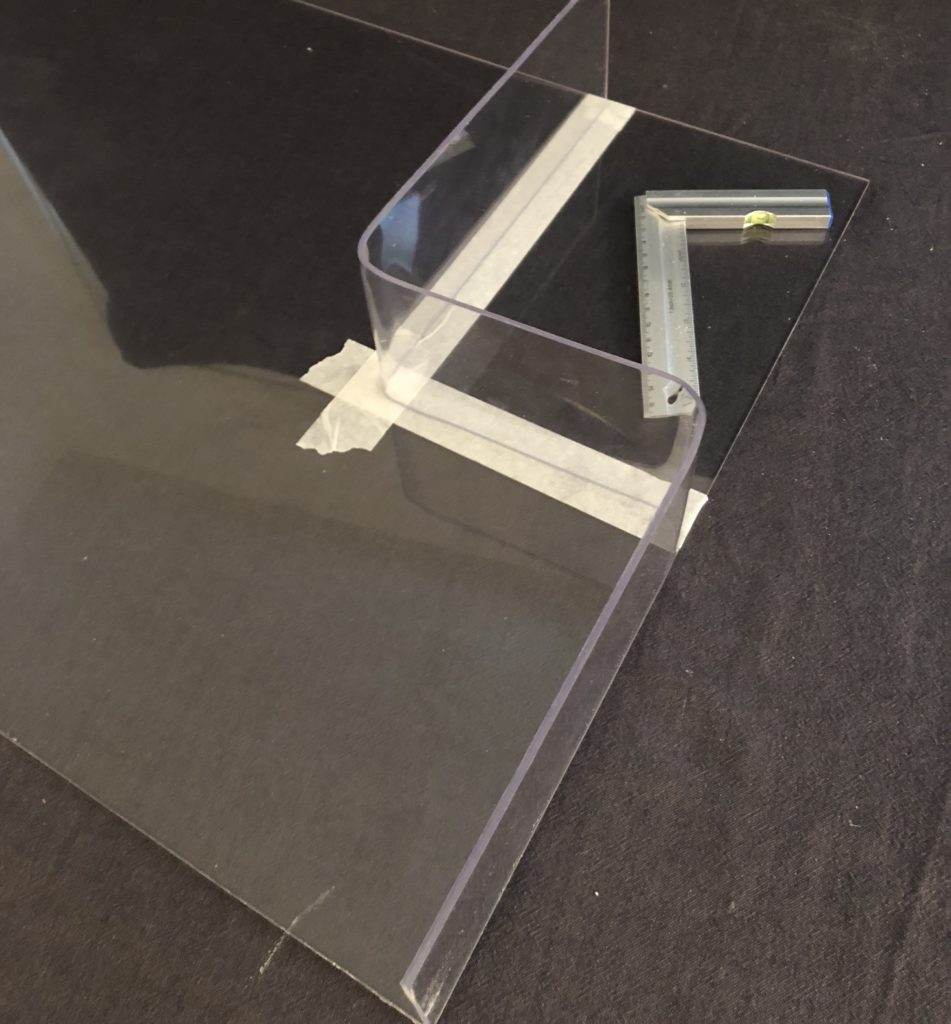
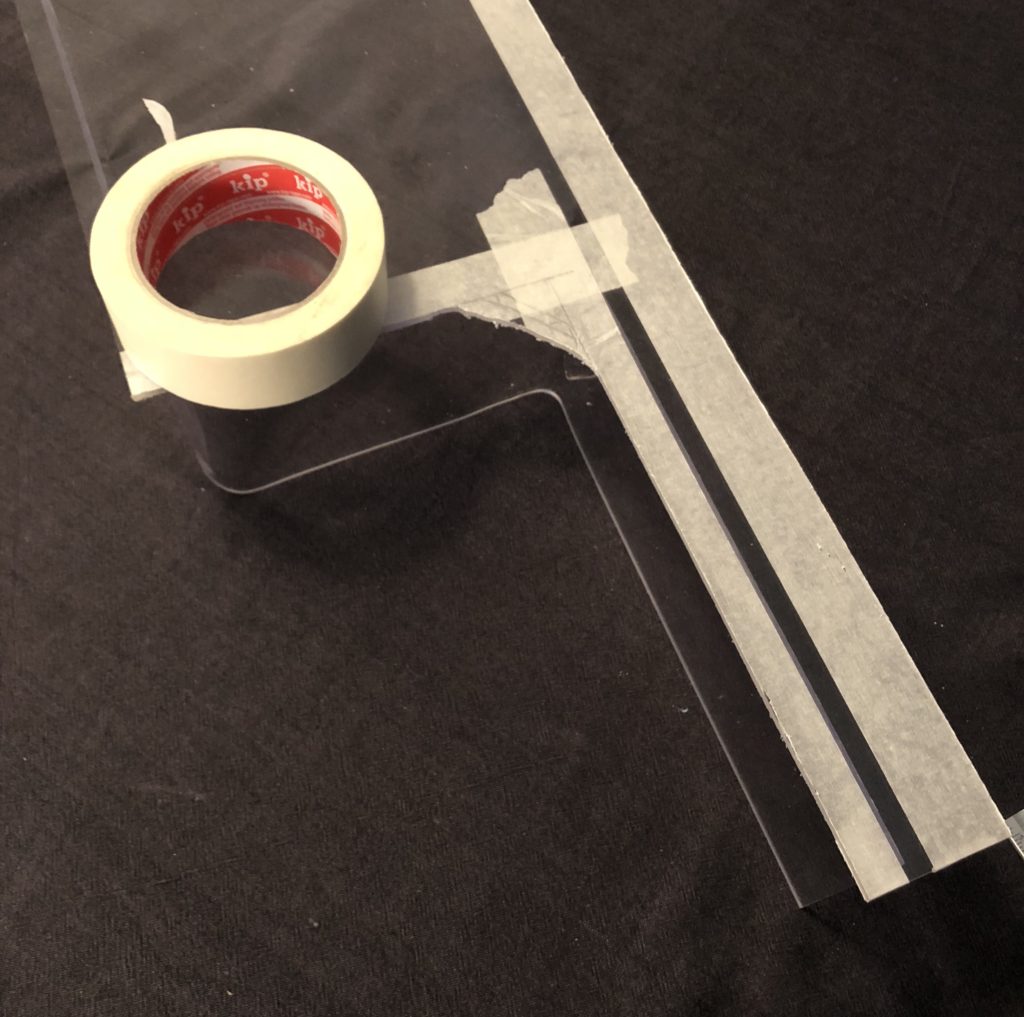
Cut a 10mm wide and 1000mm long piece of 3mm acrylic. This will be the front base for the PSU Shroud. Clamped a piece of aluminum tube and went to work with my heat gun.
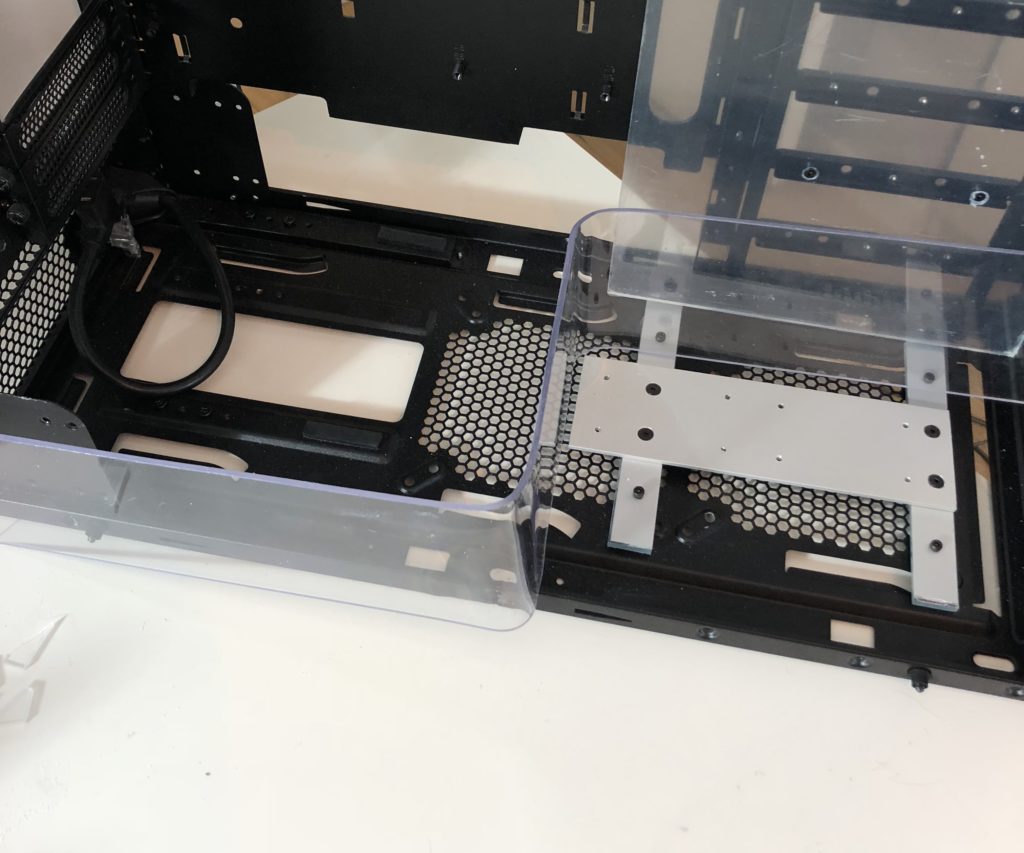
Almost perfect, but will try to fix some minor details with the angles once I create the lid / floor of the PSU shroud.
Taking measurements for the top piece.
Here I have the lid on top of the PSU Shroud font. This was a good start of project Redrock. I hope you liked it so far and I would love to hear your thoughts. What you feel about the concept of the PSU Shroud?