Work continued with the front part of the PSU shroud and the specifically the pump cover.
![Custom PC CMWS19 Coolermaster Zeuligan Unhidden Tribute day 9 pc modding psu shroud alphacool xpx eisblock 01](https://zeuligan.com/wp-content/uploads/2019/09/cmws19-cosmos-c700p-zeuligan-custom-pc-modding-day10-psu-shroud-01-768x1024.jpg)
I started testing different design ideas and print solutions. Knew what I wanted as an end result, but not sure of the road to it. After some time I felt I had a solid solution.
![Custom PC CMWS19 Coolermaster Zeuligan Unhidden Tribute day 9 pc modding psu shroud alphacool xpx eisblock 02](https://zeuligan.com/wp-content/uploads/2019/09/cmws19-cosmos-c700p-zeuligan-custom-pc-modding-day10-psu-shroud-02-768x1024.jpg)
![Custom PC CMWS19 Coolermaster Zeuligan Unhidden Tribute day 9 pc modding psu shroud alphacool xpx eisblock 03](https://zeuligan.com/wp-content/uploads/2019/09/cmws19-cosmos-c700p-zeuligan-custom-pc-modding-day10-psu-shroud-03-768x1024.jpg)
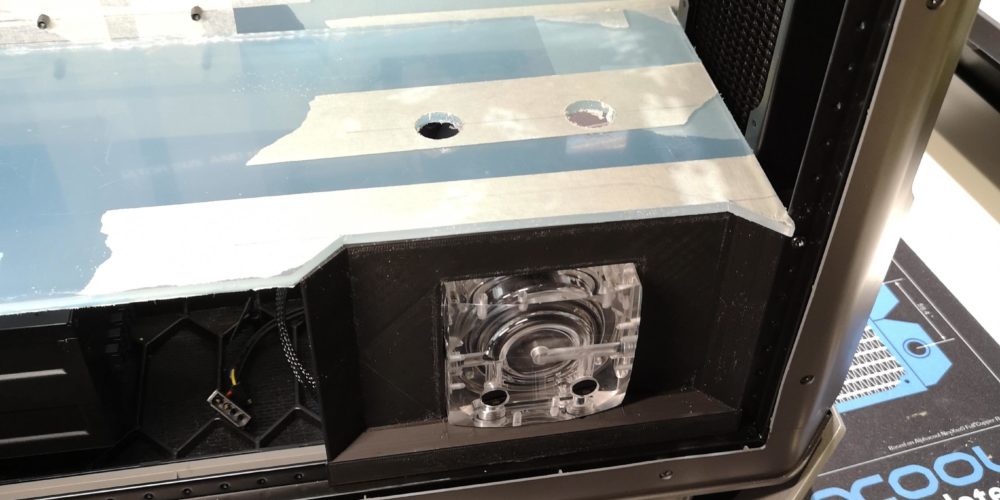
This is how I want to show the unhide the pump, but still keep it as clean as possible. First print is a faster prototype profile .
![Custom PC CMWS19 Coolermaster Zeuligan Unhidden Tribute day 9 pc modding psu shroud alphacool xpx eisblock 04](https://zeuligan.com/wp-content/uploads/2019/09/cmws19-cosmos-c700p-zeuligan-custom-pc-modding-day10-psu-shroud-04-768x1024.jpg)
Just like I wanted it. The pump is what draws attention, but still keep it classical with a PSU shroud. I felt I had to make some change as it felt a little to flat and boring.
![Custom PC CMWS19 Coolermaster Zeuligan Unhidden Tribute day 9 pc modding psu shroud alphacool xpx eisblock 05](https://zeuligan.com/wp-content/uploads/2019/09/cmws19-cosmos-c700p-zeuligan-custom-pc-modding-day10-psu-shroud-05-768x1024.jpg)
![Custom PC CMWS19 Coolermaster Zeuligan Unhidden Tribute day 9 pc modding psu shroud alphacool xpx eisblock 06](https://zeuligan.com/wp-content/uploads/2019/09/cmws19-cosmos-c700p-zeuligan-custom-pc-modding-day10-psu-shroud-06-768x1024.jpg)
After going back to the original shroud from Cooler Master and it’s angled design with a more narrow top I had my inspiration and tribute. I cut my shroud open after the pump cover and I felt I had made a great improvement. Now the pump is even more in focus and the over all design is less boxy.
![Custom PC CMWS19 Coolermaster Zeuligan Unhidden Tribute day 9 pc modding psu shroud alphacool xpx eisblock 07](https://zeuligan.com/wp-content/uploads/2019/09/cmws19-cosmos-c700p-zeuligan-custom-pc-modding-day10-psu-shroud-07-768x1024.jpg)
![Custom PC CMWS19 Coolermaster Zeuligan Unhidden Tribute day 9 pc modding psu shroud alphacool xpx eisblock 08](https://zeuligan.com/wp-content/uploads/2019/09/cmws19-cosmos-c700p-zeuligan-custom-pc-modding-day10-psu-shroud-08-768x1024.jpg)
I only had one real problem left. I can’t hide the beautiful PSU behind a shroud wall. It’s both wrong and wouldn’t be true to my original concept – Unhidden | Tribute. Had an idea and made a design in Fusion and loaded the printer.
![Custom PC CMWS19 Coolermaster Zeuligan Unhidden Tribute day 9 pc modding psu shroud alphacool xpx eisblock 09](https://zeuligan.com/wp-content/uploads/2019/09/cmws19-cosmos-c700p-zeuligan-custom-pc-modding-day10-psu-shroud-09-768x1024.jpg)
![Custom PC CMWS19 Coolermaster Zeuligan Unhidden Tribute day 9 pc modding psu shroud alphacool xpx eisblock 10](https://zeuligan.com/wp-content/uploads/2019/09/cmws19-cosmos-c700p-zeuligan-custom-pc-modding-day10-psu-shroud-10-768x1024.jpg)
That will work. The rhombus shape with the design of also making it smaller the further in it goes is a real eye catcher towards the logo and the PSU. It also brakes up the flat surface of the PSU shroud in balance to the pump cover. Super happy.
![Custom PC CMWS19 Coolermaster Zeuligan Unhidden Tribute day 9 pc modding psu shroud alphacool xpx eisblock 12](https://zeuligan.com/wp-content/uploads/2019/09/cmws19-cosmos-c700p-zeuligan-custom-pc-modding-day10-psu-shroud-12-768x1024.jpg)
![Custom PC CMWS19 Coolermaster Zeuligan Unhidden Tribute day 9 pc modding psu shroud alphacool xpx eisblock 11](https://zeuligan.com/wp-content/uploads/2019/09/cmws19-cosmos-c700p-zeuligan-custom-pc-modding-day10-psu-shroud-11-768x1024.jpg)
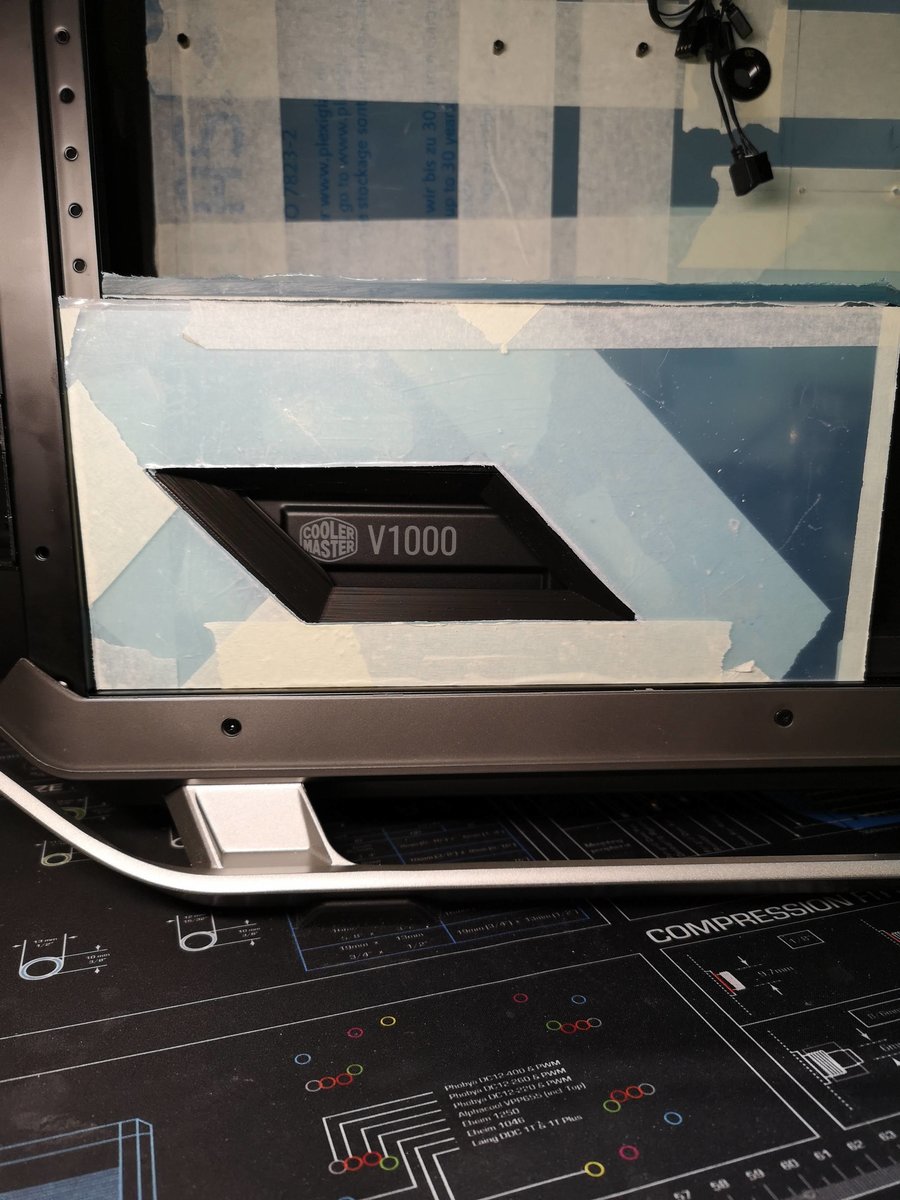
Took some measurements and cut the front part of the shroud open after the rhombus shape.
![Custom PC CMWS19 Coolermaster Zeuligan Unhidden Tribute day 9 pc modding psu shroud alphacool xpx eisblock 13](https://zeuligan.com/wp-content/uploads/2019/09/cmws19-cosmos-c700p-zeuligan-custom-pc-modding-day10-psu-shroud-13-768x1024.jpg)
The last thing left to fix on the front of the PSU shroud was to make room for the head of the screw I need to keep my PSU brackets in place.
![Custom PC CMWS19 Coolermaster Zeuligan Unhidden Tribute day 9 pc modding psu shroud alphacool xpx eisblock 14](https://zeuligan.com/wp-content/uploads/2019/09/cmws19-cosmos-c700p-zeuligan-custom-pc-modding-day10-psu-shroud-14-768x1024.jpg)
![Custom PC CMWS19 Coolermaster Zeuligan Unhidden Tribute day 9 pc modding psu shroud alphacool xpx eisblock 15](https://zeuligan.com/wp-content/uploads/2019/09/cmws19-cosmos-c700p-zeuligan-custom-pc-modding-day10-psu-shroud-15-768x1024.jpg)
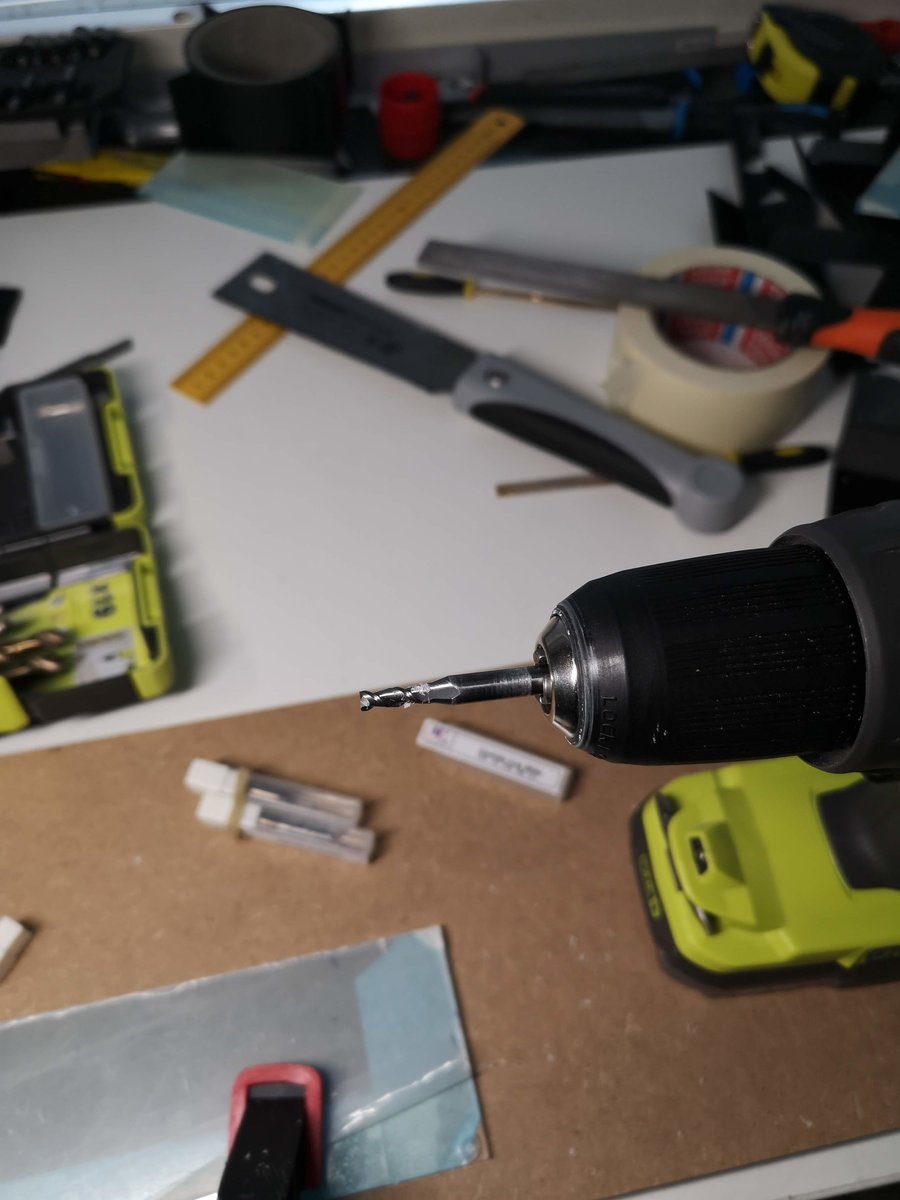
I had a real drill bit that I loaded into my drill driver and tried to keep both a steady hand and not go to deep and cut through. Think I did really good
![Custom PC CMWS19 Coolermaster Zeuligan Unhidden Tribute day 9 pc modding psu shroud alphacool xpx eisblock 16](https://zeuligan.com/wp-content/uploads/2019/09/cmws19-cosmos-c700p-zeuligan-custom-pc-modding-day10-psu-shroud-16-768x1024.jpg)
That’s more like it. Next step will be to focus on the backside wall and the backside of the PSU shroud.