CMWS19 Cosmos C700P Zeuligan Custom PC modding day 11 cable management and backside psu shroud 02

Backside Hard tube and cable management MDPC-X – CMWS19

Spread the love
CMWS19 Cosmos C700P Zeuligan Custom PC modding day 11 cable management and backside psu shroud 01
CMWS19 Cosmos C700P Zeuligan Custom PC modding day 11 cable management and backside psu shroud 02

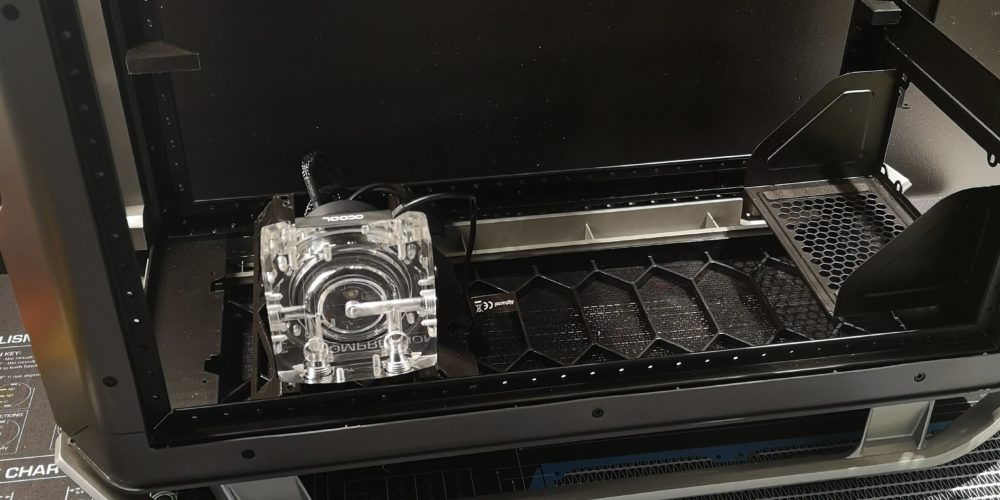
With the backside out (again) I could start with cutting hole for the second pump. 

CMWS19 Cosmos C700P Zeuligan Custom PC modding day 11 cable management and backside psu shroud 03

There it is. Measure twice, cut once…

CMWS19 Cosmos C700P Zeuligan Custom PC modding day 11 cable management and backside psu shroud 04

That’s more like it. Can’t hide such a beauty. Also want the symetry with the front as well as making the backside as rich and alive as the front. Everything unhidden. 

CMWS19 Cosmos C700P Zeuligan Custom PC modding day 11 cable management and backside psu shroud 05

Re-mounted (again) the wall and got ready to connect the backside pass throughs. 

CMWS19 Cosmos C700P Zeuligan Custom PC modding day 11 cable management and backside psu shroud 06

Two equal bends. One to the top and one to the bottom. 

CMWS19 Cosmos C700P Zeuligan Custom PC modding day 11 cable management and backside psu shroud 07

I played around with the top connection and after a few different options I opted for the short 45deg bend to keep it as parallel as possible, but also frame the compartement above the pump (I got plans for that). 

CMWS19 Cosmos C700P Zeuligan Custom PC modding day 11 cable management and backside psu shroud 08

Added the motherboard again, to take measurements for all the cables, 24pin, 8pin, front I/O panel, SSD’s etc, but the real fun will be the ATX lines. 

CMWS19 Cosmos C700P Zeuligan Custom PC modding day 11 cable management and backside psu shroud 09

With the GPU sorted I could finally add the last and 16th (yeah) pass through. 

CMWS19 Cosmos C700P Zeuligan Custom PC modding day 11 cable management and backside psu shroud 10

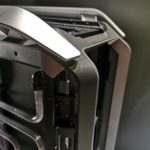
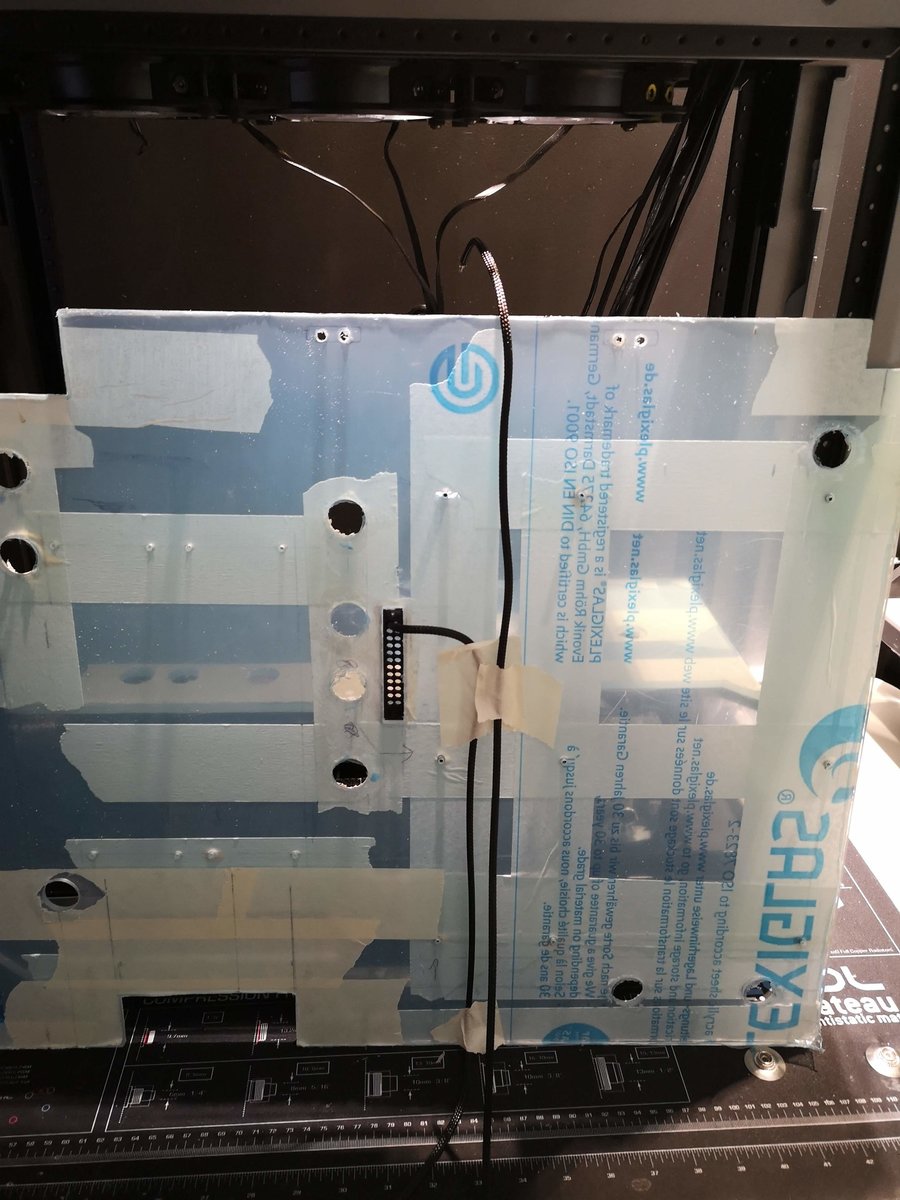
That will be a scary hole to make. So close to the pass throughs and the last one. Don’t want to brake it now…

CMWS19 Cosmos C700P Zeuligan Custom PC modding day 11 cable management and backside psu shroud 11
CMWS19 Cosmos C700P Zeuligan Custom PC modding day 11 cable management and backside psu shroud 13

I ended up cutting a really small line and spent 2h with the hand file. Not only am I afraid to brake the main wall plate, but I also need a 0,5mm tollerance hole (with a hand tool). Only way I know how to do that is to cut small and expend partially until good. 

CMWS19 Cosmos C700P Zeuligan Custom PC modding day 11 cable management and backside psu shroud 12

That printed bracket with a small edge to clamp it together will be perfect. 

CMWS19 Cosmos C700P Zeuligan Custom PC modding day 11 cable management and backside psu shroud 14

One of the last bends. I keep reusing the same 90 bends to keep the real one scratch free. That’s why there is only one pipe done at a time.

CMWS19 Cosmos C700P Zeuligan Custom PC modding day 11 cable management and backside psu shroud 15

With the last bend in place I could take some measurements on cable comb placement and with that the route of the ATX cables. Had a working plan. 

CMWS19 Cosmos C700P Zeuligan Custom PC modding day 11 cable management and backside psu shroud 16

I always use MDPC-X and it was very heartwarming to get this Zeuligan Edition sent in the mail for CMWS <3. I also sleave my cables in place to make sure I get the perfect fit (hence only pins in one end). Therefor I have two dummy cables I use to take measurements before I work with the real one. 

CMWS19 Cosmos C700P Zeuligan Custom PC modding day 11 cable management and backside psu shroud 17
CMWS19 Cosmos C700P Zeuligan Custom PC modding day 11 cable management and backside psu shroud 18
CMWS19 Cosmos C700P Zeuligan Custom PC modding day 11 cable management and backside psu shroud 19

Decided to opt for a straight vertical 8 docking it into the 24. 16 cables wide run into the top of lid of the psu shroud in the back.

Related Posts

Leave a Reply

Your email address will not be published. Required fields are marked *