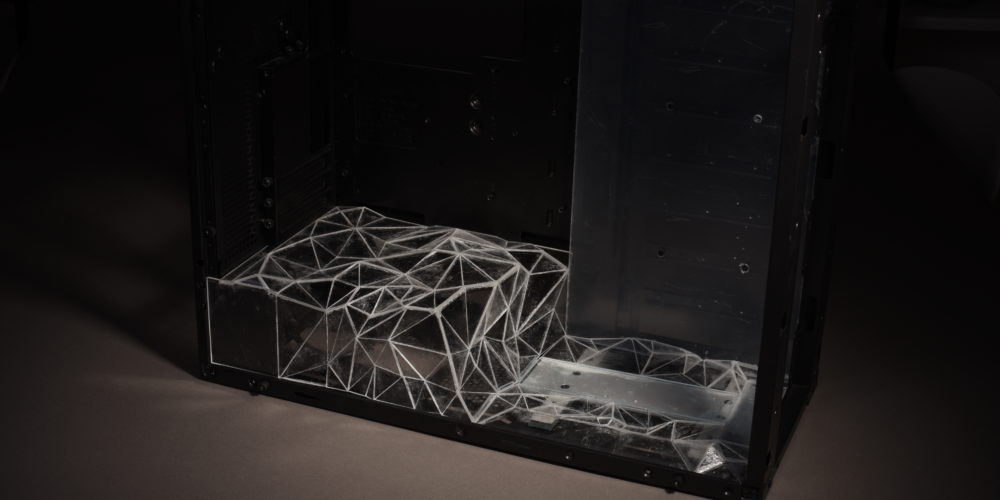
After over 100 hours of hand filing and acrylic focus the base shape of the PSU Shroud for project Angl3d Ti is finished. Managed to create it divided into two pieces without a visible edge.
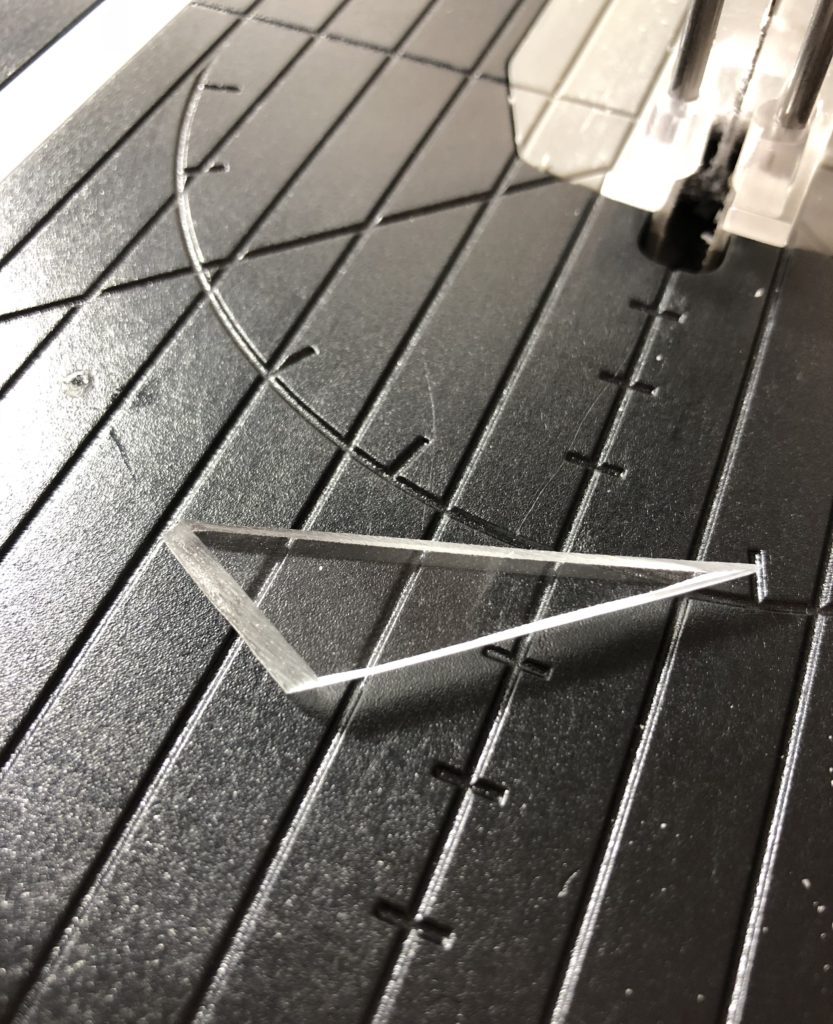
One of the last pieces of the PSU Shroud mod. All 3 sides angled in opposite directions and created with a hand file. I just love working with acrylic. Such a beautiful and exciting material.
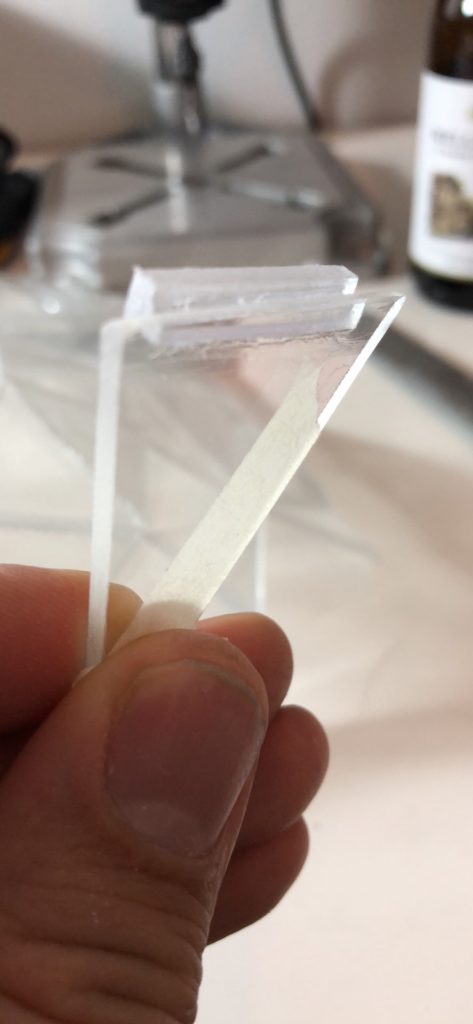
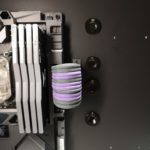
This is how I decided to solve the problem with the edge between the two pieces. A small counter-edge to force the upper piece to snap in place into the lower. Main challenge with this solution was to create a perfect fit, but turned out to work like a charm.

This is how it turned out. I’m as happy as my fingers hurt 🙂 The white edges is where I filed and combined the pieces together. As I also plan to paint them glossy black, I didn’t bother to keep the acrylic spotless. On the contrary. I added lot’s of Acrifix 116 in on the backside on all joints and edges to make it as sturdy as possible.
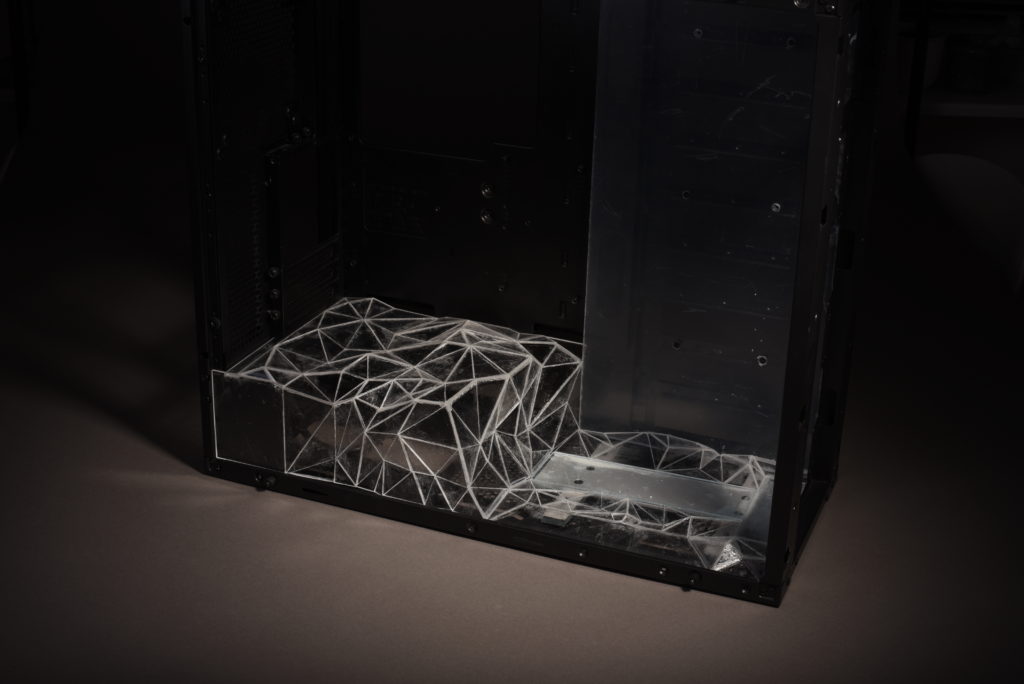
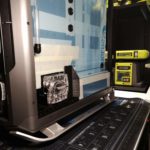
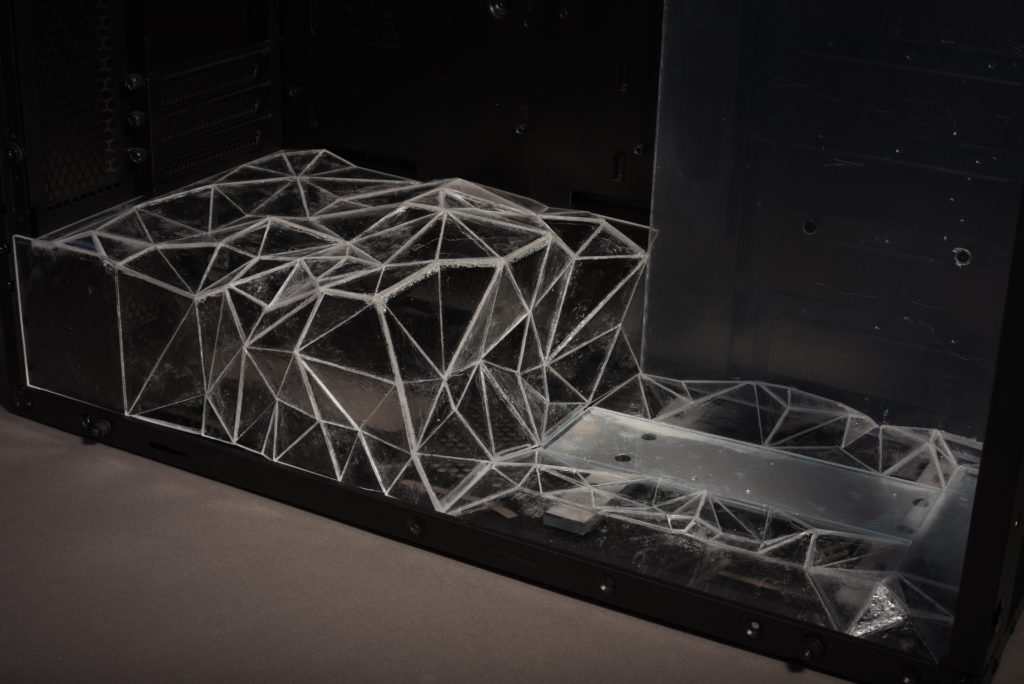
Both pieces mounted in the case. The shape is so snug it just snaps in place without any mounting screws needed…
I plan to add a screw in the flat square piece in the upper left, fixating the shroud in the PSU mounting bracket.
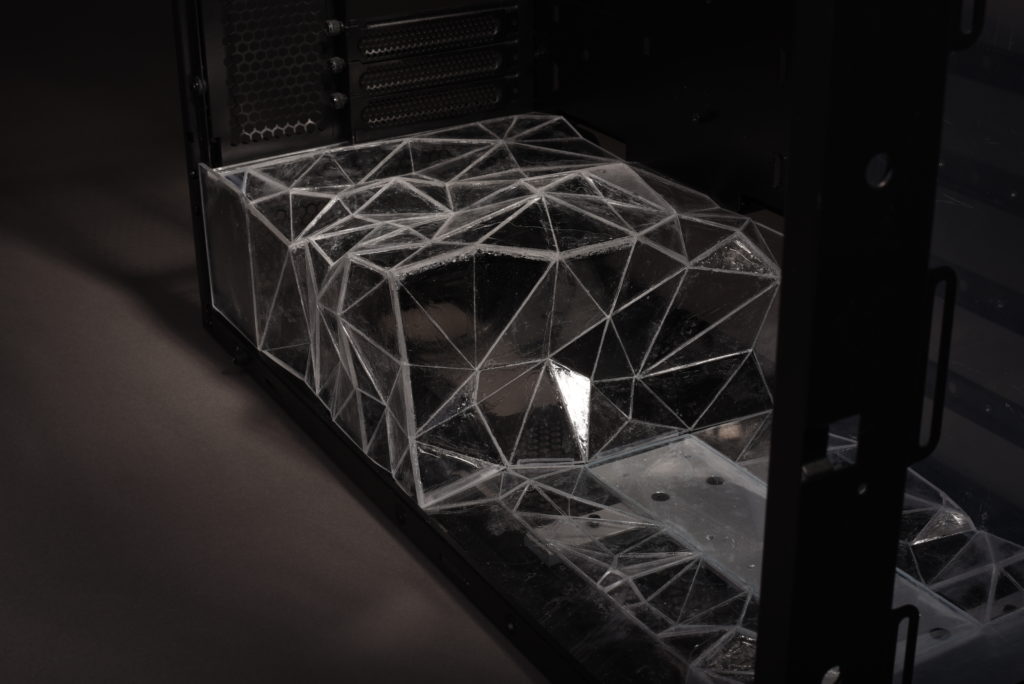
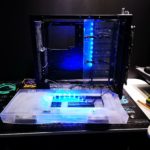
The different angles of the triangles reflects light. Will work even better in glossy black.
A full time lapse of the PSU Shroud creation will be added once it’s edited. I got 228gb of footage so almost have equal amount of work editing that as creating the shroud hehehehe…
Next step of the shroud is to sand down all angles individually and ensure that edge edge is super sharp and perfect. Expect that to take 10-20 hours. After that, it’s ready for 2 coats of base primer before 3 coats of glossy black and 2 coats of clear varnish.