
It’s always equal part joy and frustration when you reach the painting part of a project. It’s the mark of getting close to assembly, but it’s also a very time consuming and sometimes frustrating part. This time more then usual with two disasters.
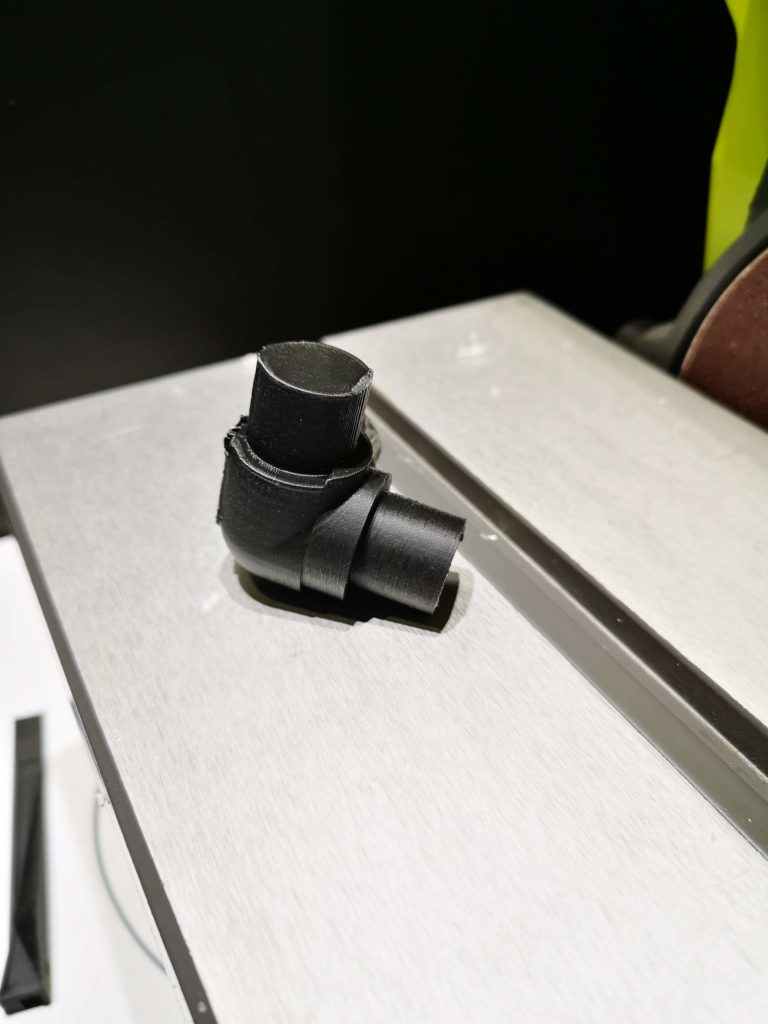
With a new living situation I had to be creative to be able to paint. Not recommended to spray paint inside your appartement 🙂 Designed a 3-way corner for regular electrical PVC pipes – 20mm and printed out 8 of them.
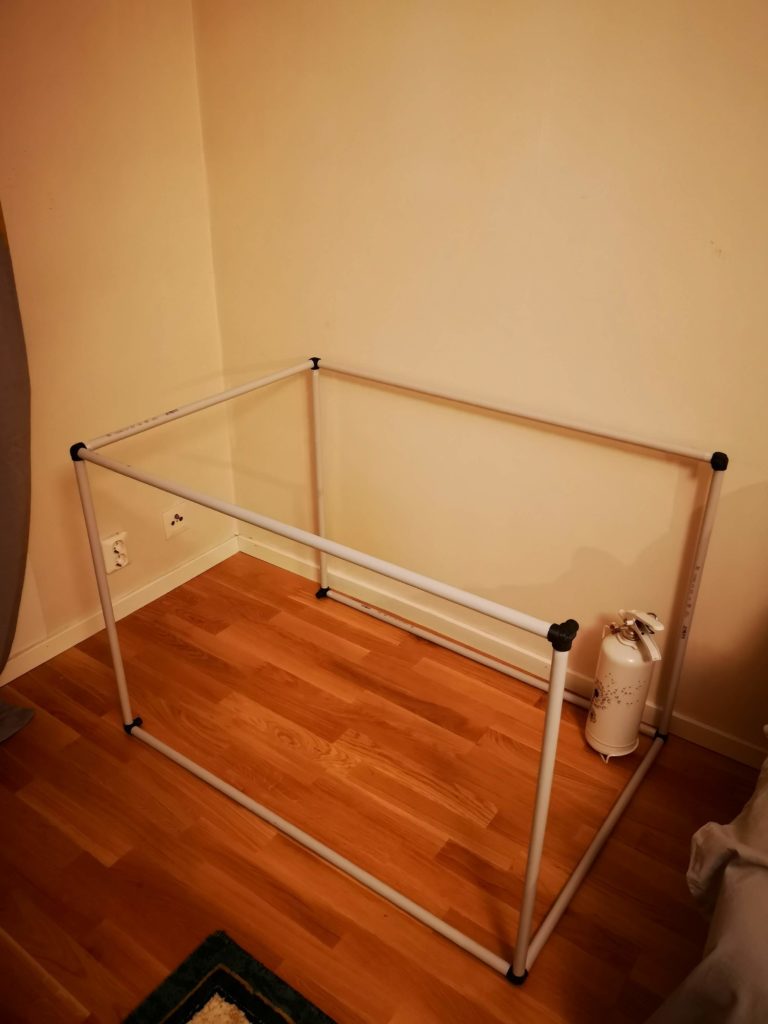
Makes it simple to put together a spray tent of varible size, for close to nothing. Just to wrap in painters plastic and spray away 🙂 Placed my tent on my balcony and it worked over expectations. Just had to stay away from rainy or windy days. We have a lot of thoose in Gothenburg, so spent close to 2 weeks painting all the parts.
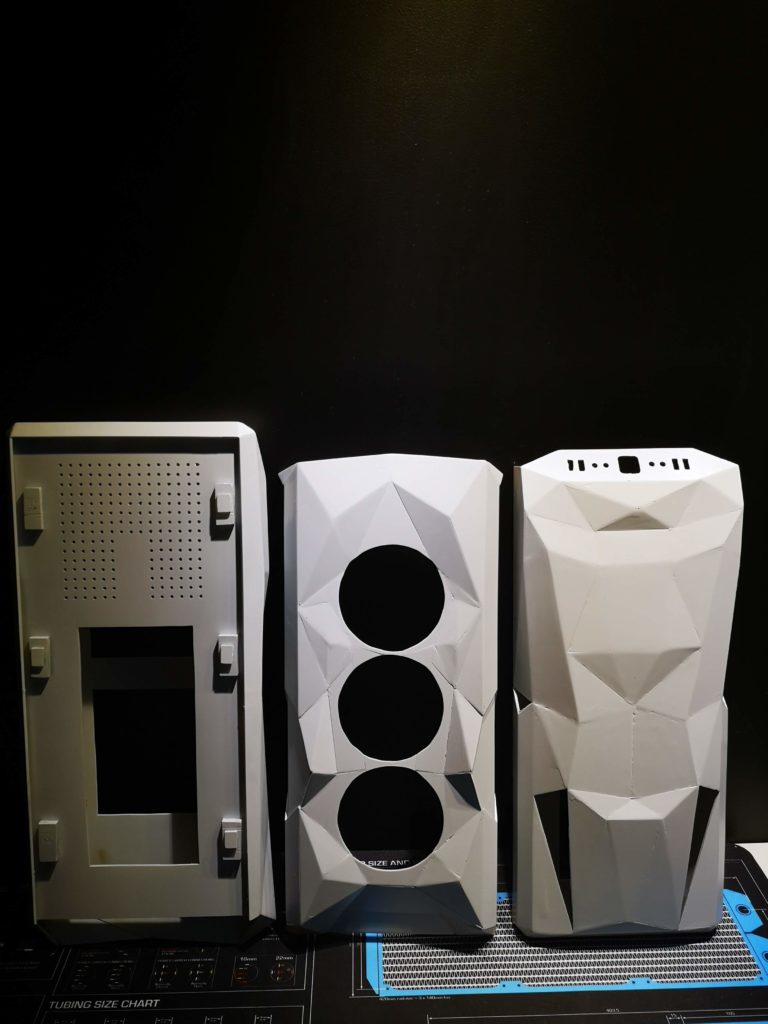
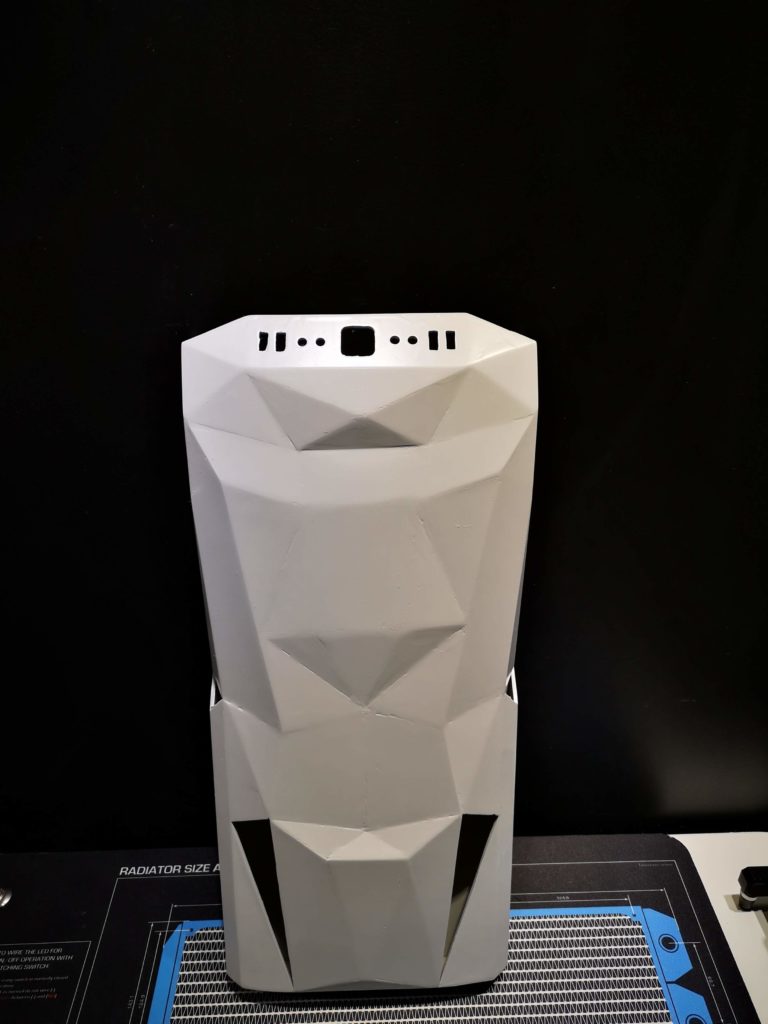
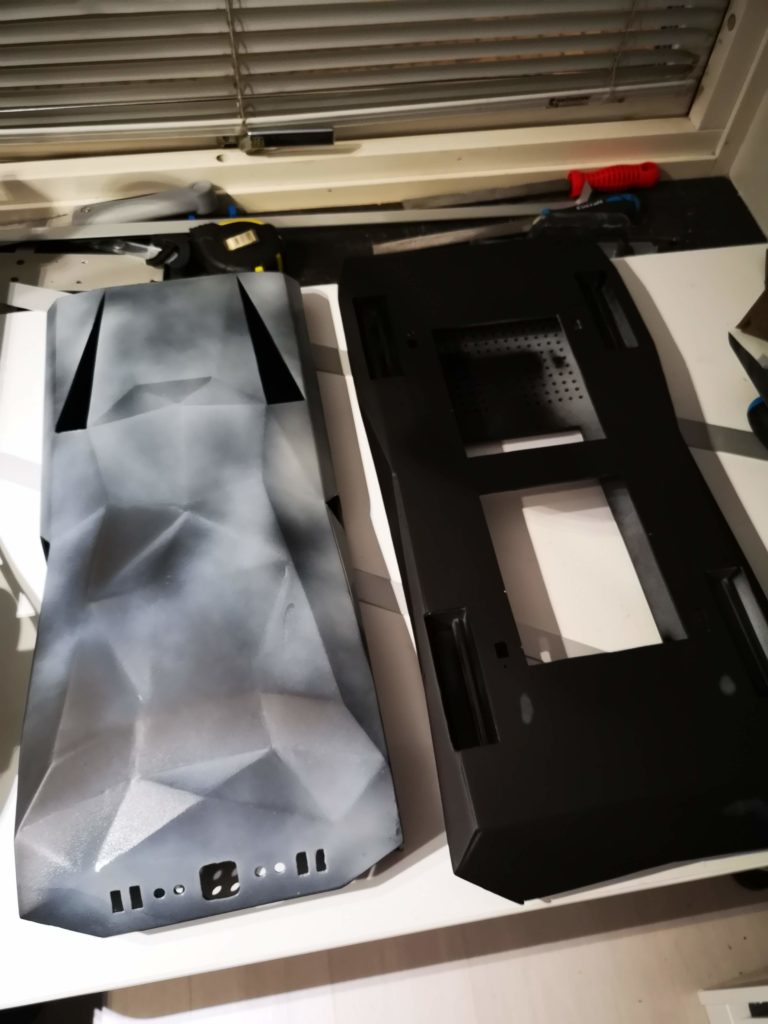
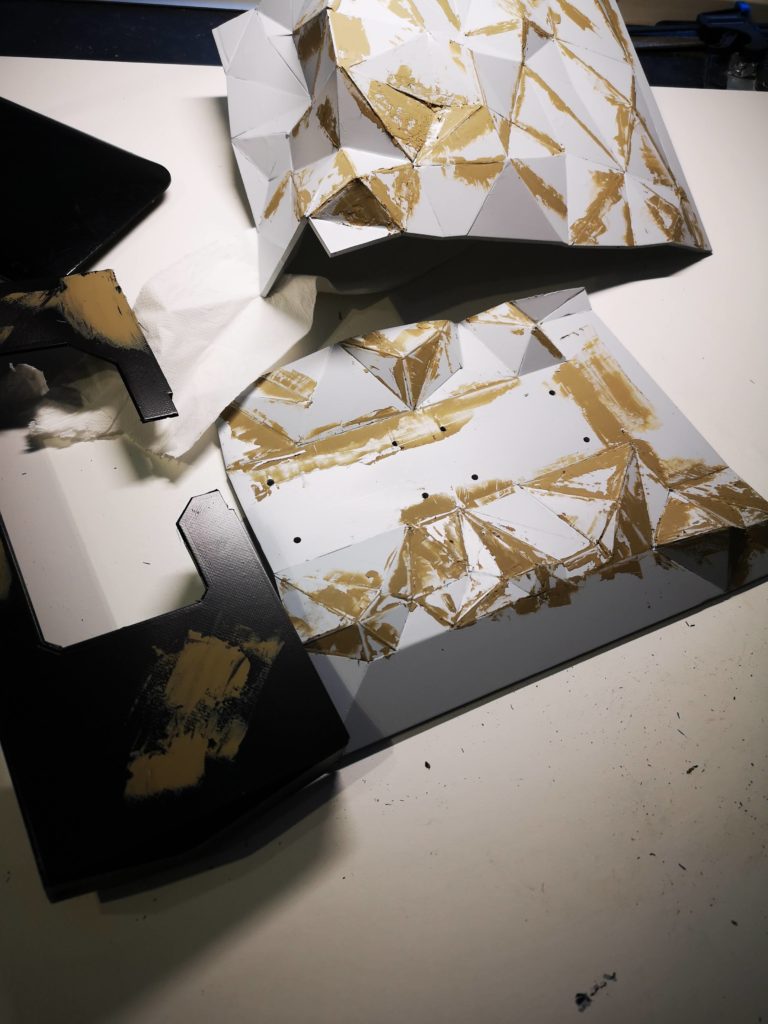
I started by adding a first coat of primer. This to make it easier to visually spot all the weak areas, where I had to fill in and where I had to take away to keep angles in my polygons. Adds an extra day or two as the primer has to be really dry before I can add Putty to it (or the paint and putty melts together and it’s a real mess) but well worth it IMHO.

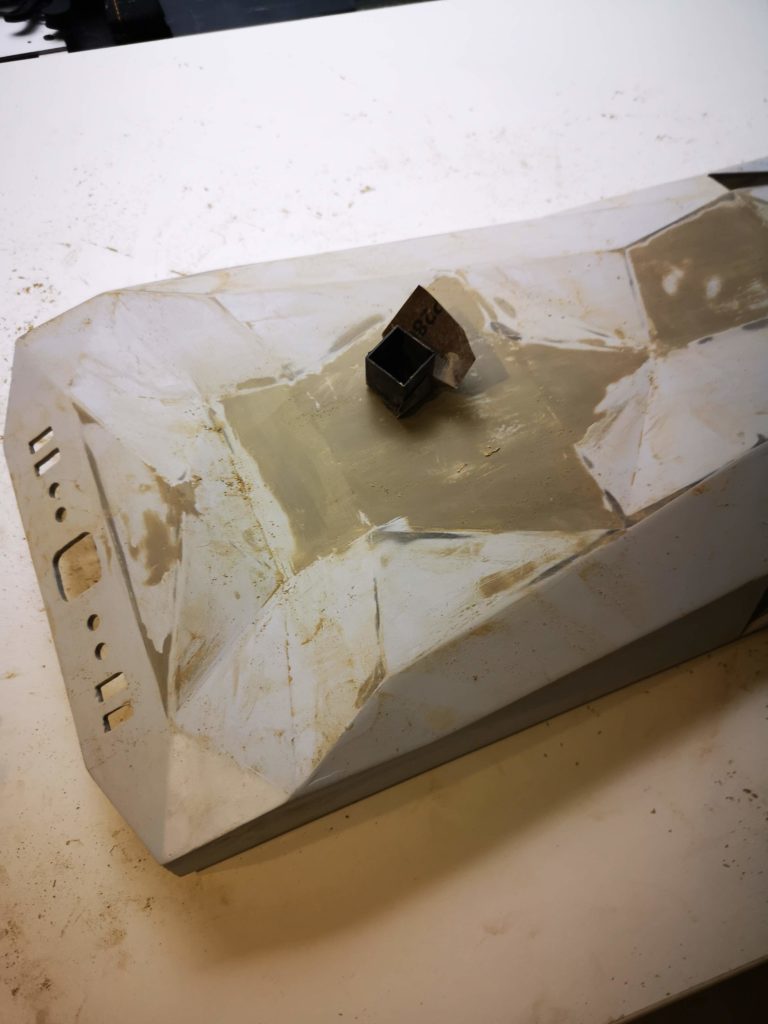
With a combination of a small printed calibration cube (20x20x20mm) and the bottom of a bic lighter wrapped in straps of 280 and 400 grain paper I spent the next 6 days doing nothing but sanding and reapplying Putty.
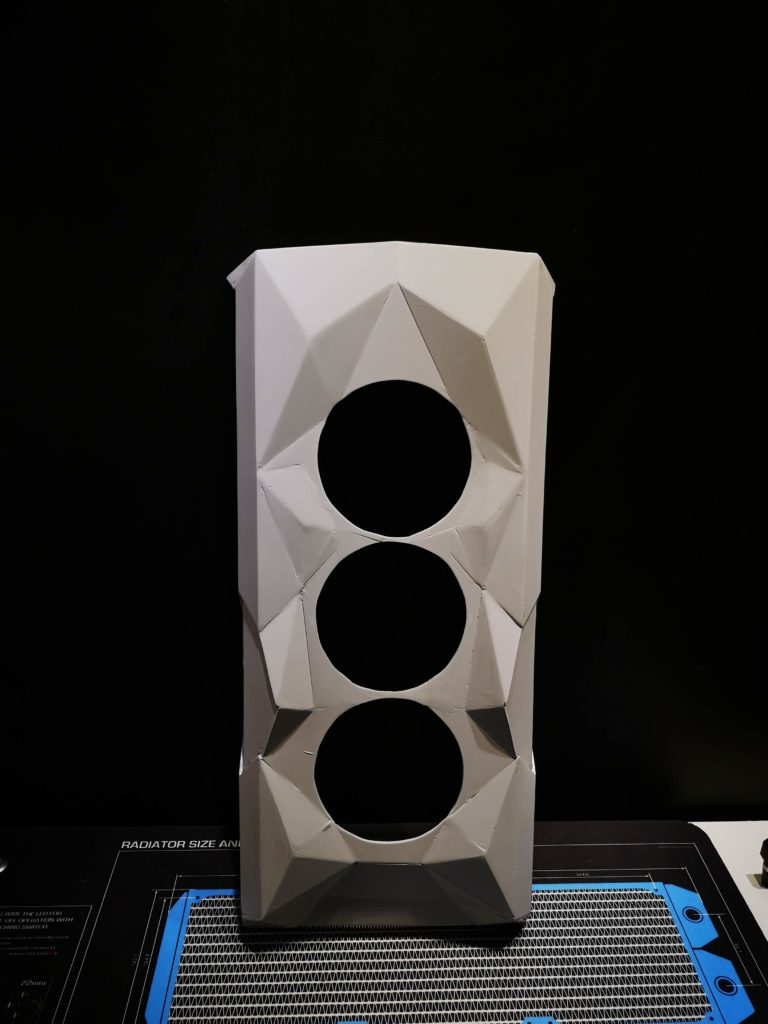
Better, but far from satisfied. Then disaster struck…
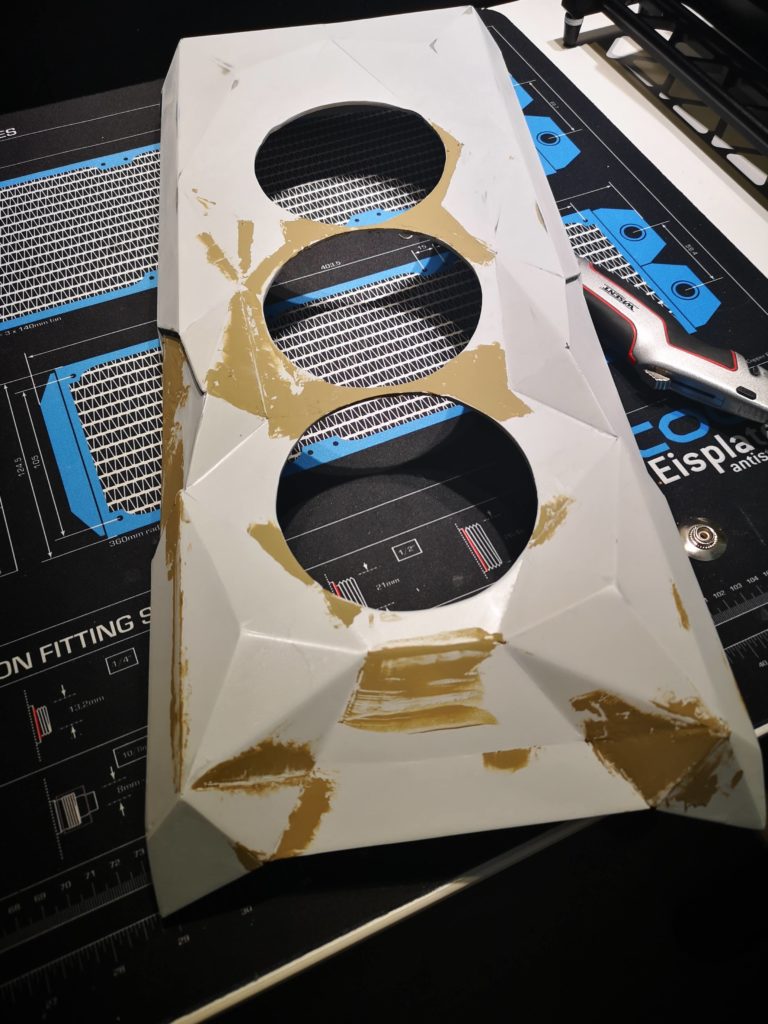
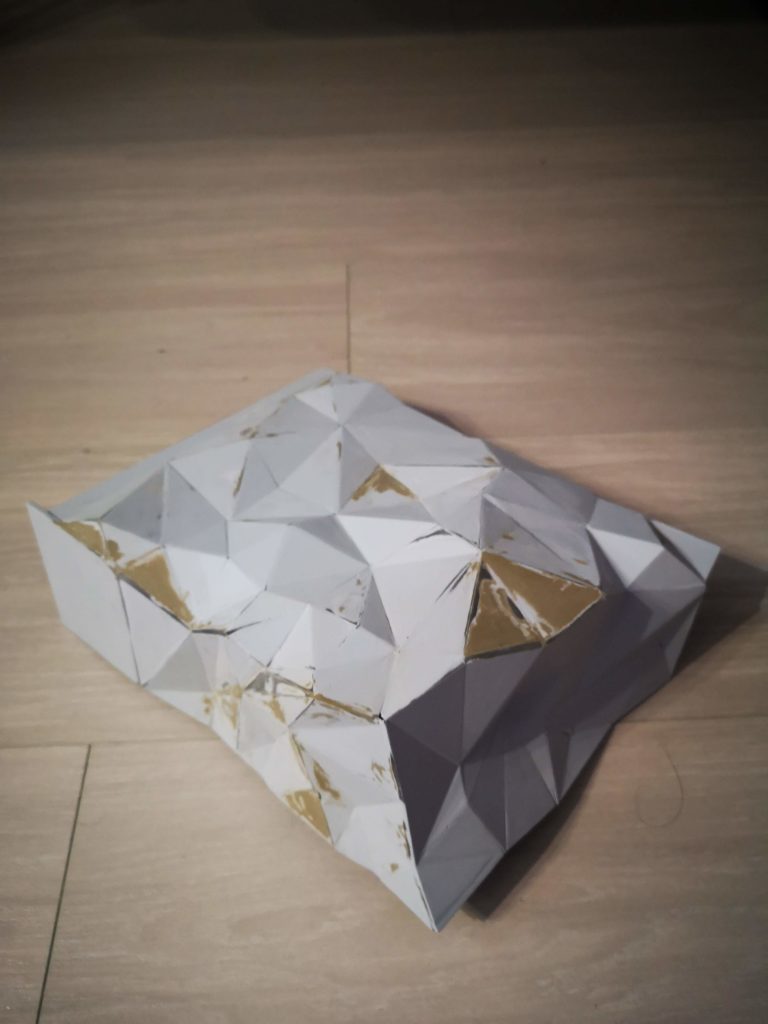
When carrying in one piece from my spray tent I accidently droped it onto the other piece and they both broke in several pieces. Not easy to Acrifix on paint, so had to sand down and start all over on some edges. Very sad and frustrated, but still happy that I was neither on a deadline or that it was actually mendable.
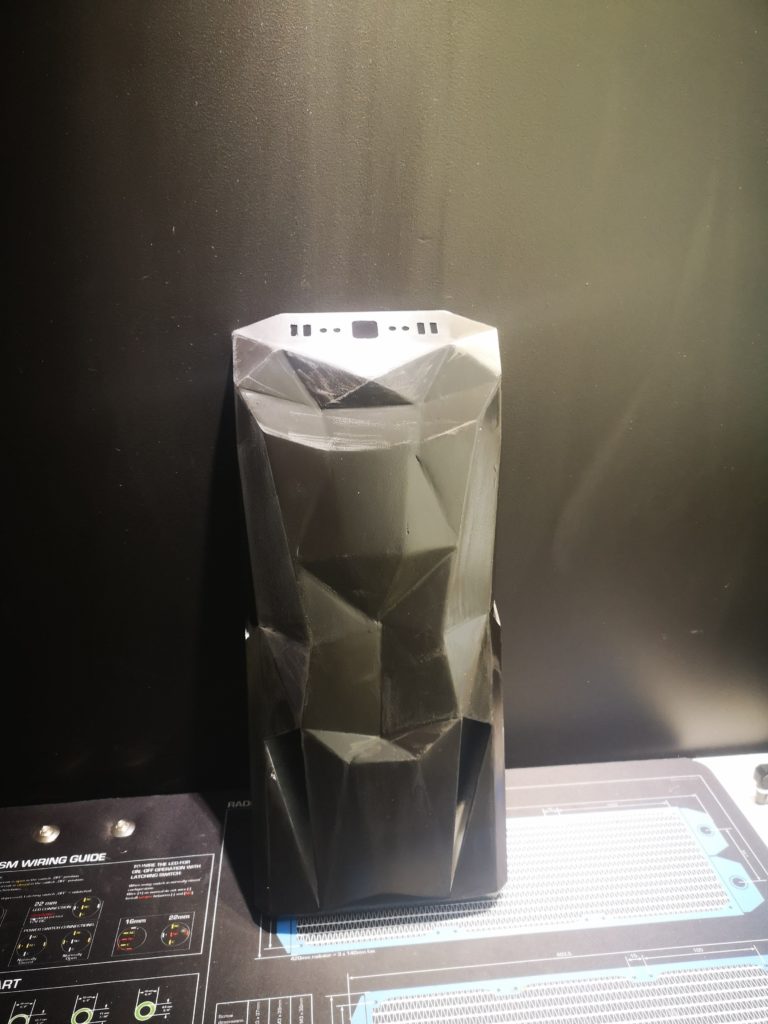
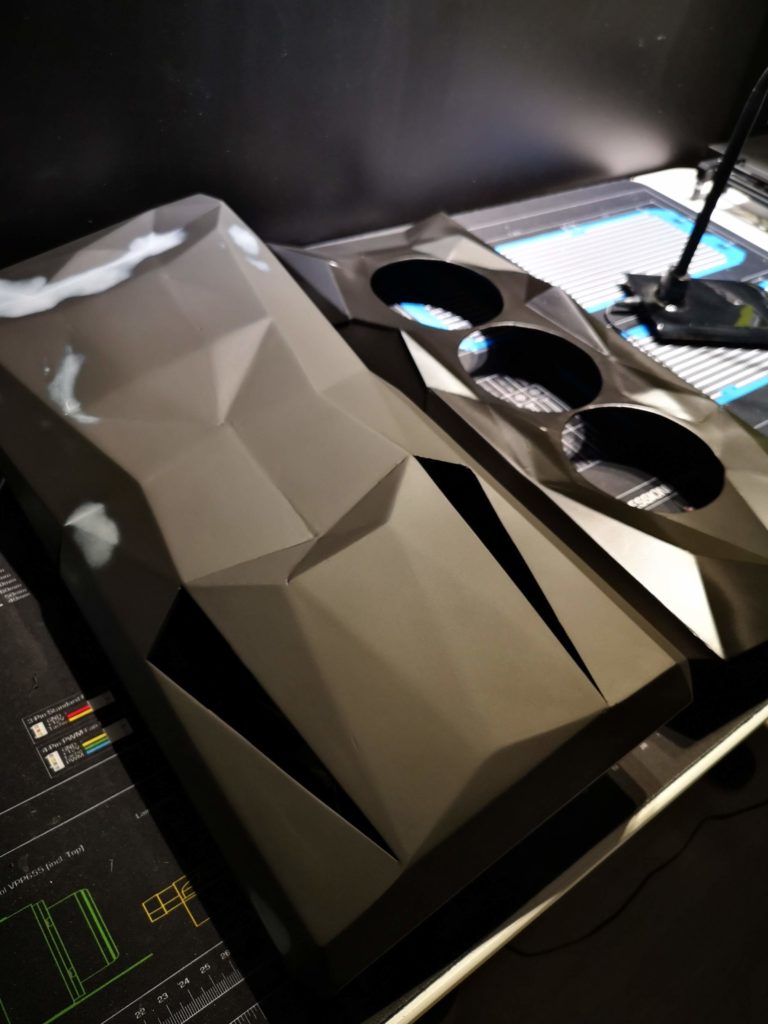
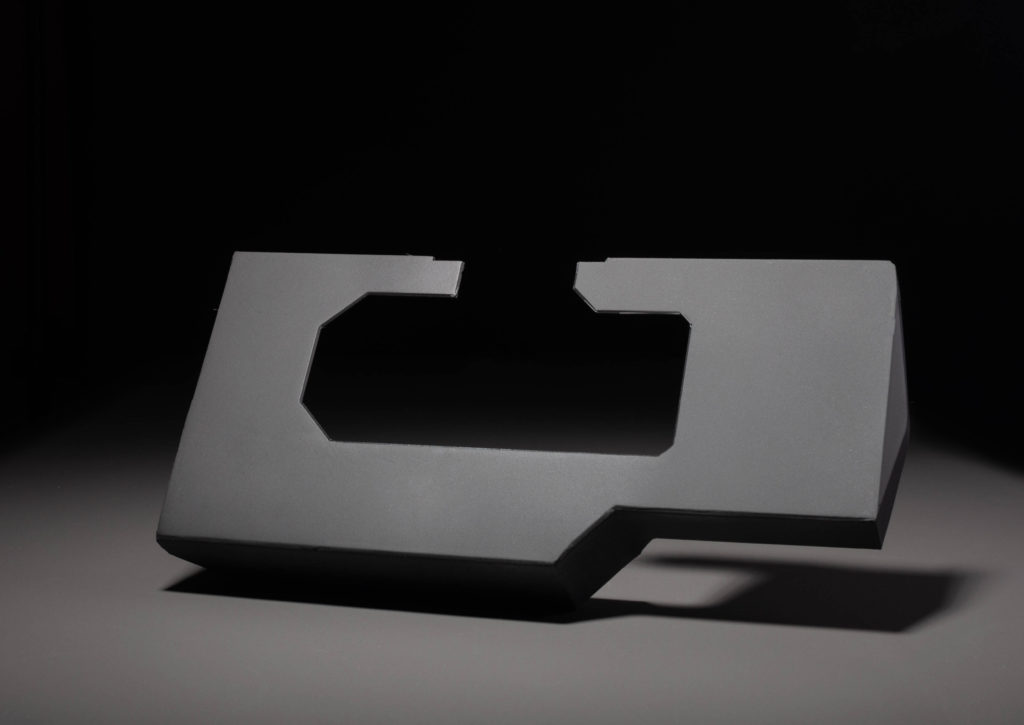
Lost a few days, but got both pieces together again and reached the exciting part where I could add the first layer for finishing coating – matte black. Wasn’t happy with the finish, so sanded down part of it, switched out the spray can nozzle and had a 2nd go.

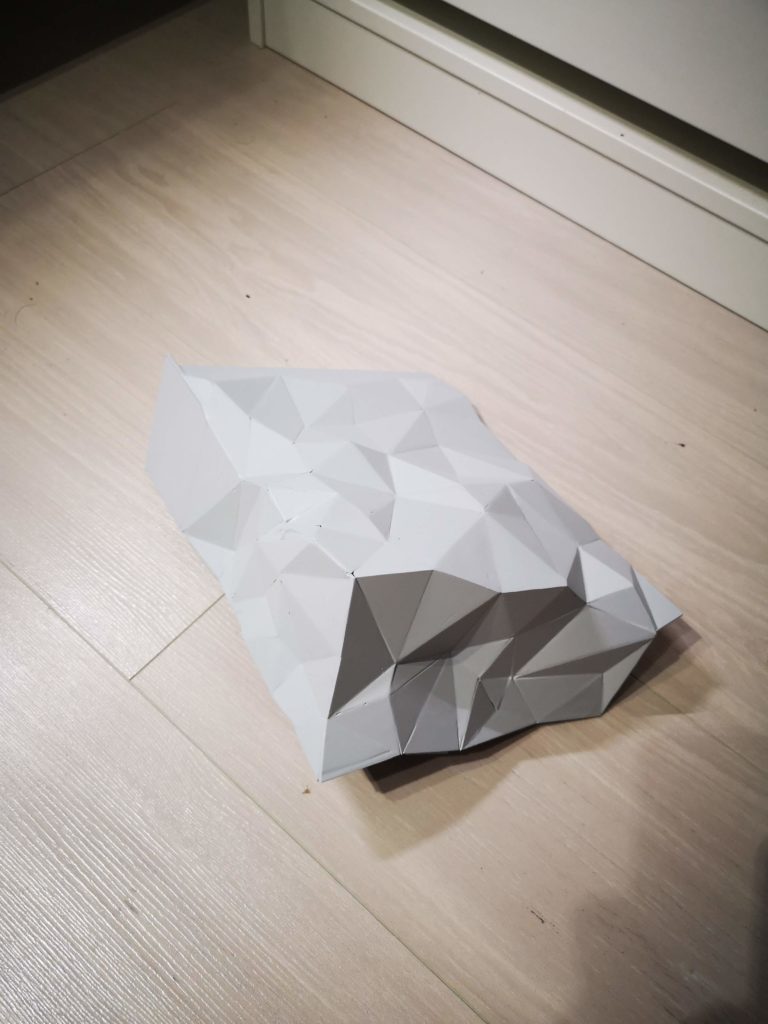
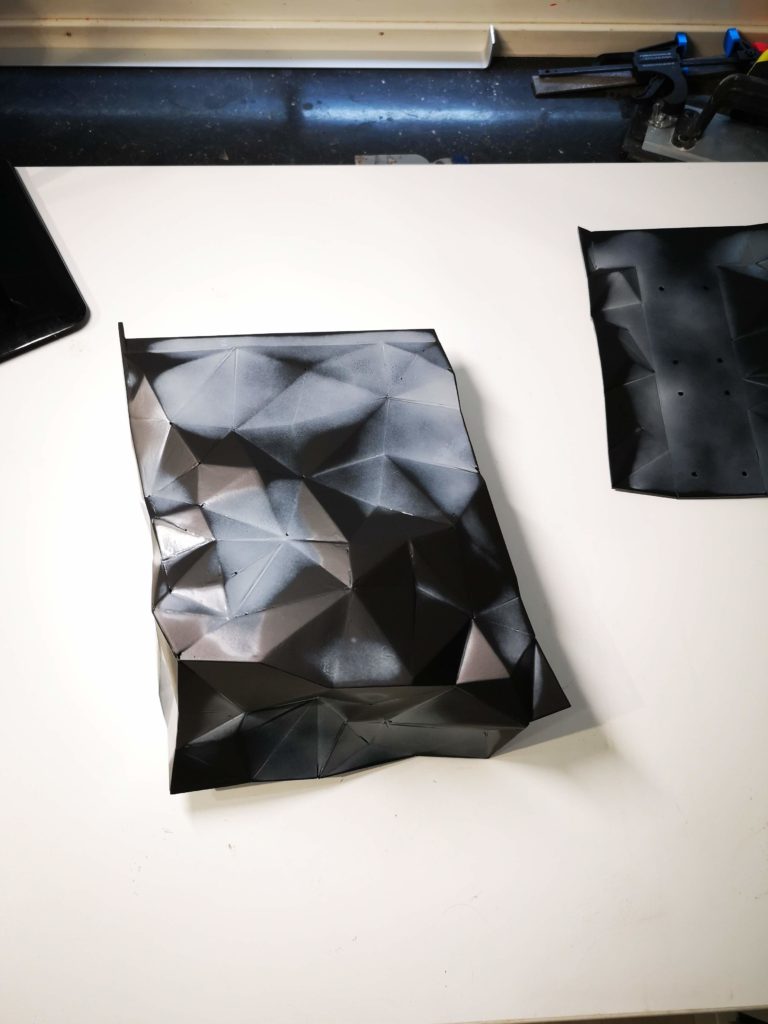
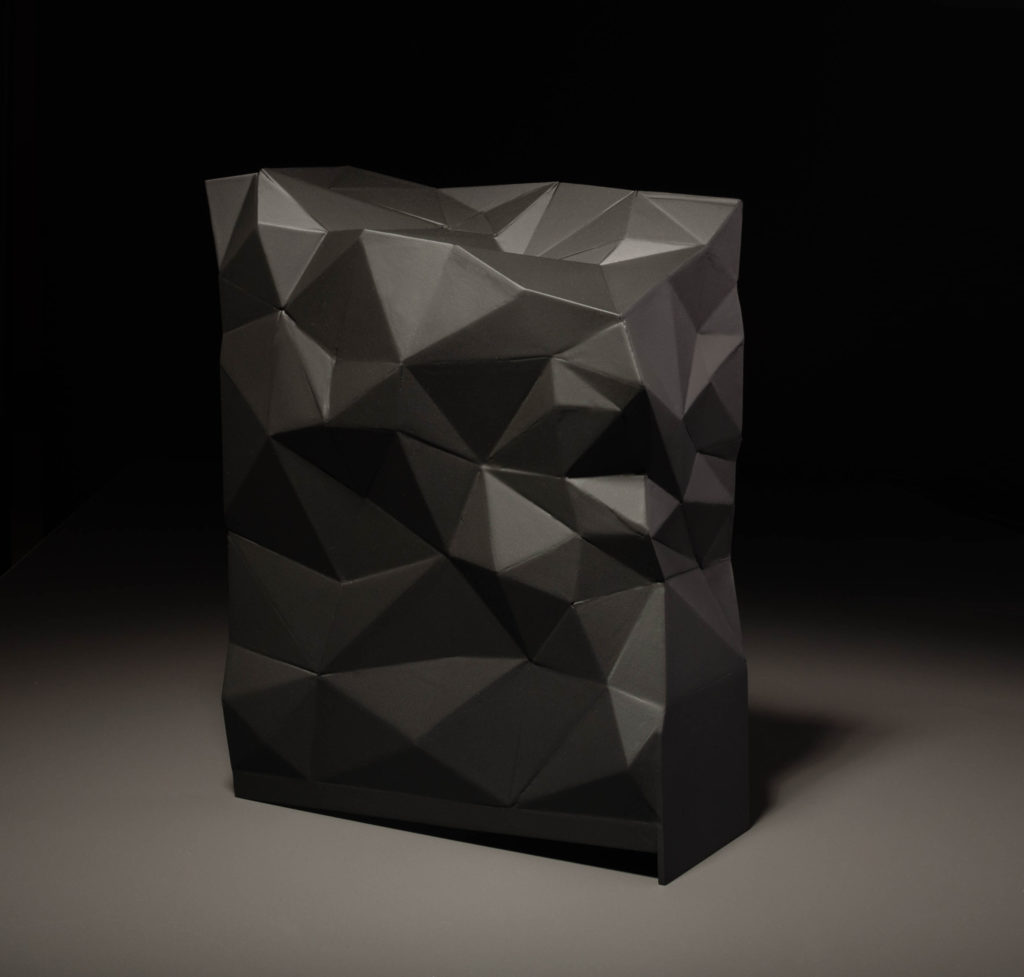
Look at that! Black and with much better surface. Still not home, so went over it with 600 and 800 grit and added 2 more layers.
That matte varnish is sexy! Very matte even after just 1 layer and close to that car vinyl feeling I wanted from start. Super happy. The extra matte black paint on the front piece suddenly looks super shiny in comparison.
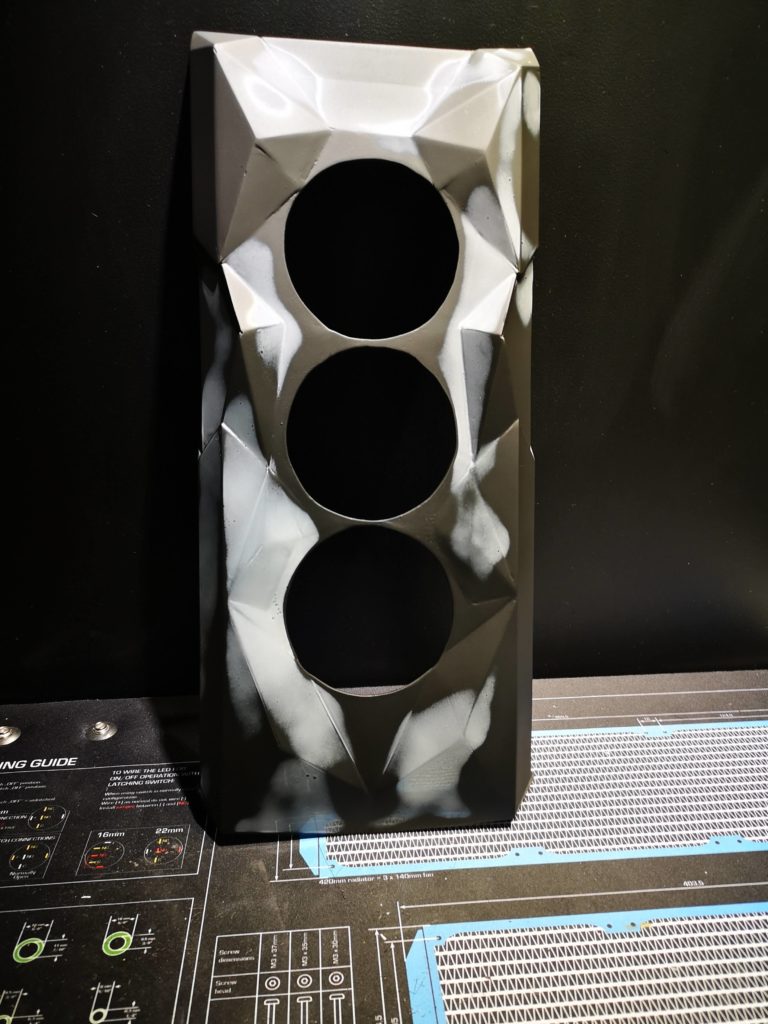
At first I was scared that I had ruined it. The varnish was so white, even at super thin layers, but after 45-60min it just started to turn black and after just 30 min it turned from white to matte black.
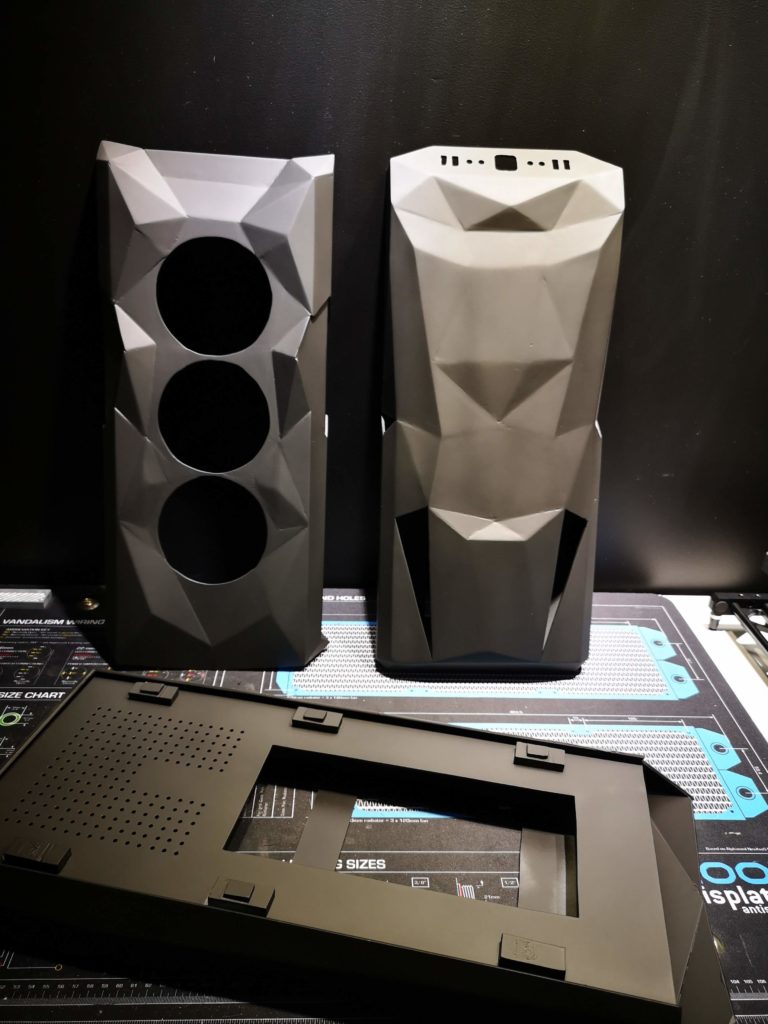
Tripple matte awesomeness. Looking forward to when I can start to put this together.
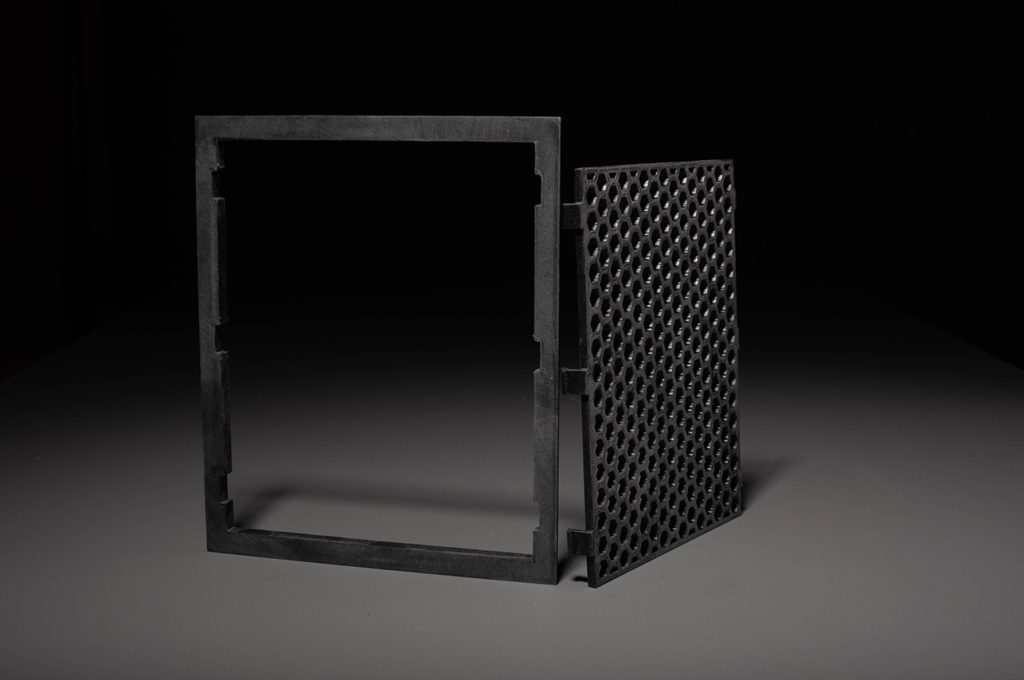
After the exterior it was time to paint the shroud and 3D-printed parts. Smaller, but way more time consuming due to 10 times more edges. Same procedure, primer, putty, sanding, putty, sanding, putty, primer, spray putty, sanding, primer, spray putty, primer, sanding, coating, sanding, coating, coating, varnish, varnish and last a varnish.

If you have any questions, please feel free to ask anything. If you hate it or love it, share your thoughts. Silence worries me… 🙂