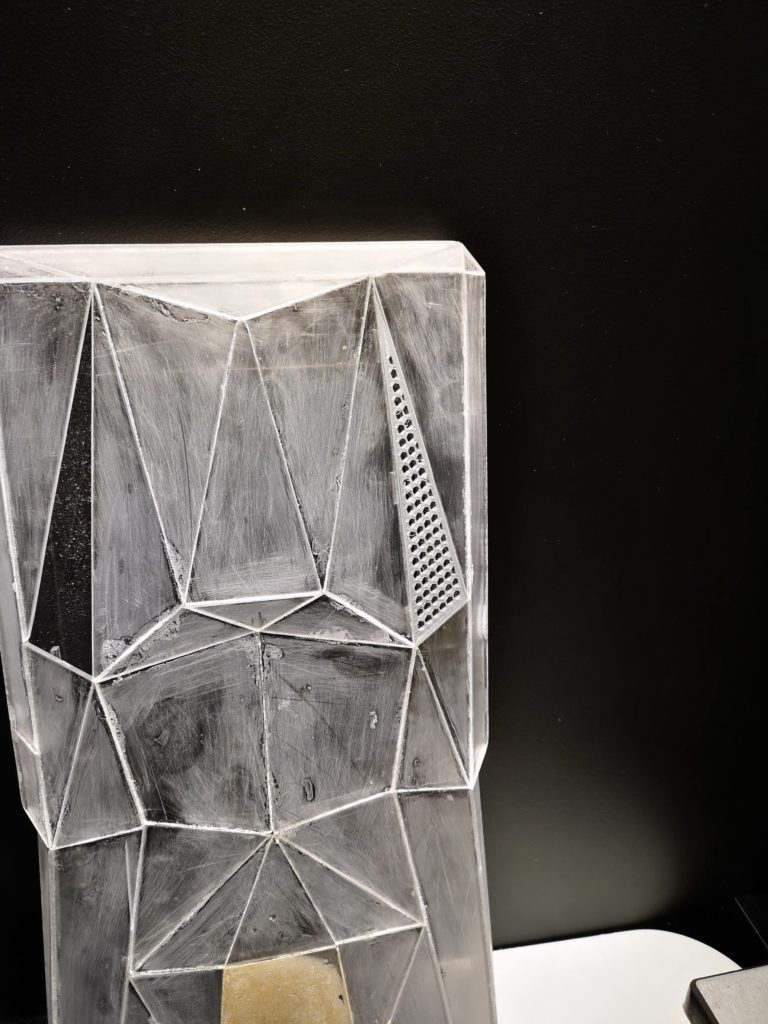
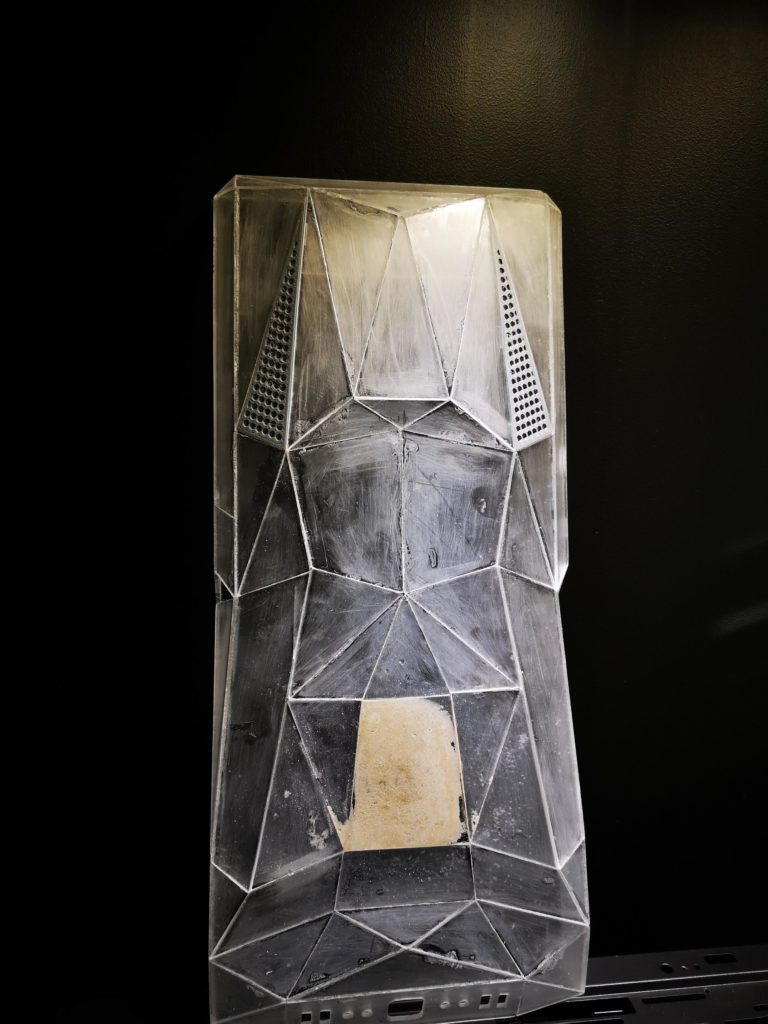
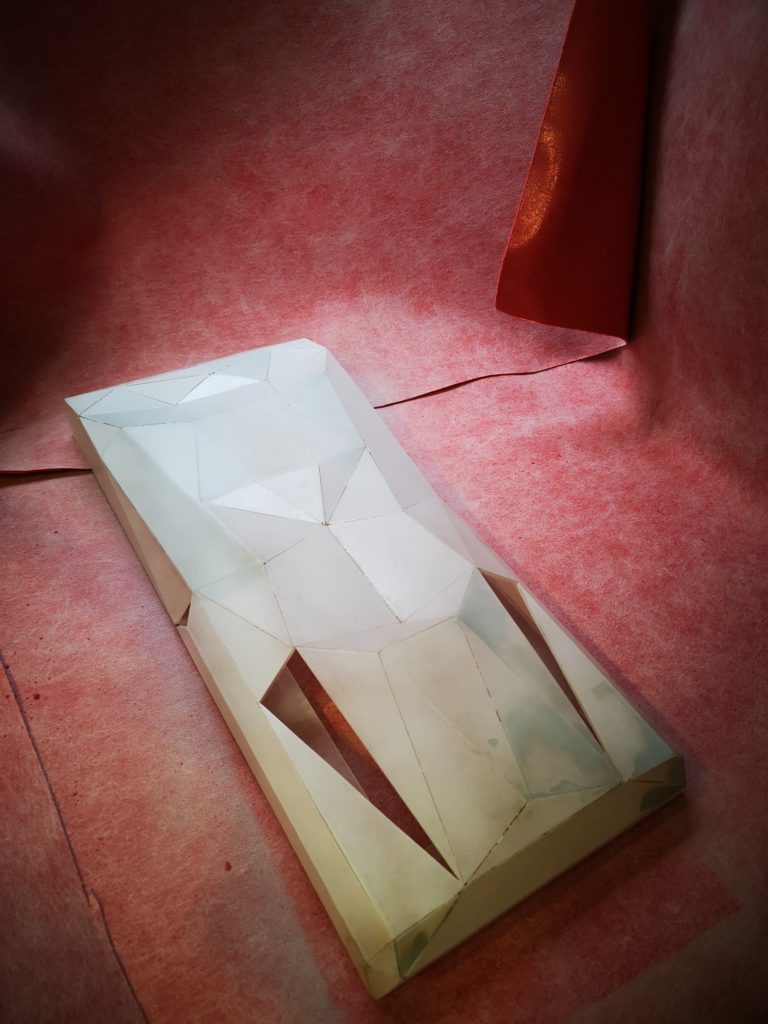
It is getting closer and closer for each day now before I can start the assembly. One major milestone is to finish the acrylic exterior polygon Angl3d surface and paint them.
I had deliberatly left the middle circles a little to small. Wanted to ensure I had some wiggle room to make them perfect. Much of the overall finish will depend on the fan holes of the front.
Took quite some time to do this by hand, but the acrylic is just to thin for me to risk using a machine. After a few hours I was happy.
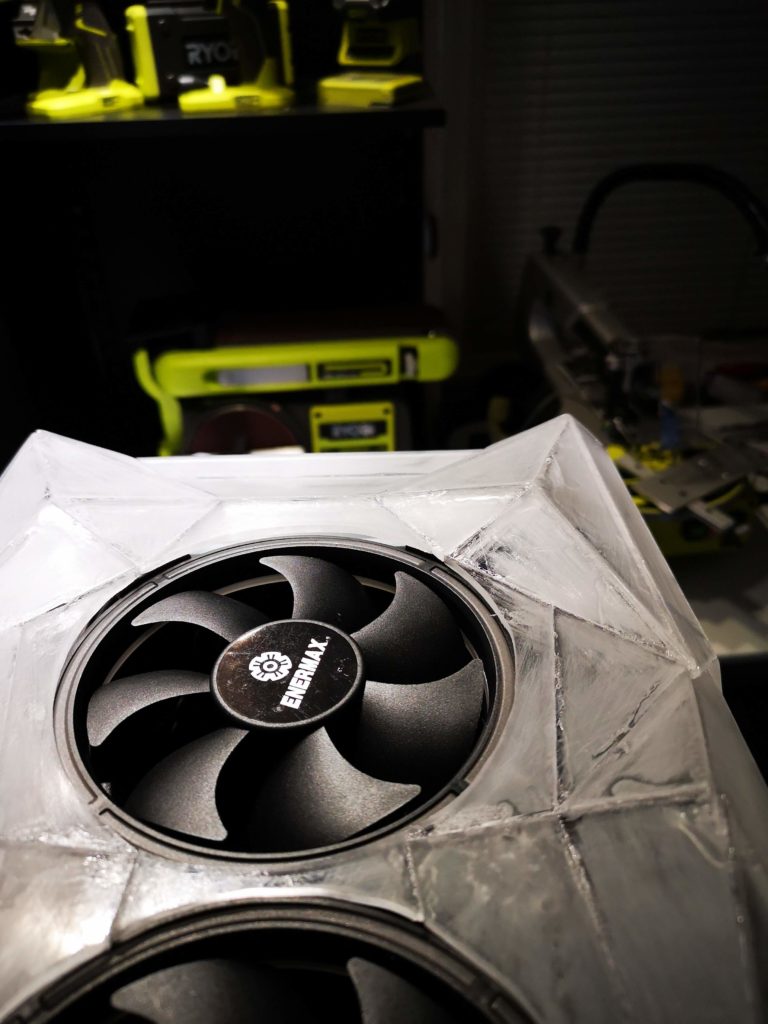
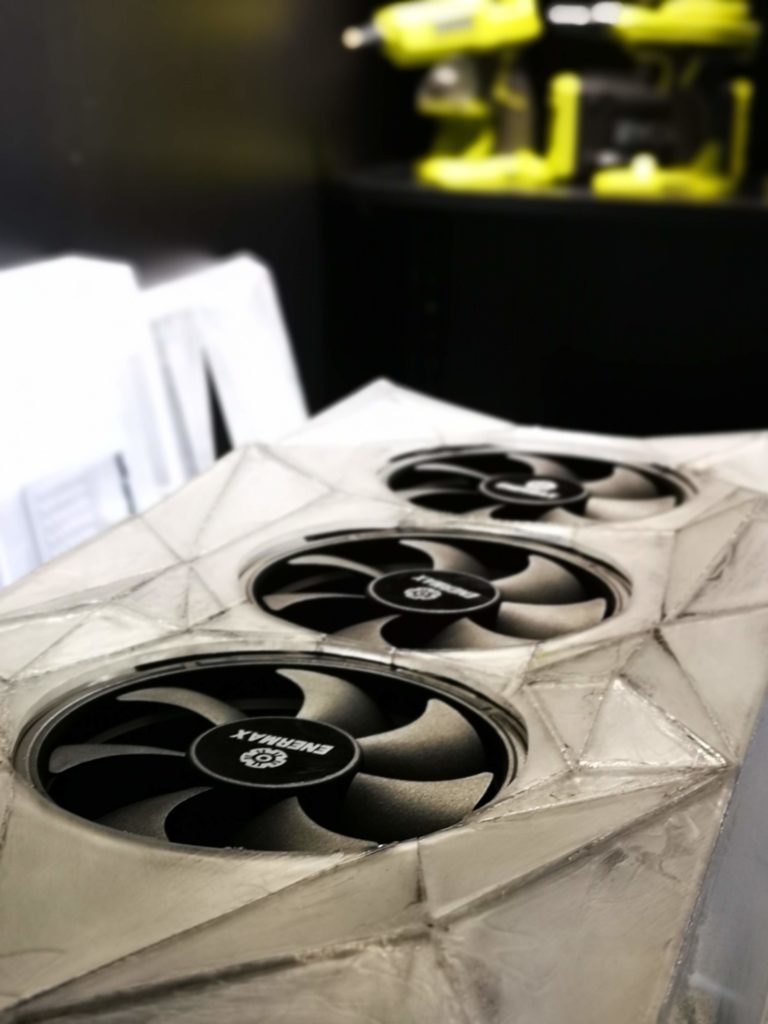
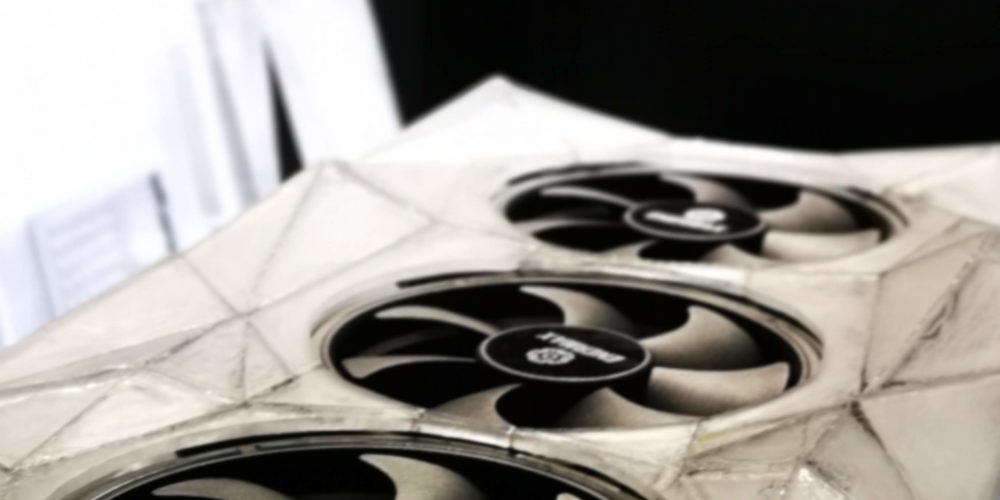
Gorgeous view and anything as amazing as I hoped for when planning the design. All those hard edges and polygons joining the powerful and round shape of the fans. Will look super with the destinctive front RGB circle of the Enermax fans.
Last prototype print of the air intake cover for the rear top. Hexagon pattern looks ace and the shape and size are dailed down perfect.
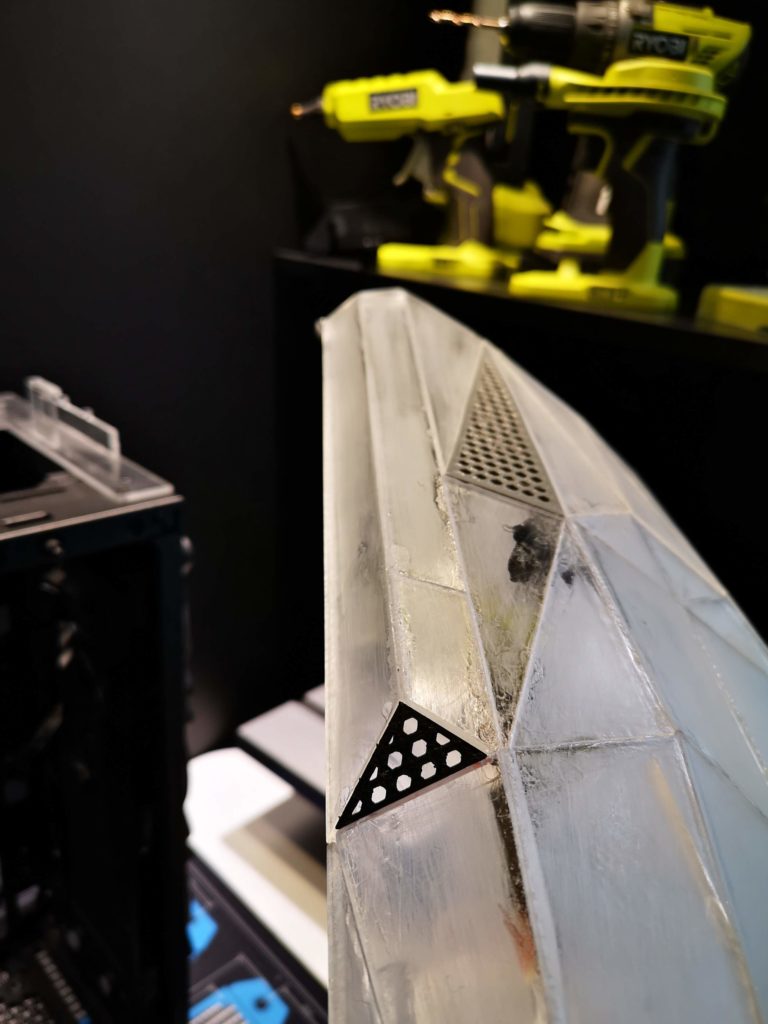
After a quick tour in Fusion 360 and 20min print I had the forward facing air intakes covered. Yum.
Mirrored and printed the 2nd air intake prototype. I had to spend some time filing down one of the left edges. The hole wasn’t exactly equal to the other at first, but nothing a file and some patience couldn’t cure.
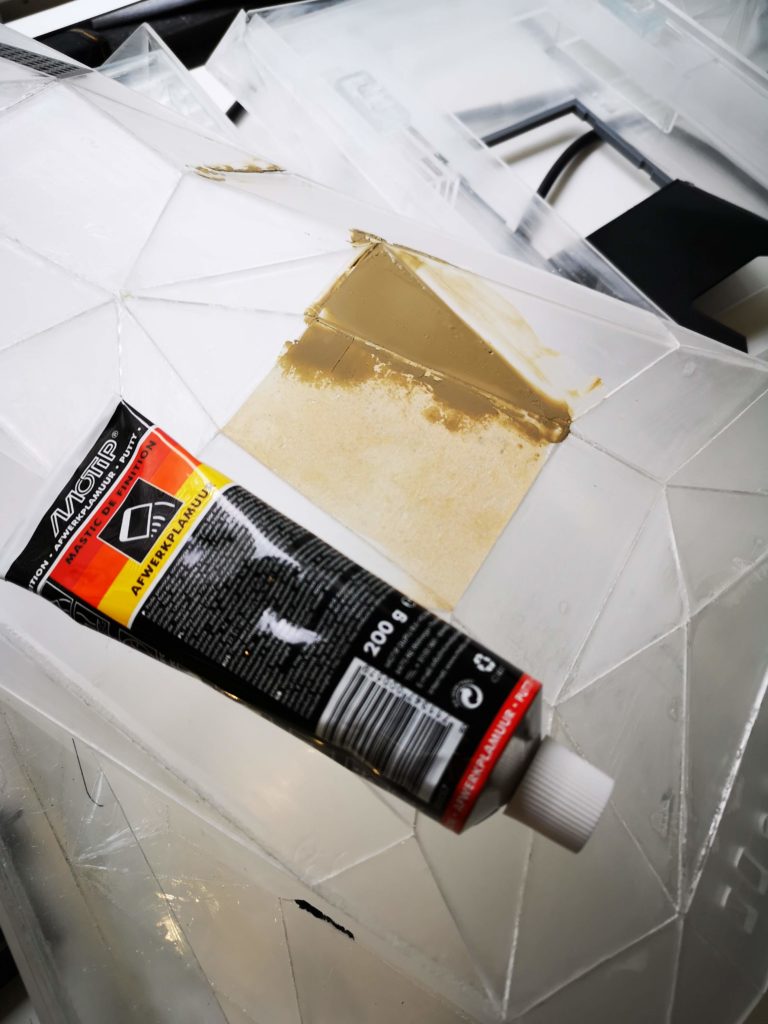
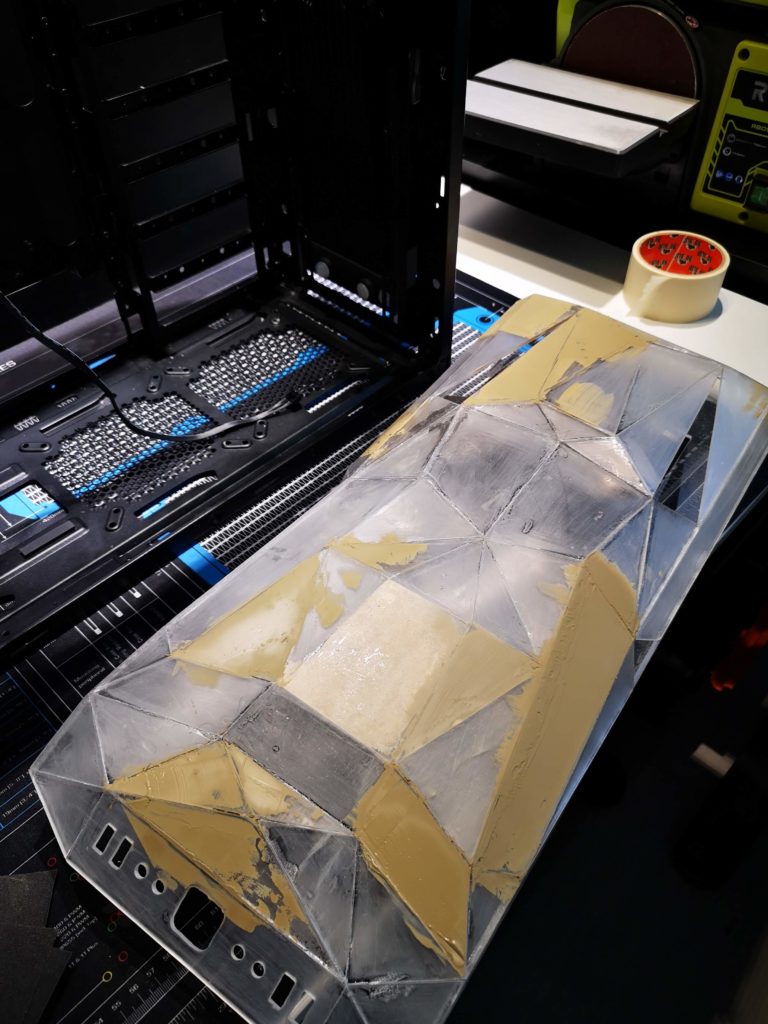
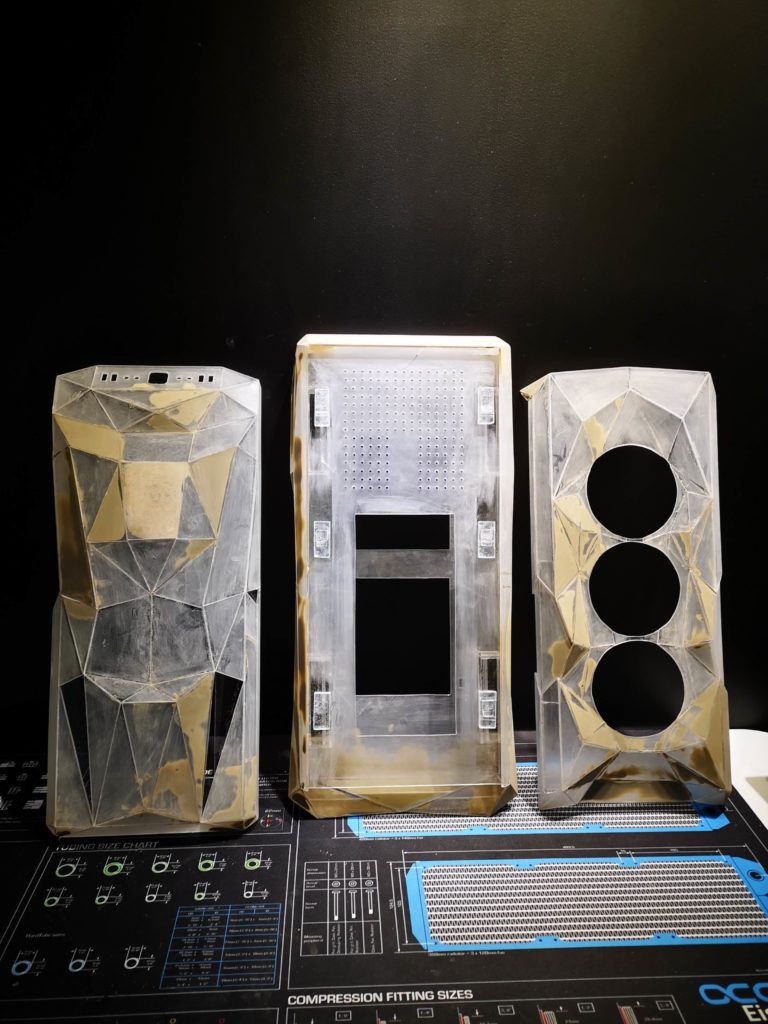
After a really poor experience with the plastic wood I finally found what I wanted. Finishing Putty. What an amazing product. This will help me make the finish just perfect.
A lot of extra work and time, but still decided to do a test layer of primer, just to spot all the problems directly. Ouch, that will be A LOT of Putty and sanding needed to make just perfect. Can’t even feel some of thoose gaps with my fingers, but spray paint is ruthless. No room for nothing but perfect.
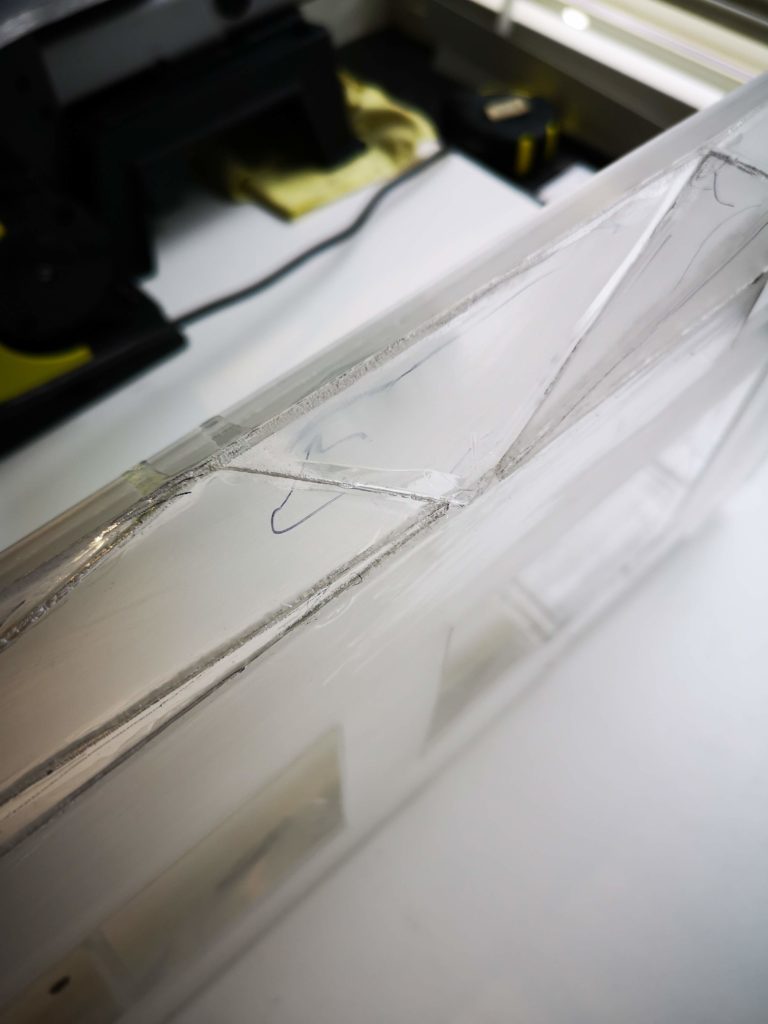
Decided to mark out every single edge I wasn’t perfectly happy with on all 3 pieces with a marker.
Yup, that is a lot of Putty and hours needed to sand, but I can’t leave this paint finish nothing but perfectly smoth. The polygon design will require a spotless surface.
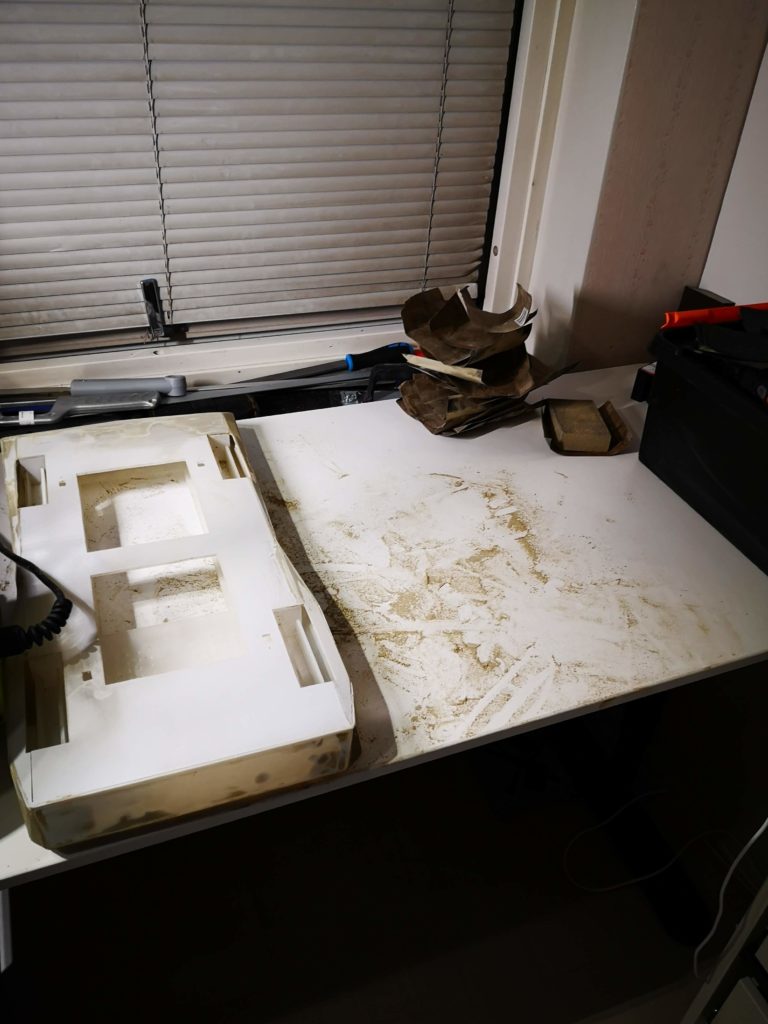
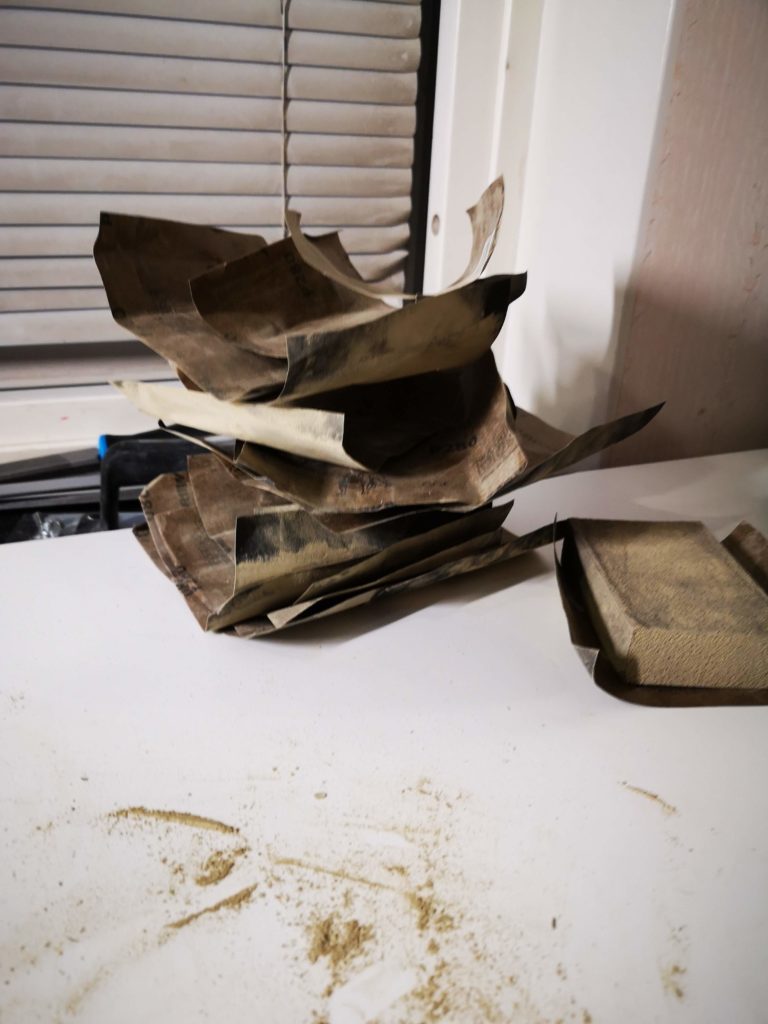
This is how much sanding paper and dust I accumulated about every 40min. I spent almost 6h in total sanding that day counted 34 full large sheets of sanding paper.
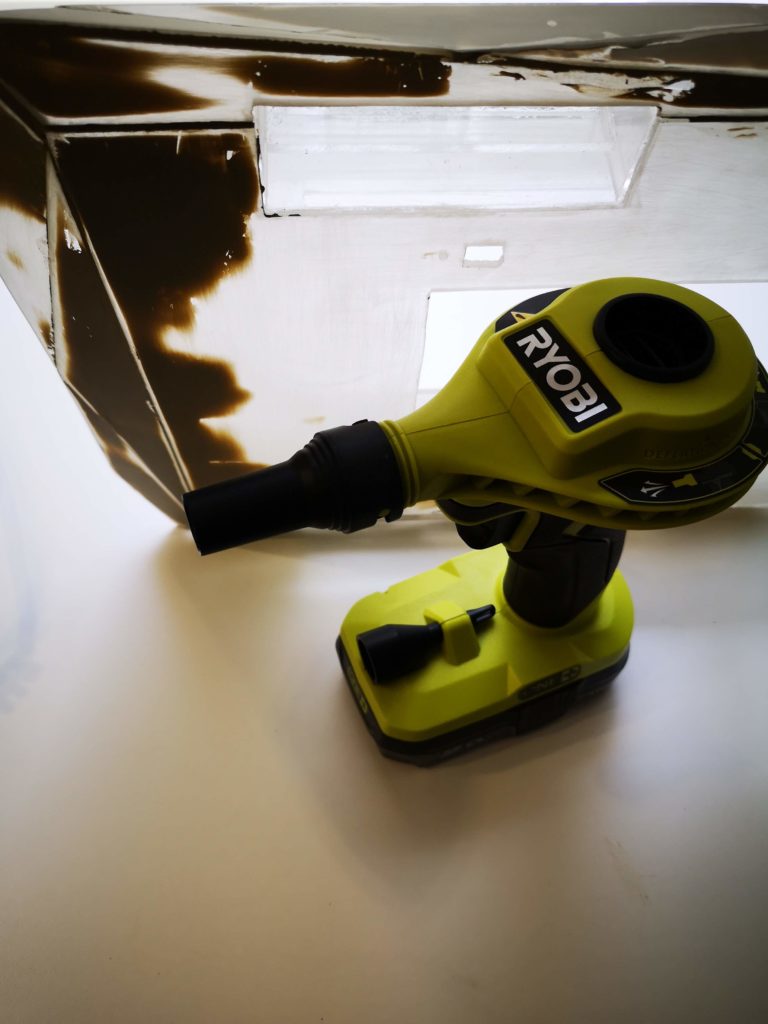
This turned out to be such a powerful allied. Getting all that dust out from the acrylic pieces was so simple with this powerful tool from my sponsor Ryobi.
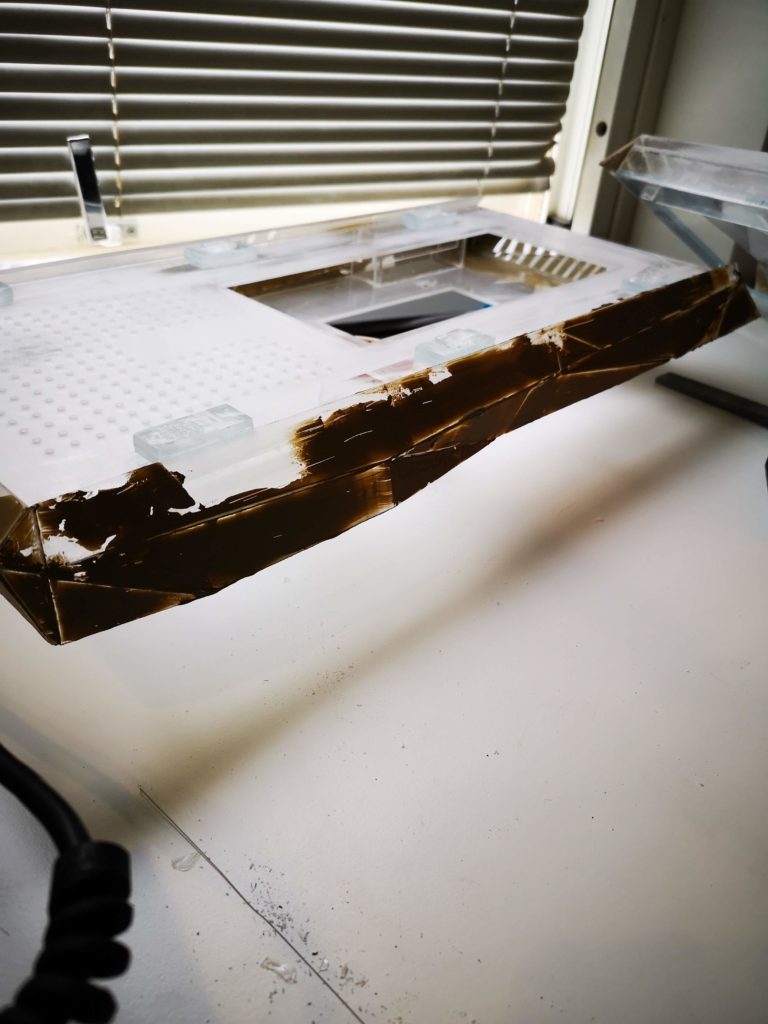
First layer and test, -5h.
After about 3h spent it was starting to look ok, but far fram happy. Spent almost 40% of the Putty, but no return now.
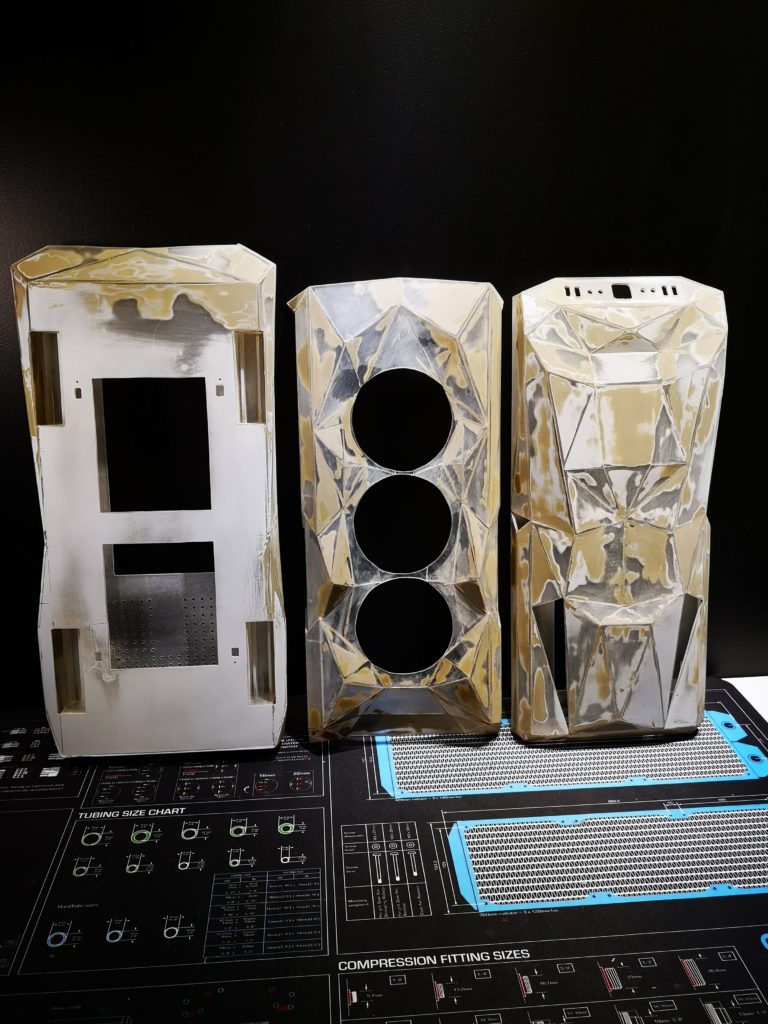
Hopefully that will do it. One concern I had was that to much sanding or the wrong angle combined with Putty in the wrong place and I would lose the sharpness of the polygons and the entire mod would be ruined. I ended up printing my self a few sanding blocks, just 20-40mm big. Just to ensure I could get into each corner and follow each surface. Hopefully this will turn out be be enough when I paint. Very excited to start adding primer and finally a few layers of black matte paint before a finishing layer of matte varnish.