After creating the base plate bracket it was time to move on with creating the base structure of the base exterior. I got inspired by the original stands of the be quiet! Dark Base Pro 900 as they are angled, so decided to try to incorporate them.
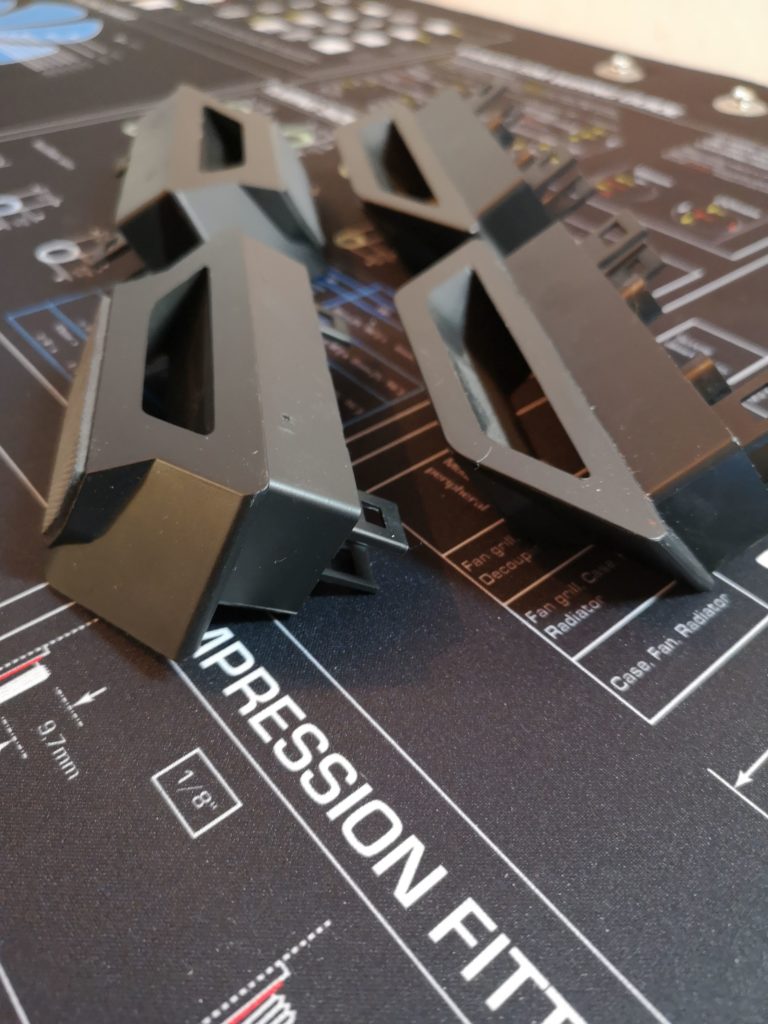
What’s not to like with feet like this, but hard to fixture in a none permanent way to the case…
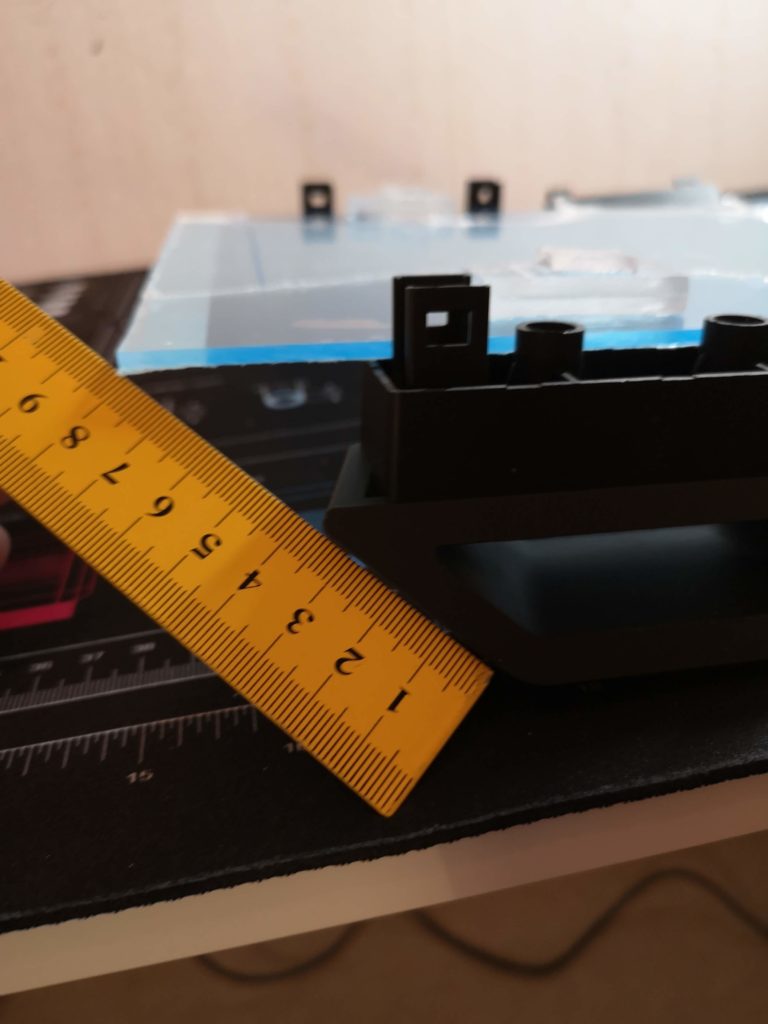
After moving around the feet / stand I found the right angle. Just continue with the angle of the feet and intersect with the corner.
That intersection messurement turned out to be 35mm.

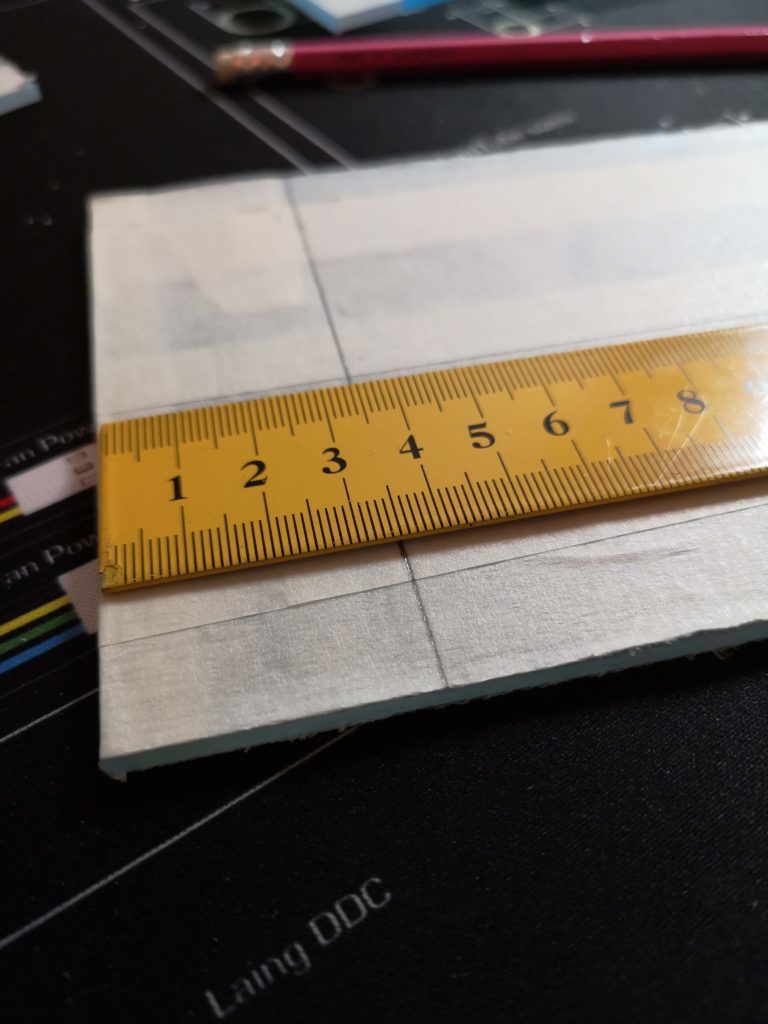
28mm deep and 98mm long. Time to do some cutting and filing
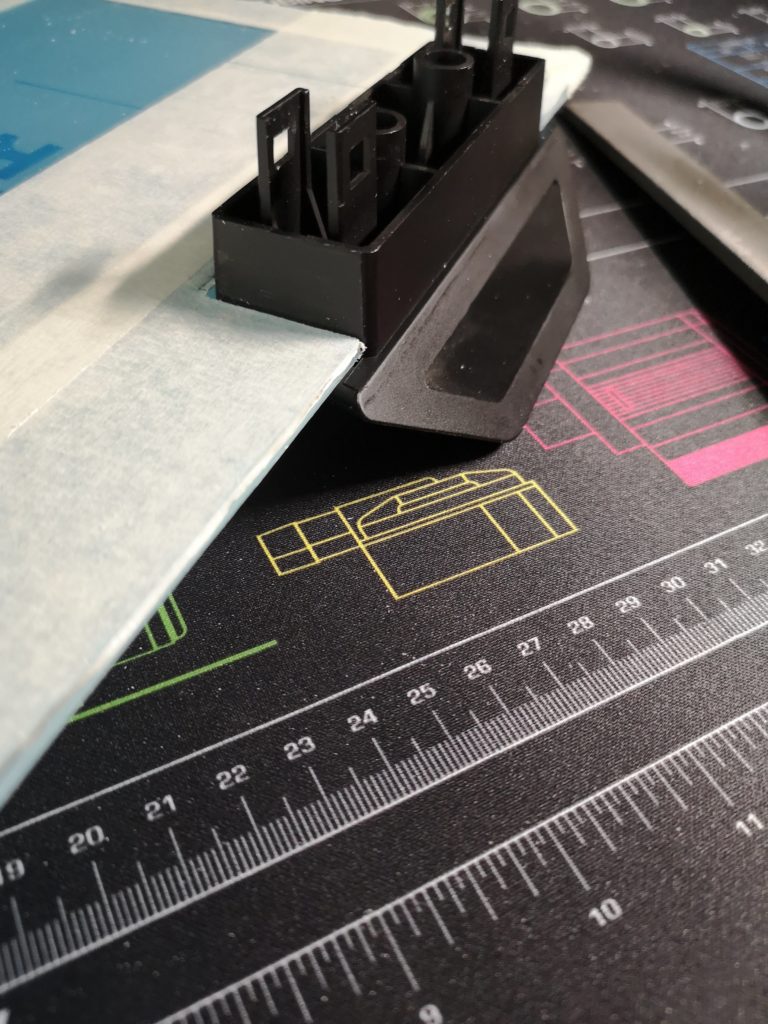
That turned out really good. Reason for leaving the foot a little outside the base plate is I want to incorporate it with the exterior angles that will become the exterior base piece. I also decided to turn the feet angled outside, to give it a more firm look at the base. If my solution for a modular fit works out, I can always turn them around at a later stage.
After the successful cirst cut, I marked out the remaining 3 holes for the case feet and put my dremel saw to use, again. After some hand filing it somehow turn out very simular to the chassi of a car 🙂
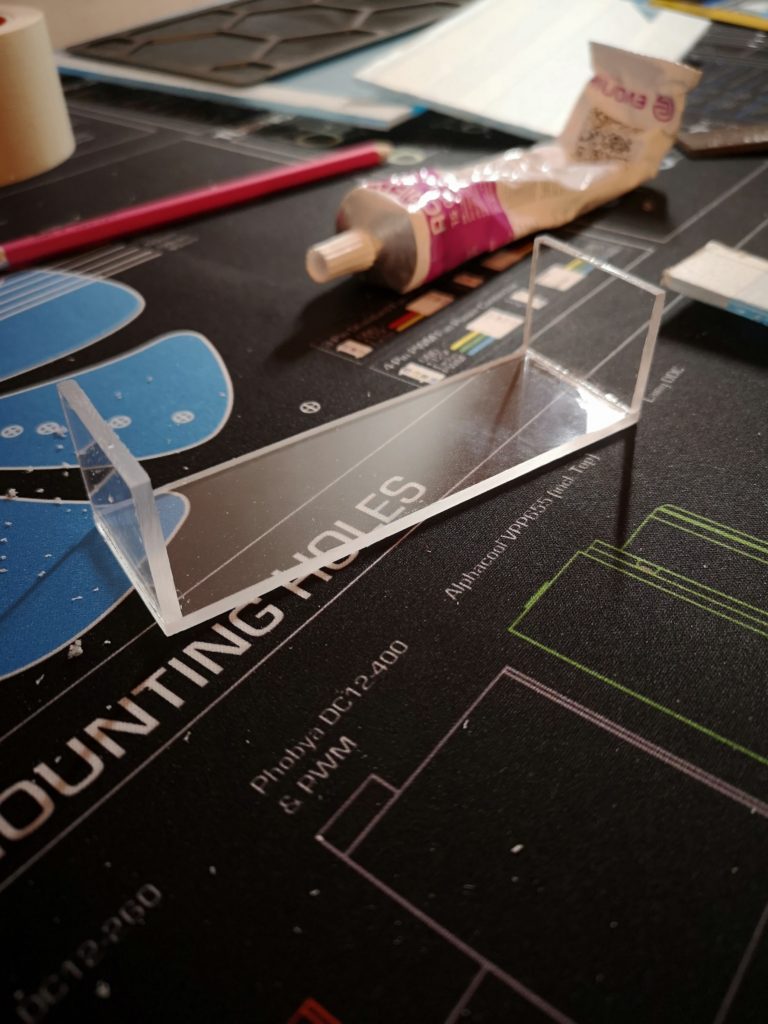
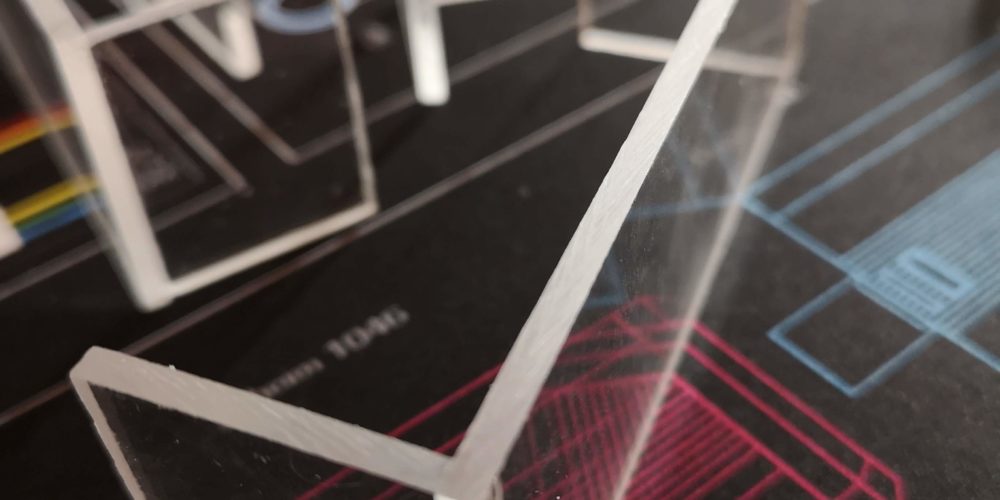
My simple idea and concept for a fixture for the base feets.
Test fit, looks alright.
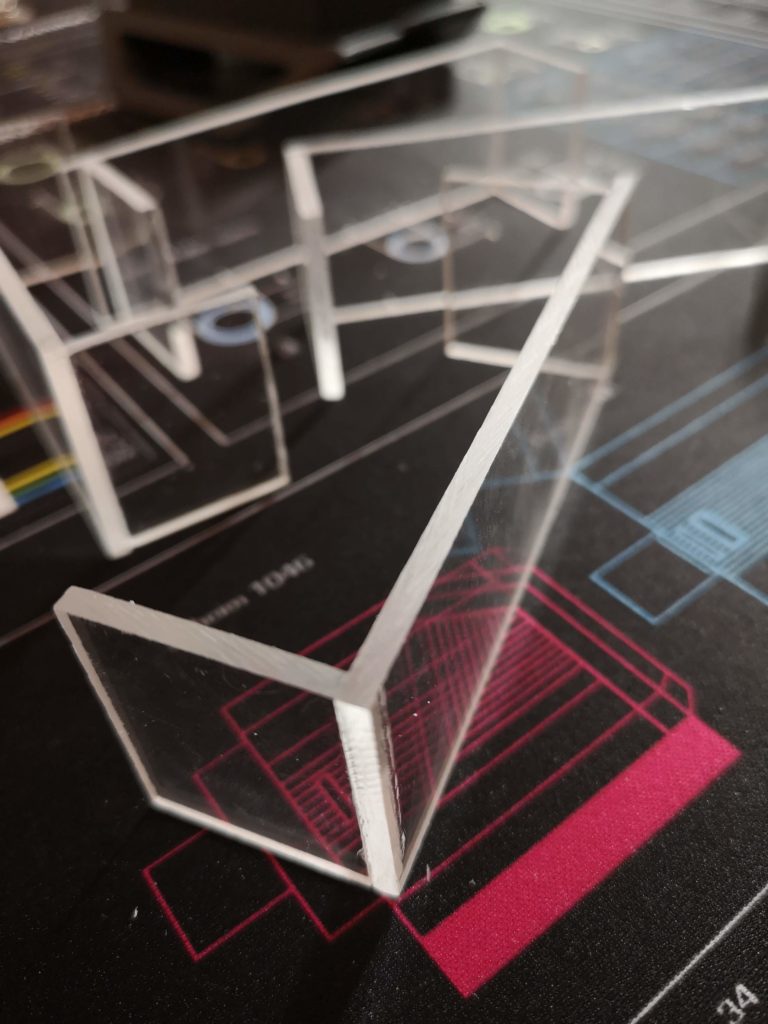
Four of them all done. The little extra extension isn’t a misstake but something I will use a later stage…

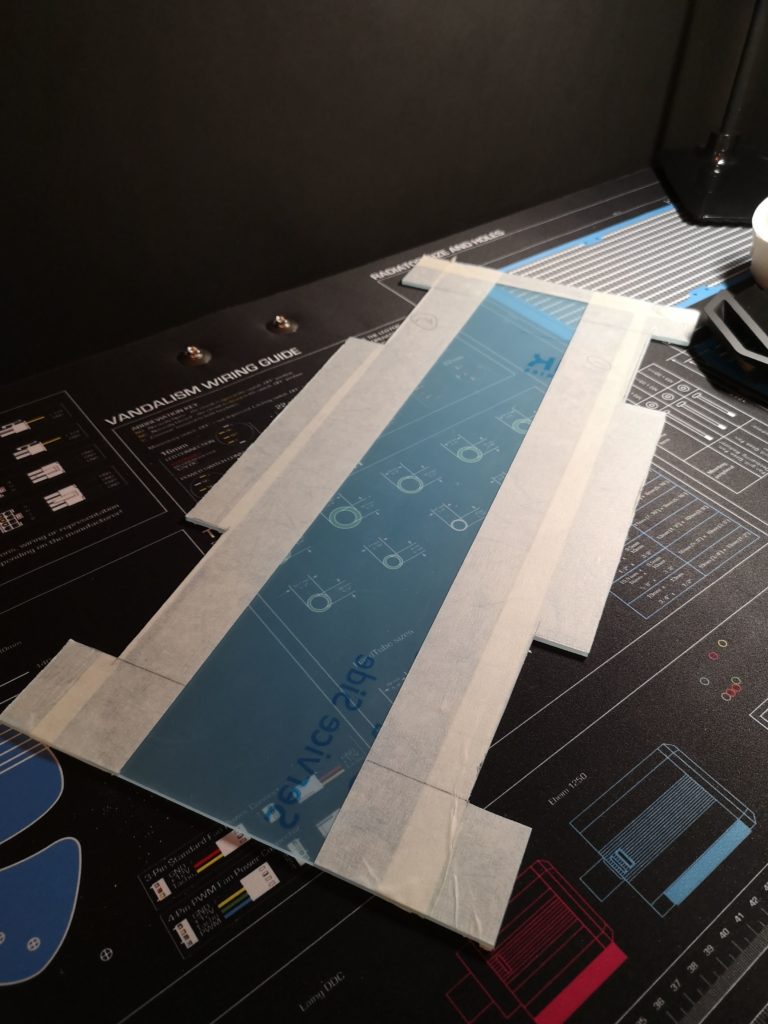
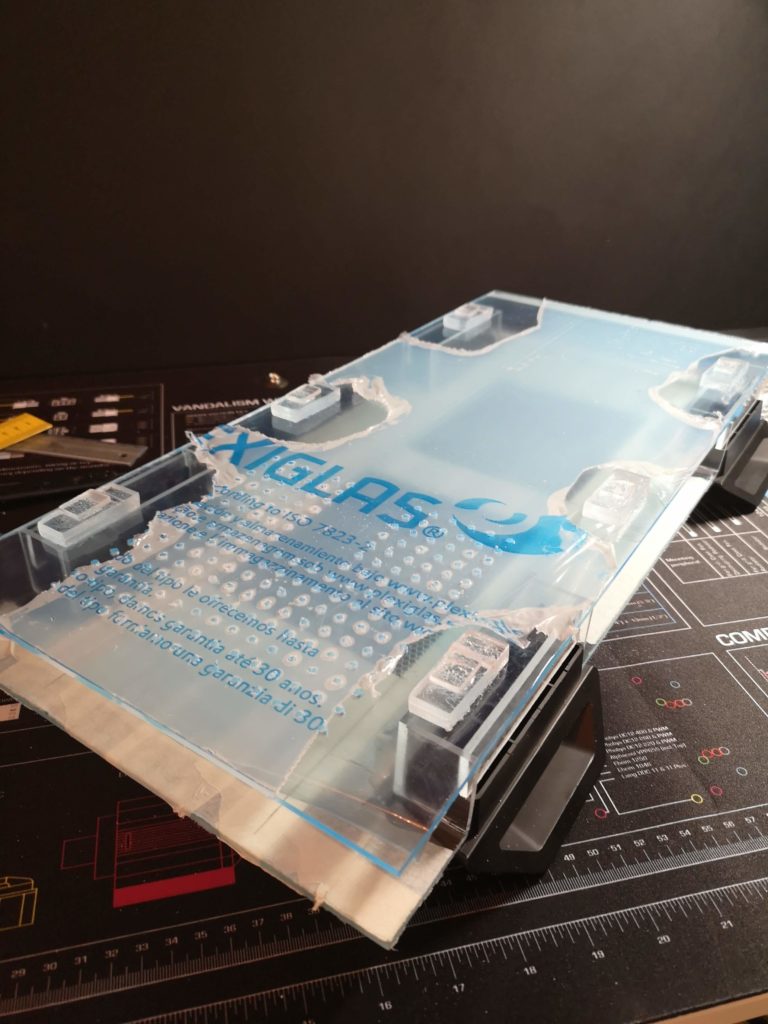
To finish of the last layer of the base structure I need good ventilation. Decided to put some mesh I had laying around to use. Marked 2 large sections with the same frame dimensions as the depth of the feet.
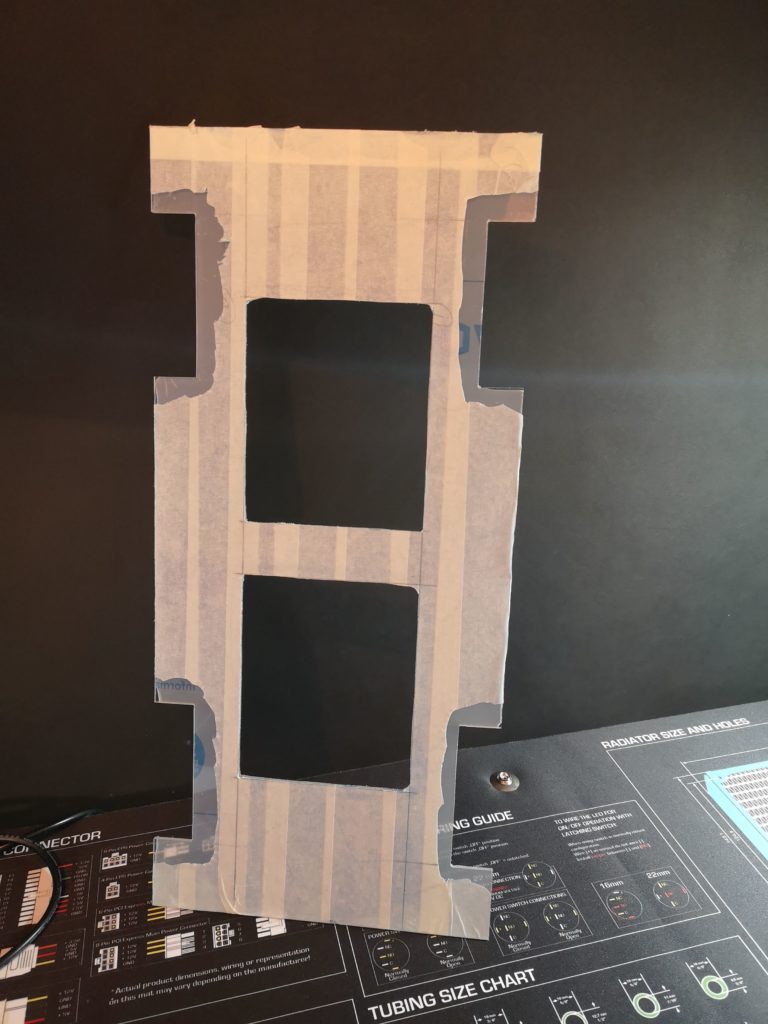
That Dremel Moto Saw isn’t a bad thing when doing stuff like this. Very happy as I didn’t crack the plate. Just need to file it down smooth and straight and we are good to go.
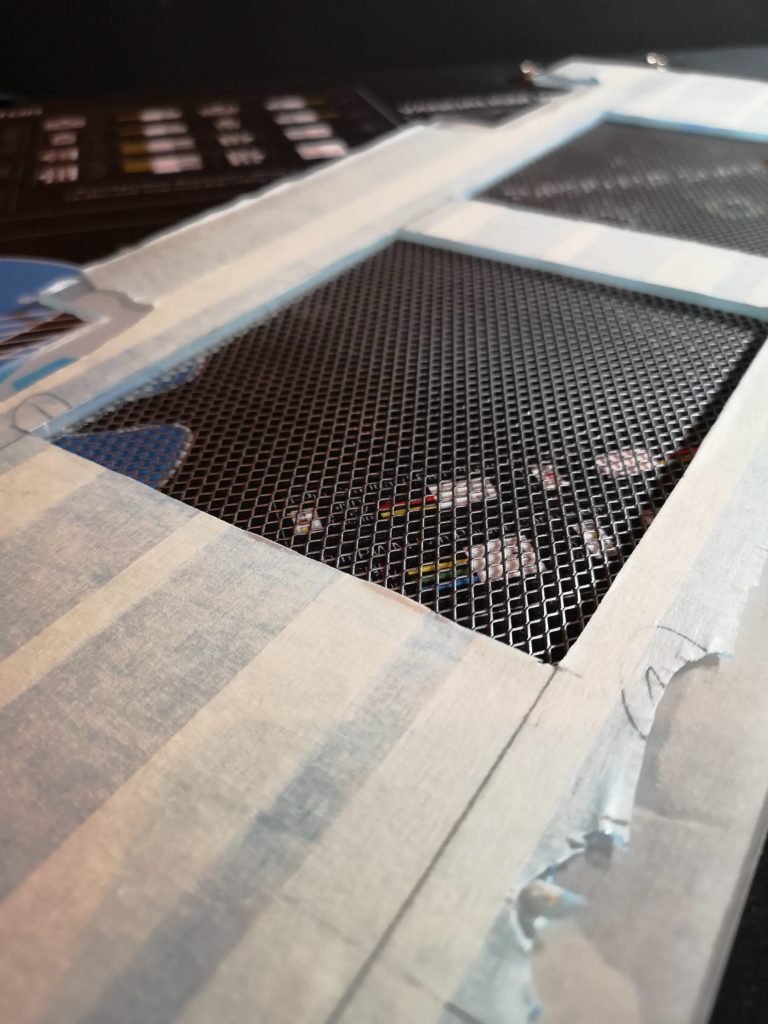
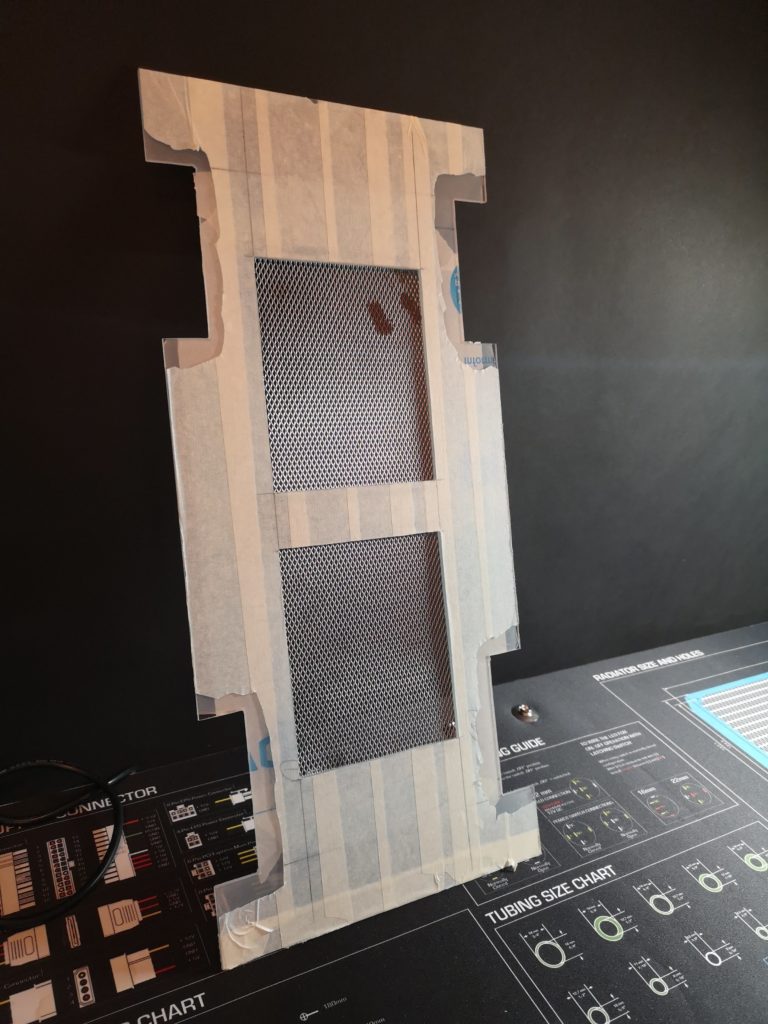
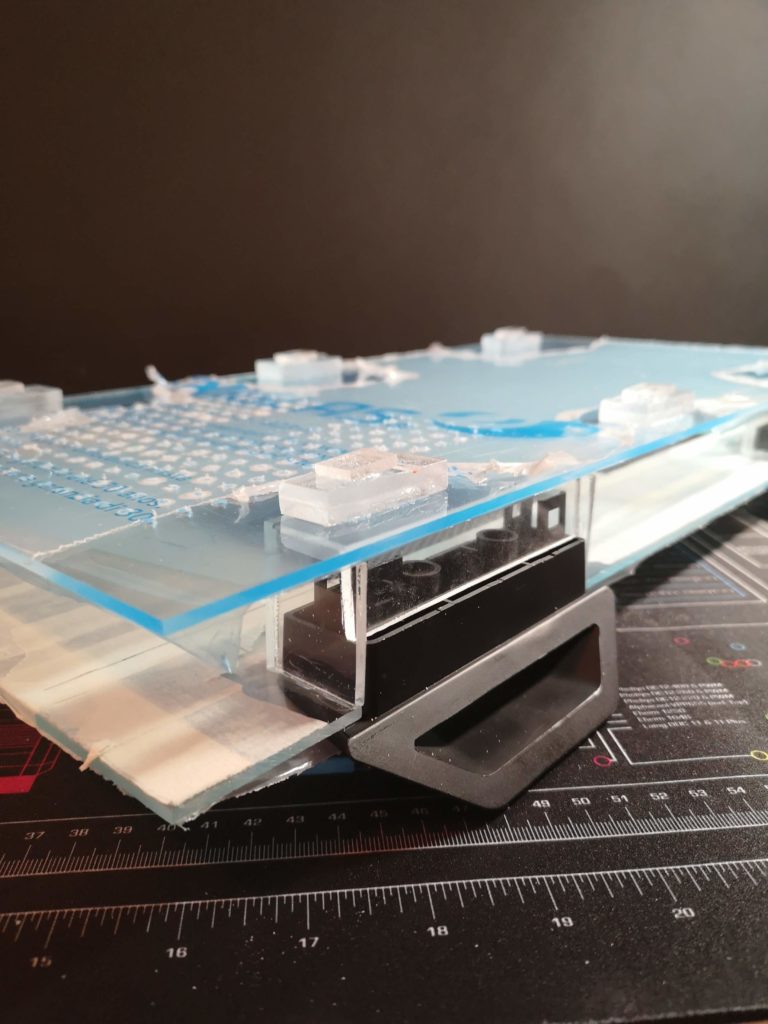
This is how I imagined it. This is how It will be when looking at it from underneath. Not sure anyone will ever do that, but hey, we mod for the fun of creating details 🙂
The mesh will be painted in the accent color of the build – blue.
Wroom wroom…
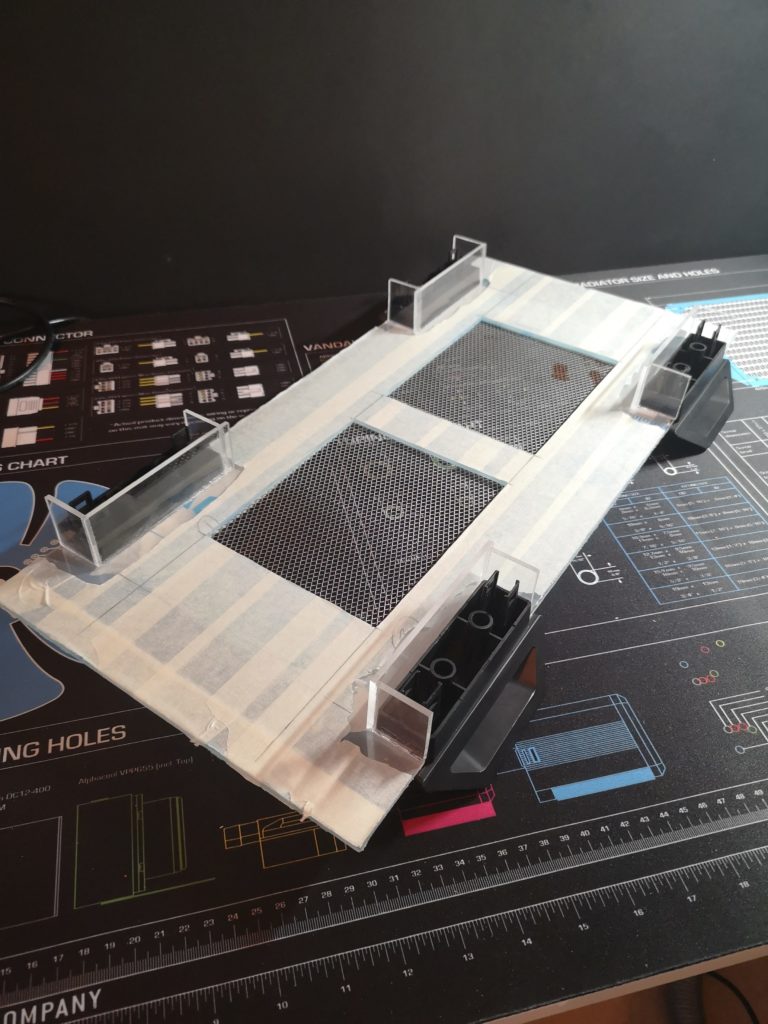
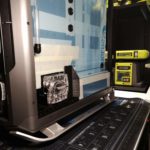
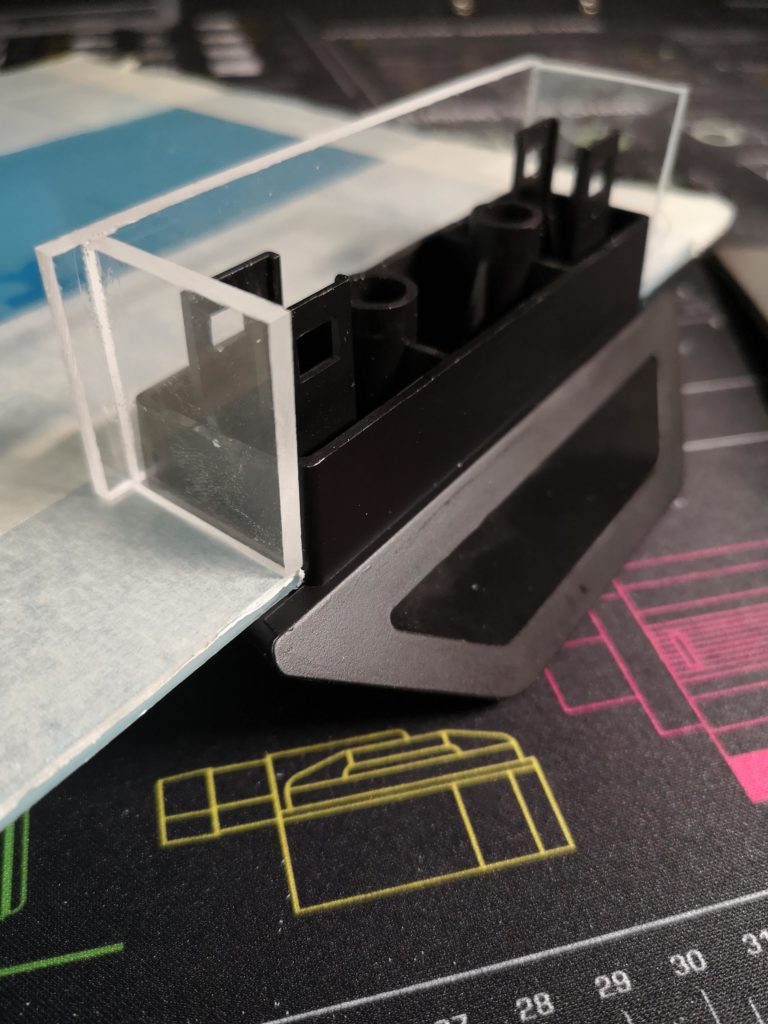
Fixed the four mounting brackets with Acrifix and ensured they are all positioned equally.
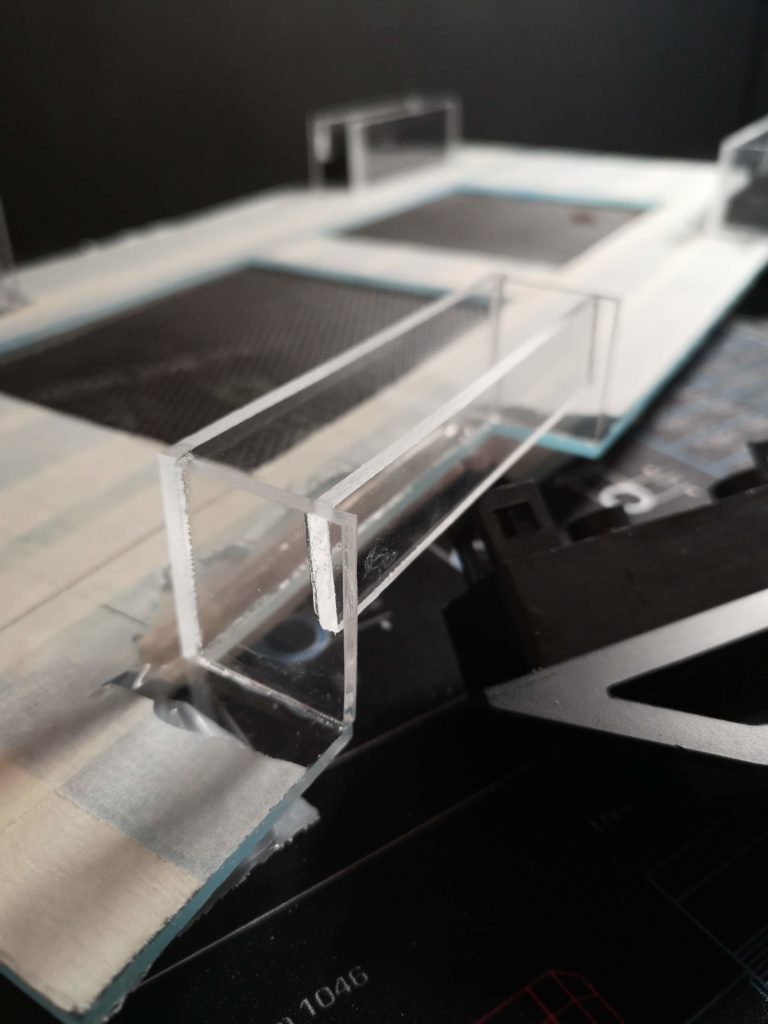
Added a small counter bracket to also include a small “dot” to make the feet snap in place.
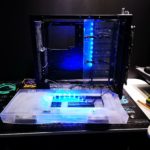
With the previously created bottom base plate, this is starting to look like the bottom of a case exterior.
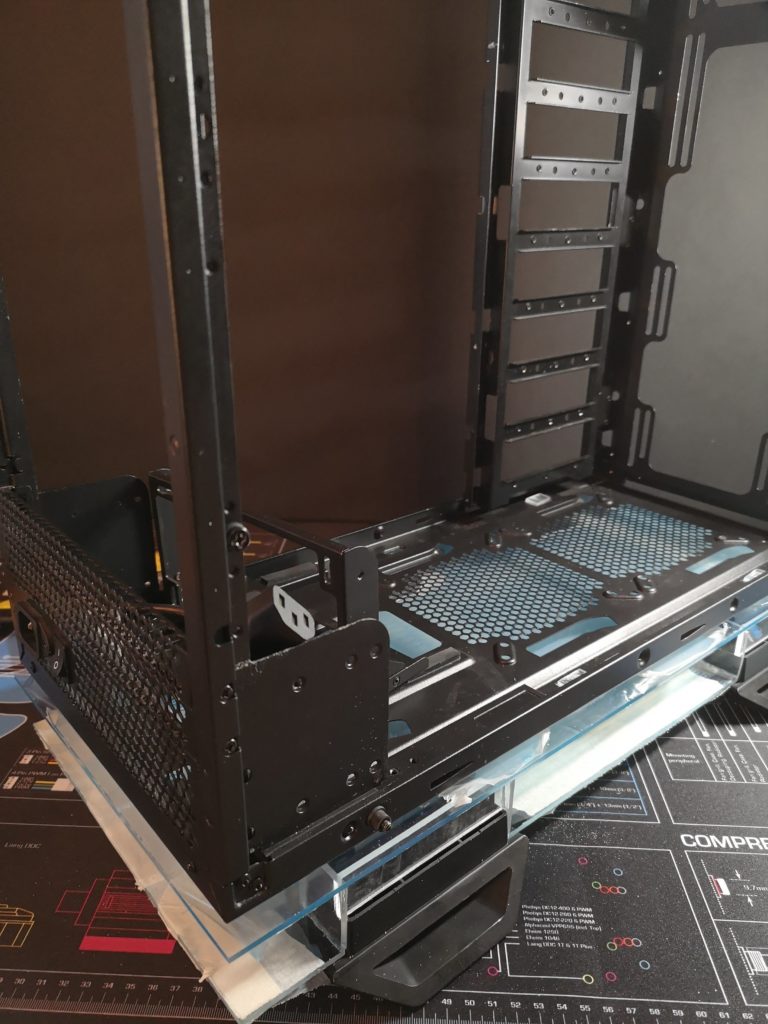
Base plate ontop of each other with the inner case frame clipped on. It’s to this frame I will fix the base structure of a still to find out, pattern of triangles and angled pieces, just like the PSU Shroud and that will start with the next update.
How do you feel about this mod so far? Let me know in the comments below…