Project Angl3d Ti – Custom PC with dual water cooling loop, vertical GTX 1080Ti sponsored by ASUS ROG, EK Water Blocks, be quiet!, Teamgroup and Enermax. A huge thank you to all of them, making this extraordinary build possible.
The inspiration started when I created custom gaming PC Zeuligan and instantly fell in love with the design of the GTX 1080 Ti. When ASUS released their new VR headset with the amazing hexagon design I just knew I had to create a build inspired by the two. I also want to create a build that is the opposite of Zeuligan. More tech and modern with harder lines with an a tribute to acrylic.
I’m proud to announce project Angl3d Ti. An almost scary amount of custom acrylic angles combined into what I hope will be an extraordinary custom gaming PC.
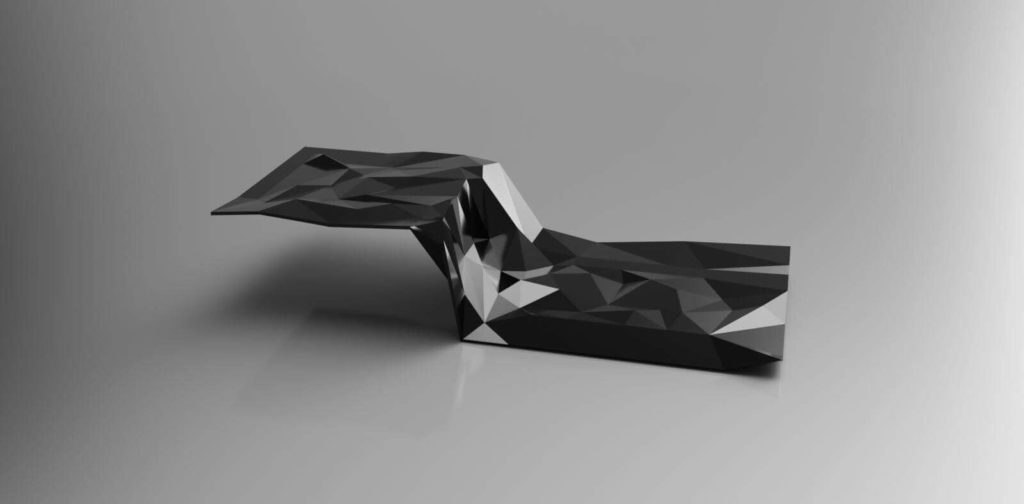
The planning, as usual, started in Fusion 360 with endless of drawings and tests. With that many individual pieces there is no room for errors. This is the finished concept sketch of the PSU shroud. My main concern is how I can craft the 118 individual acrylic triangles with angled edges in multiple planes by hand. Hey, who doesn’t love a challenge?
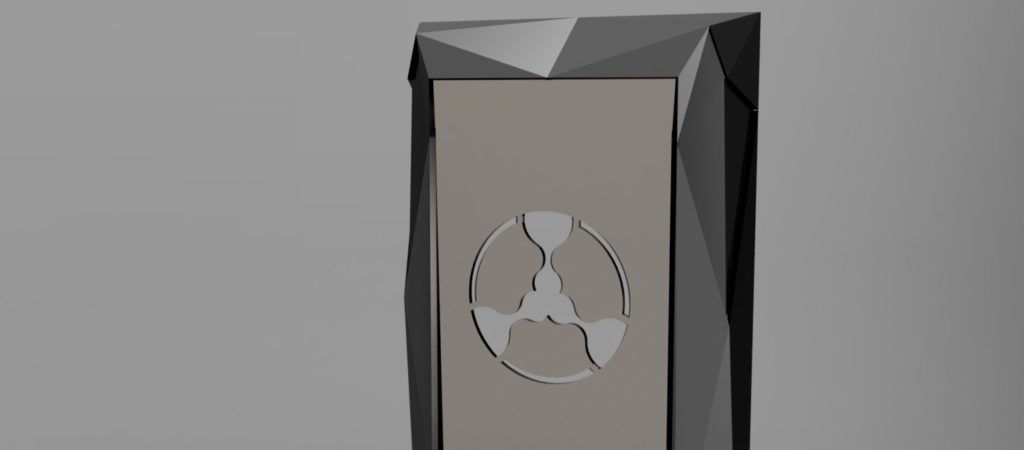
I want to use the fan integrated into the GTX 1080 Ti as an inspiration for a custom front and custom top with visible fans. My concept sketch shows a cut-out from my logo. Might be a sponsor symbol or other solution once in production. But the idea is a visual front fan with a front panel cut out.

It is almost a shame to pull that piece of art into pieces, but sometimes you need to break an egg to make an omelette. After Project Zeuligan I know how to fastest do it, so might as well get cracking. Just one last look at that beautiful case.
Up on the operating table. Time to take this baby apart.
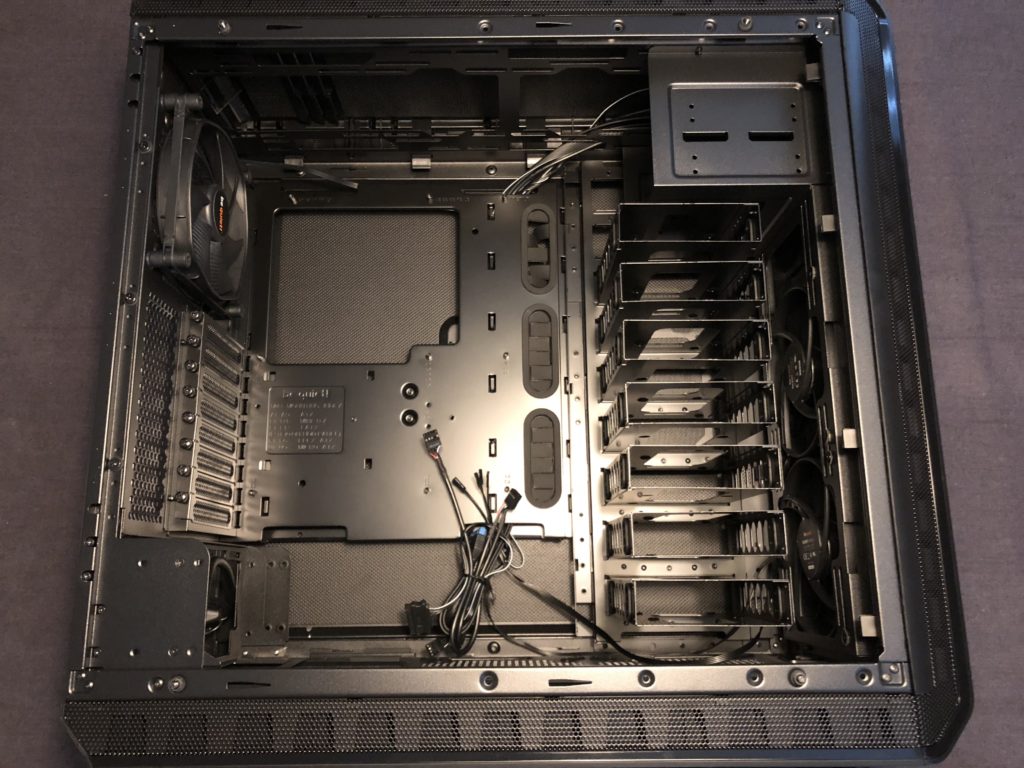
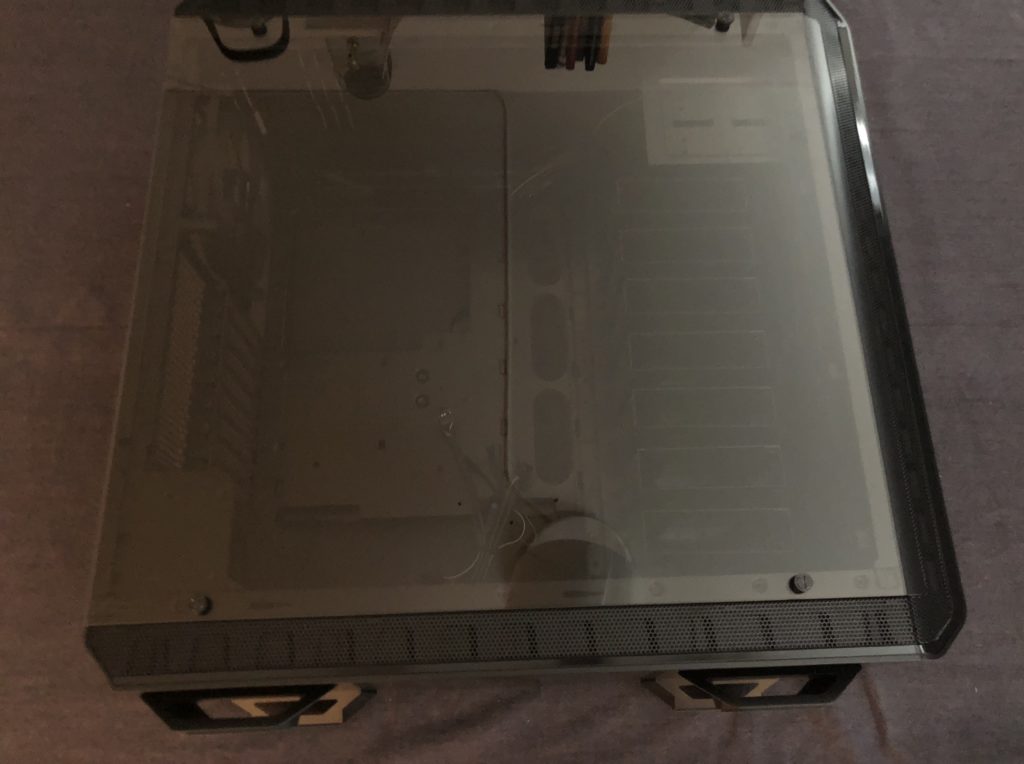
This is how the inside of the be quiet! Dark Base Pro 900 looks like without the tempered glass side. Everything is modular and get be taken apart with just screws. No need for a Dremel at this point. Love this case.
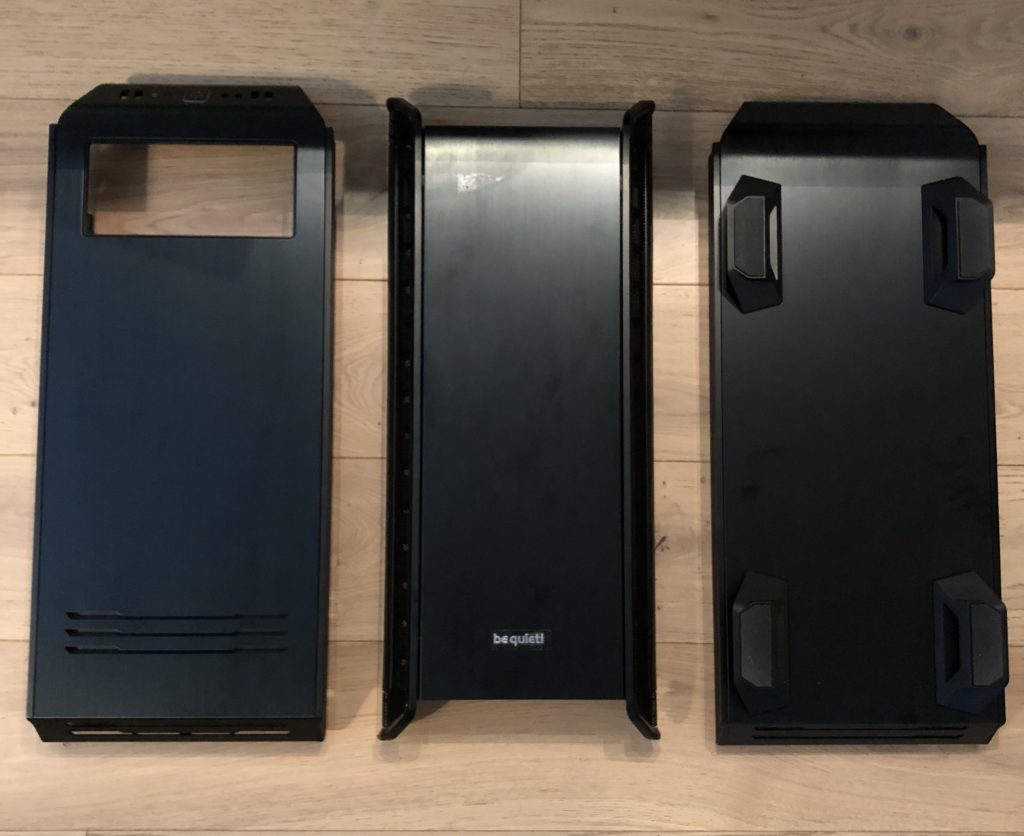
The beautiful brushed aluminium panels detached.
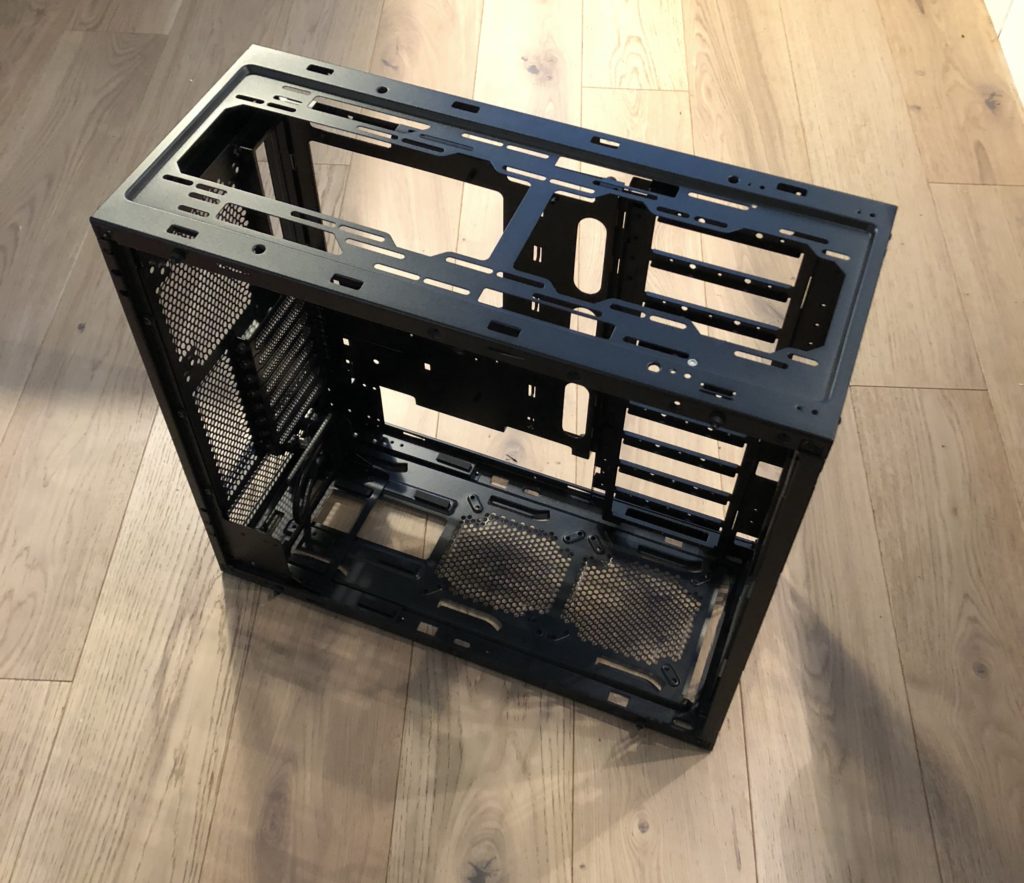
Never stops amazes me how beautiful a naked computer case can look. Maybe it’s just me that is weird. What do you feel about naked chassis?
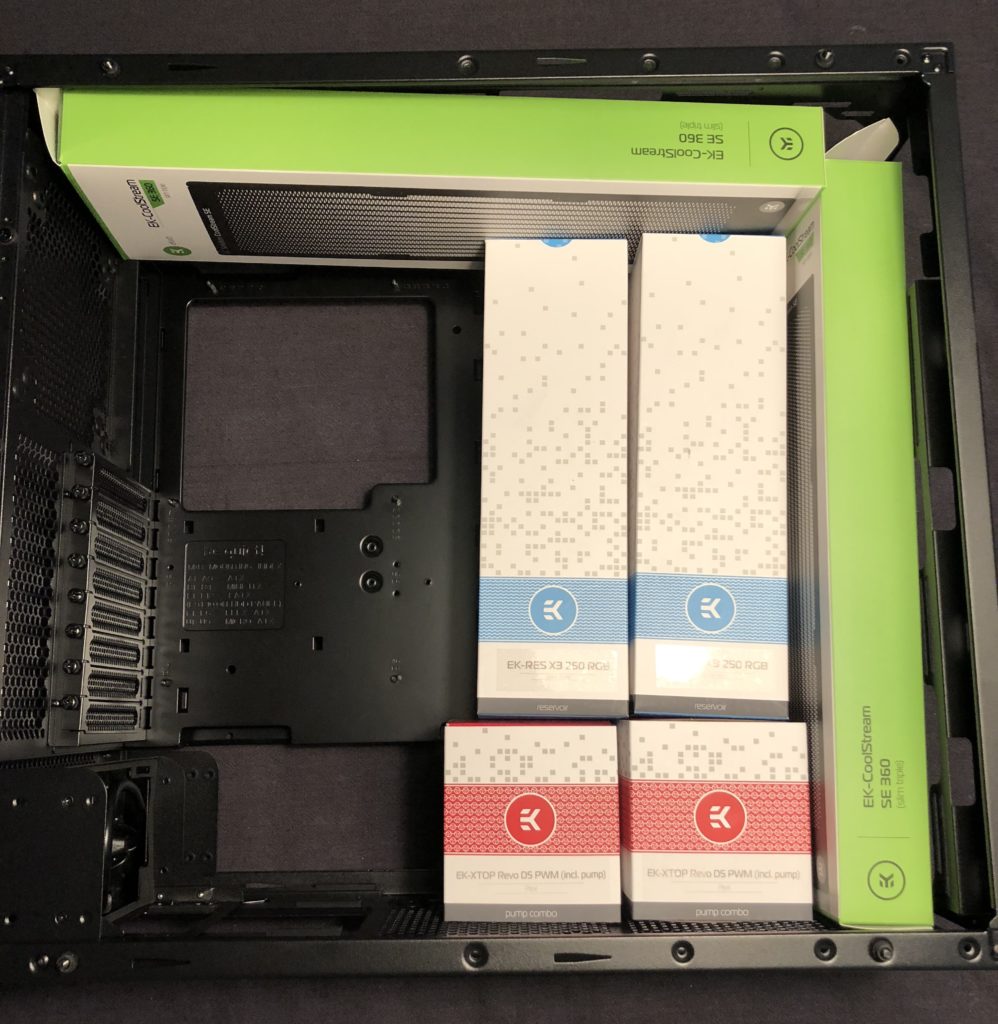
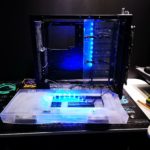
Even with the generous space of the huge be quiet! Dark Base Pro 900 it will be a challenge to fit all these amazing products. It has always bean a dream of mine to get EK Water Blocks as a sponsor. Still feels unreal that it’s not longer a dream. Thank you <3
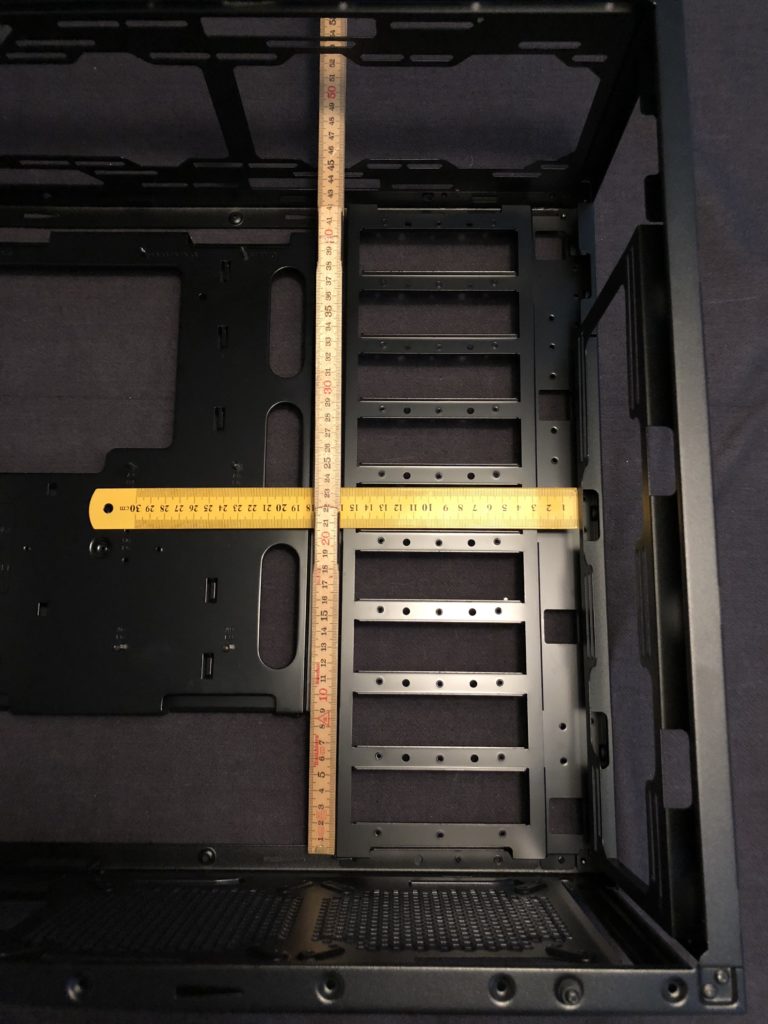
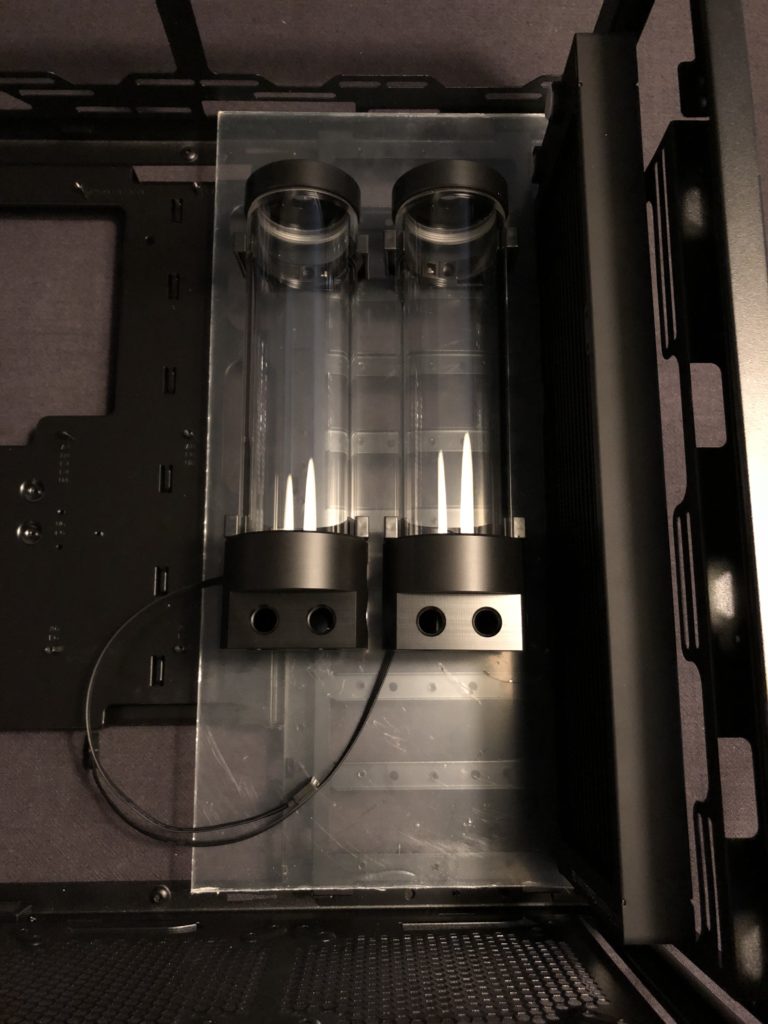
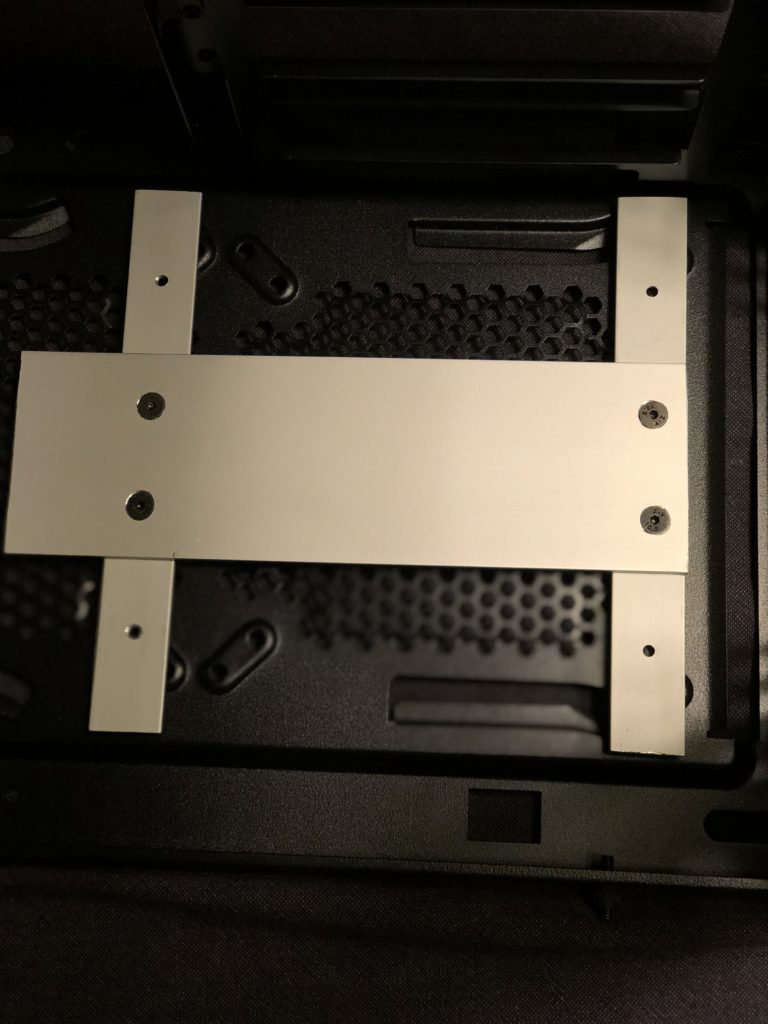
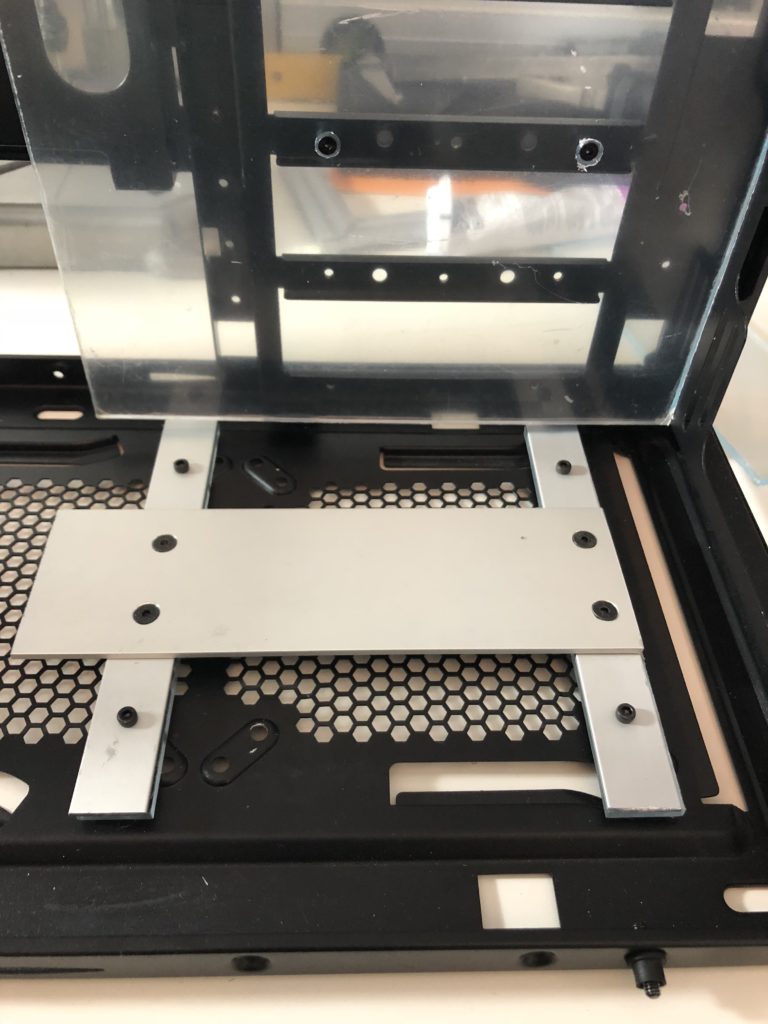
Just as with Project Zeuligan I intend to use the drive cage ladder as a base for fastening an inside wall. But this time I will use it to hold the dual EK-RES X3 250 RGB reservoirs.
220x450mm. Wider and I will overlap the motherboard.
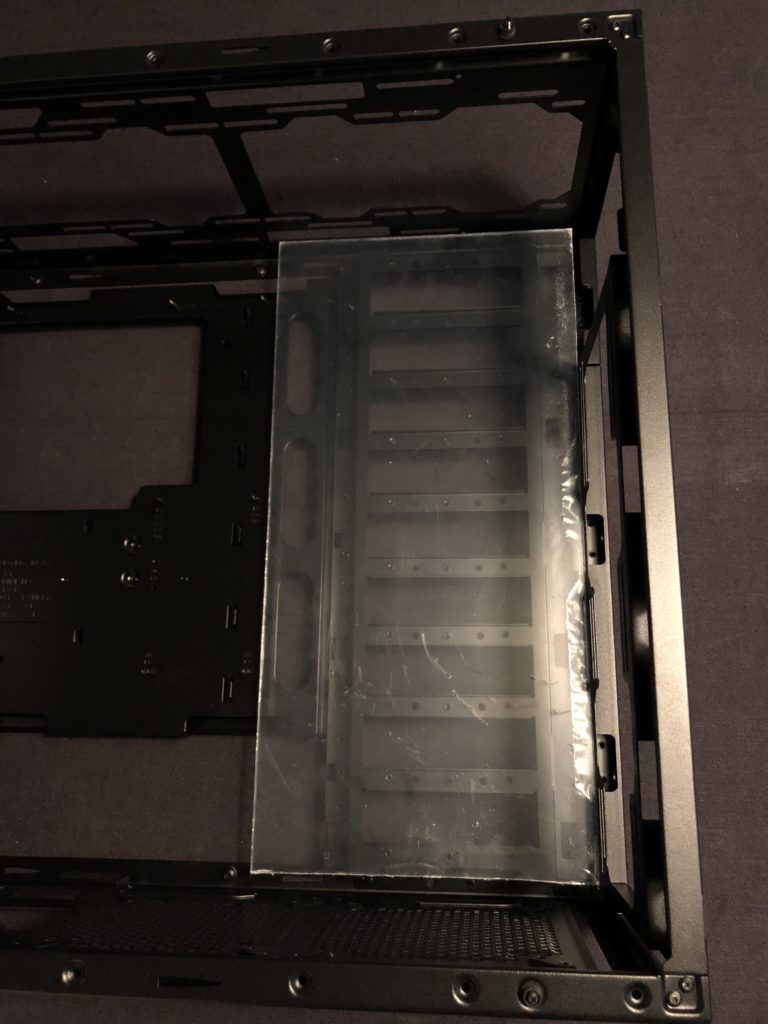
Leaving some room at the top and bottom for cable routing.
Included one of the black beautiful EK-CoolStream SE 360 (Slim Triple) radiator to ensure that I have enough room between reservoirs and radiator.
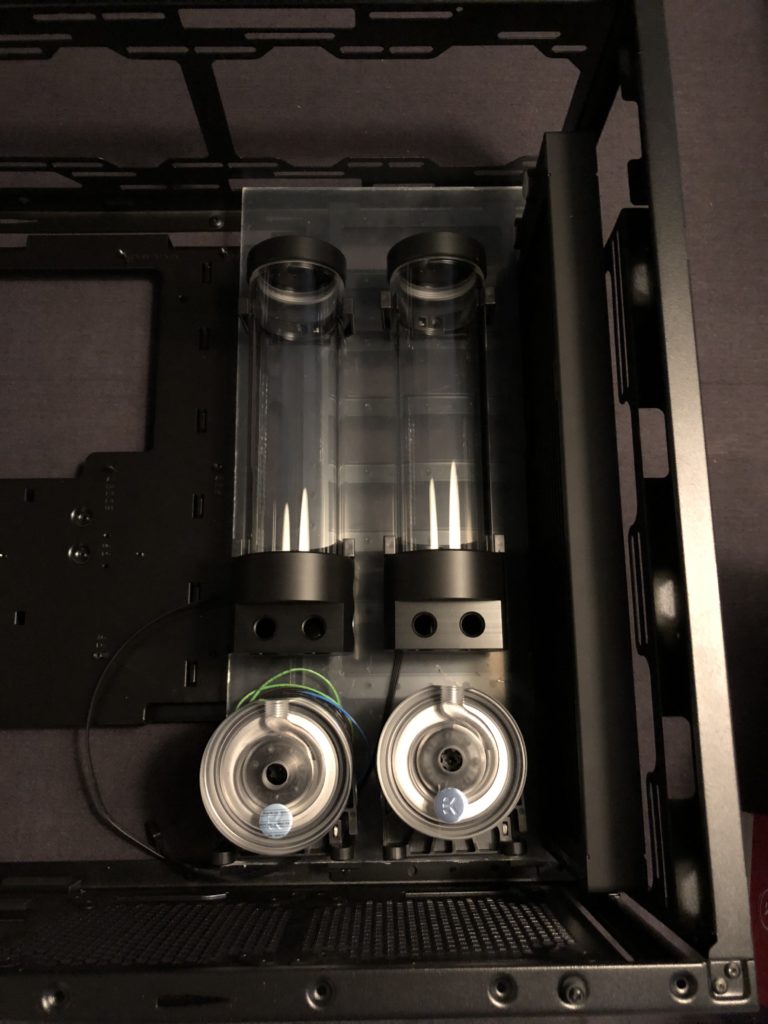
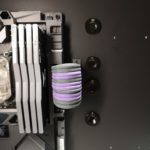
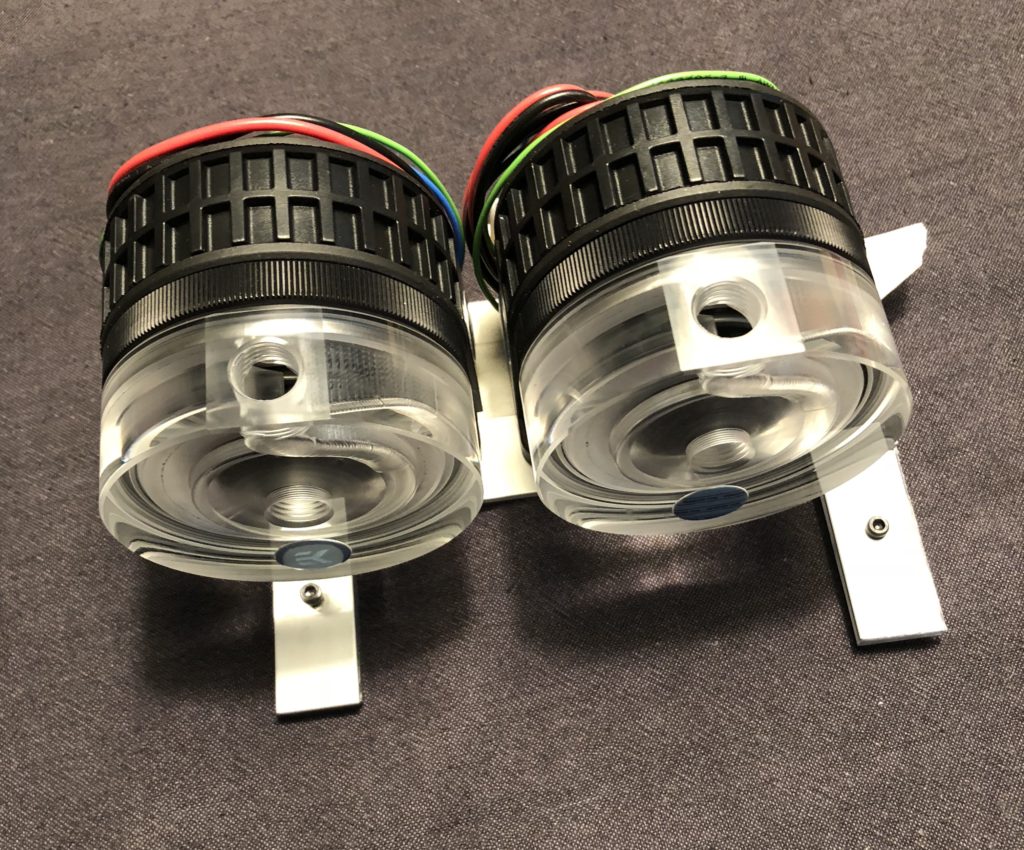
The only thing that is and looks better than an EK-XTOP Revo D5 PWM – Plexi (incl. pump) is two 🙂 These are the un-sleeved version as I will of course sleeve my own in relation to the color theme. Sleeving will be done with MDPC-X.
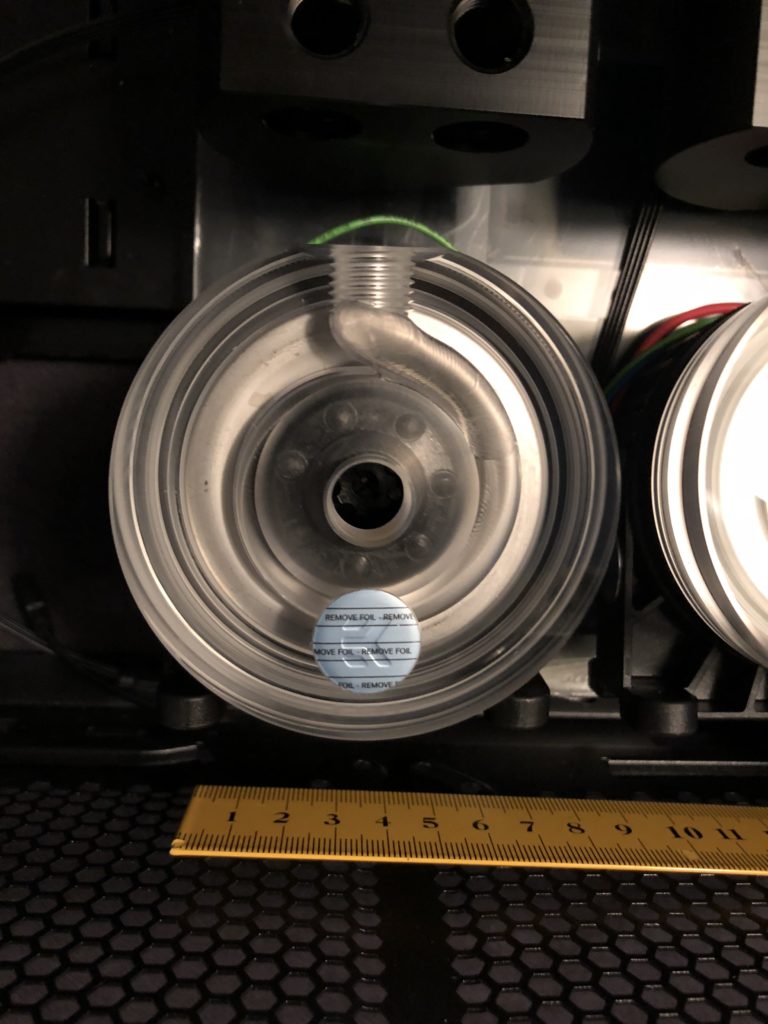
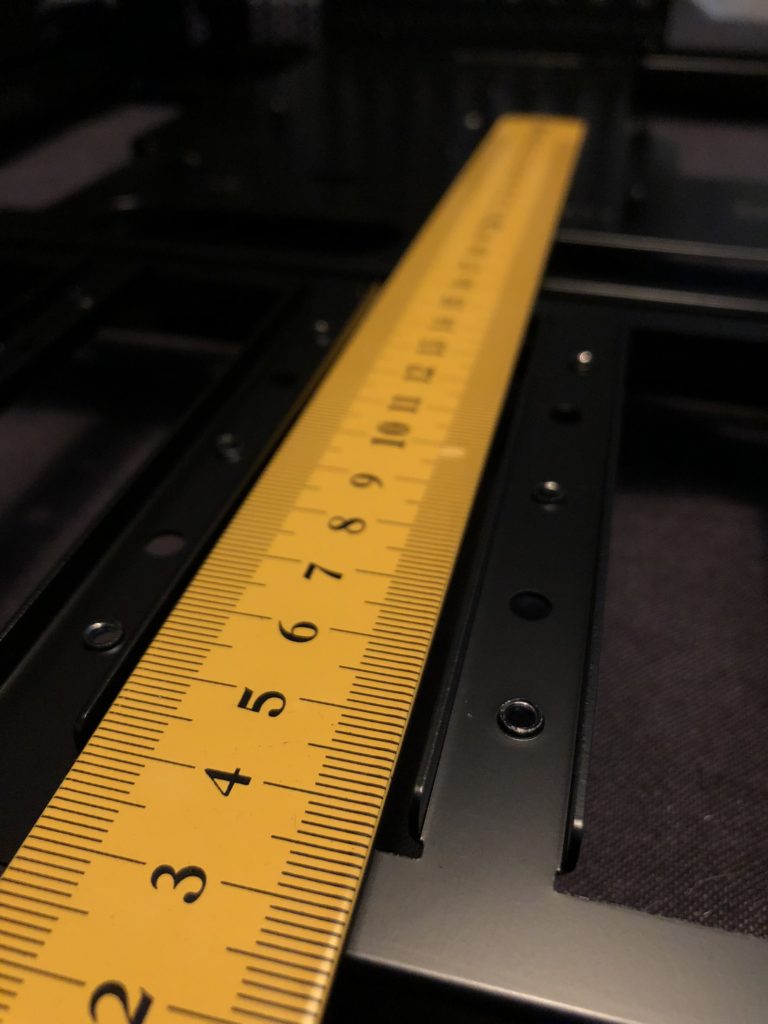
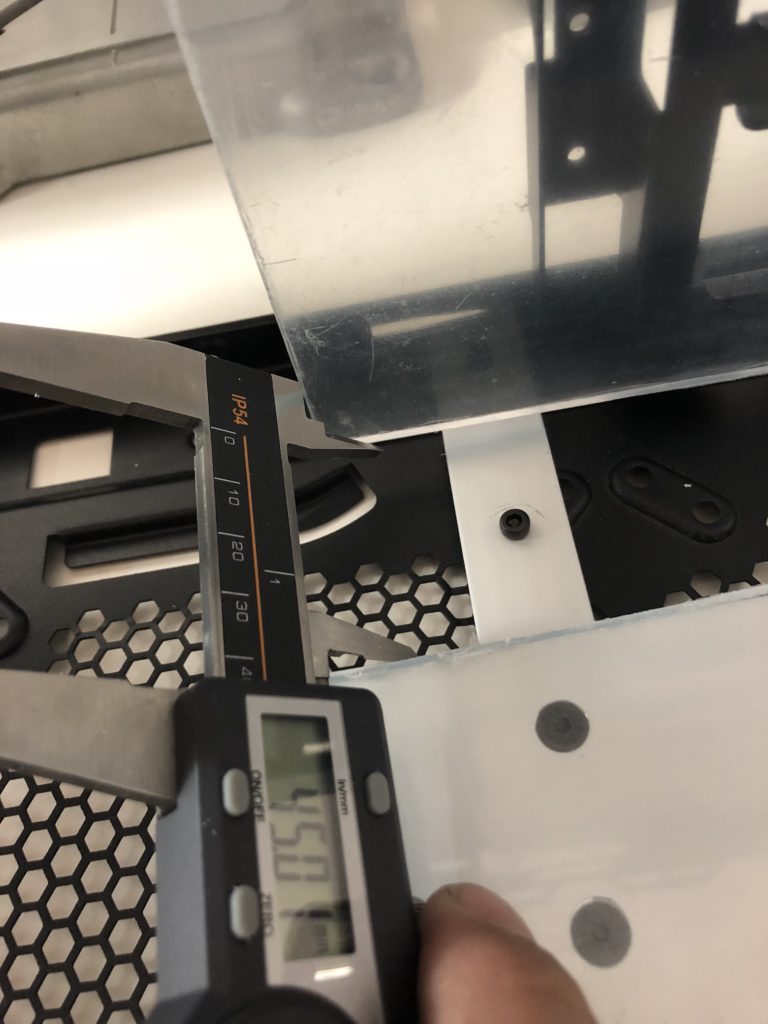
One last measurement to check the position of the pumps. I will need to create my own pump brackets so I can integrate them into the PSU shroud / floor.
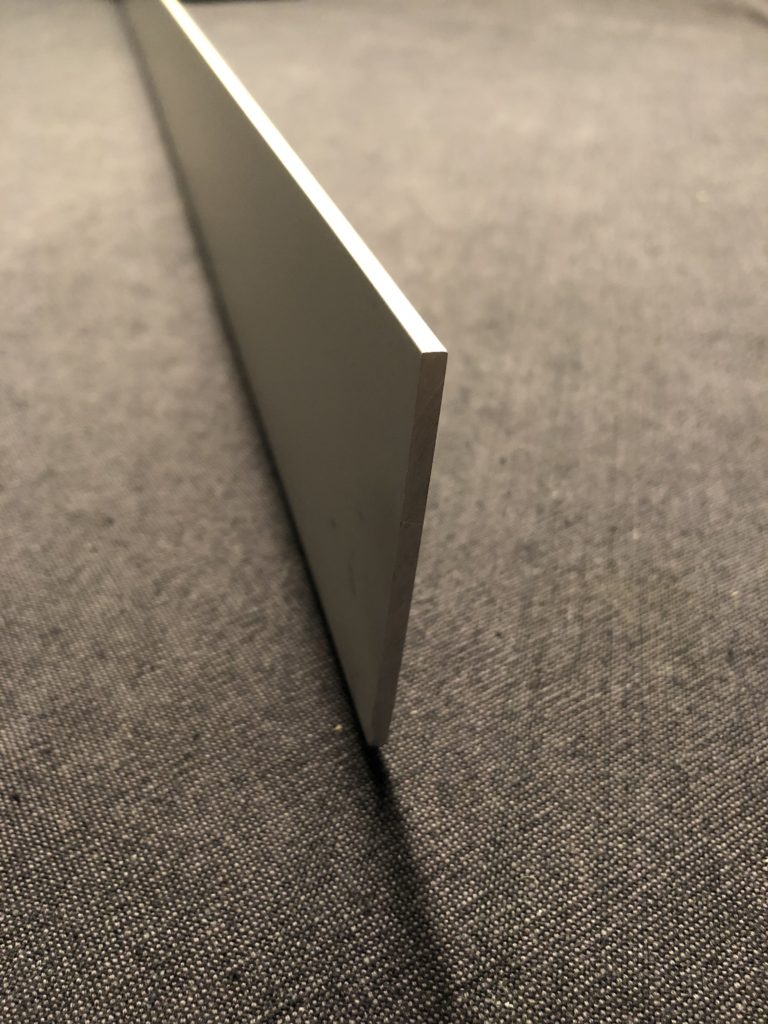
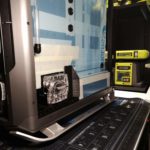
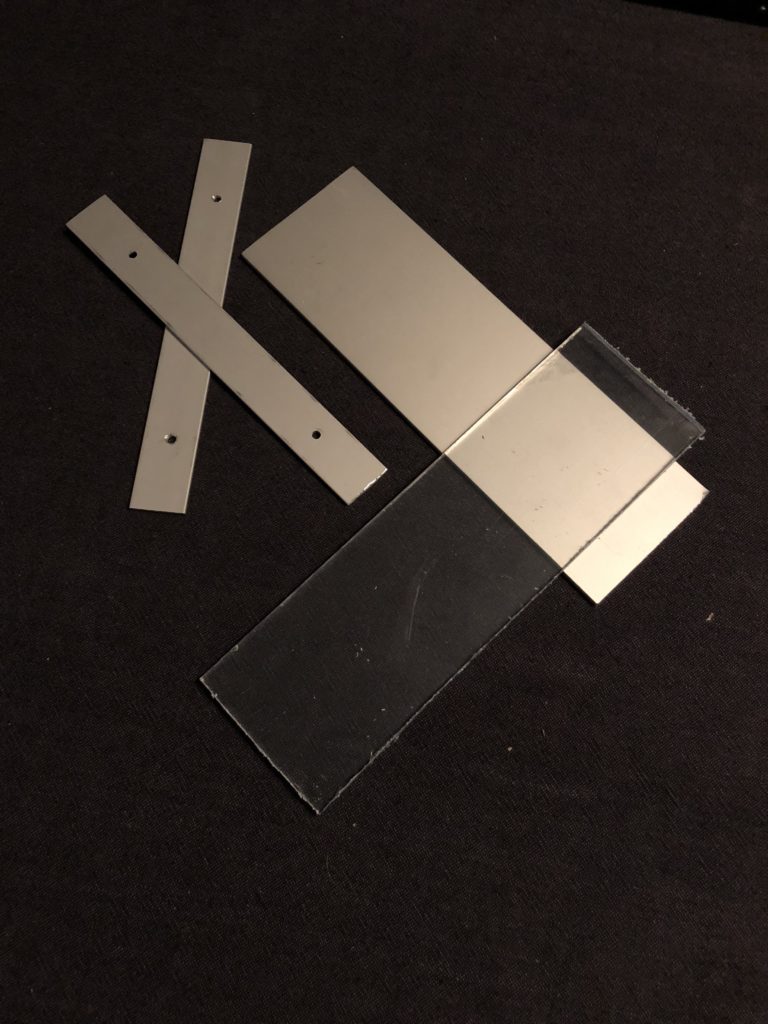
Naked aluminum is sexy 🙂 This is a 4mm thick 60mm wide aluminum beam. It will be the base of the bracket.
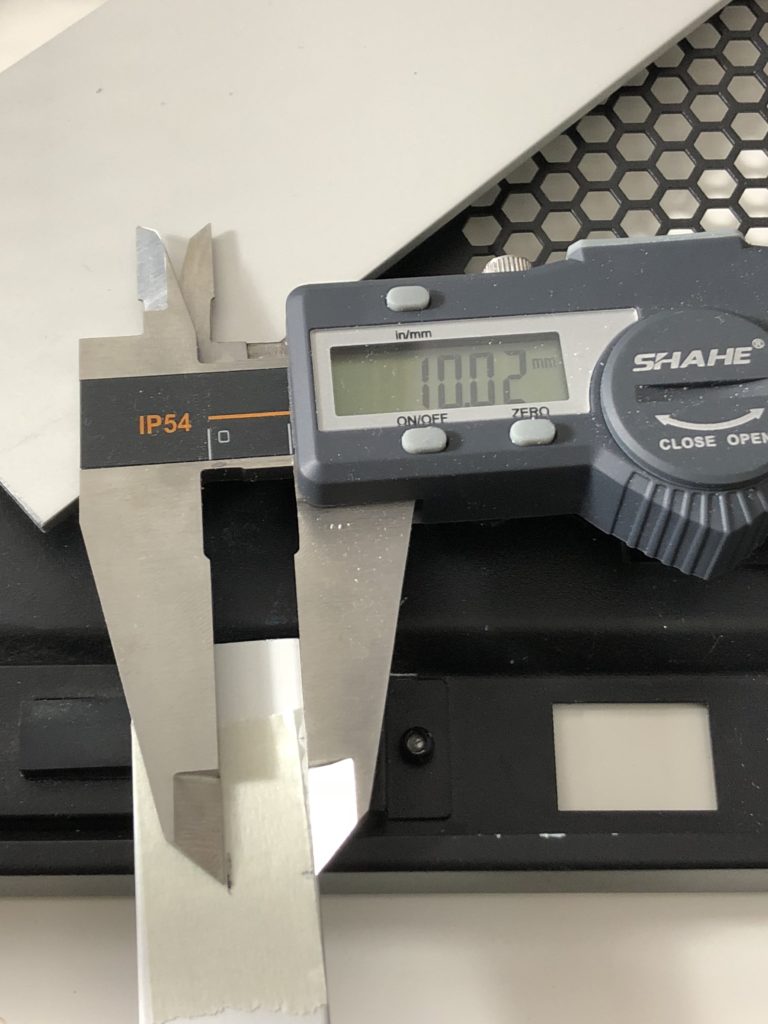
Measuring the middle of the 20mm side aluminum beam that will be part of the pump brackets. Just love having a digital caliper.
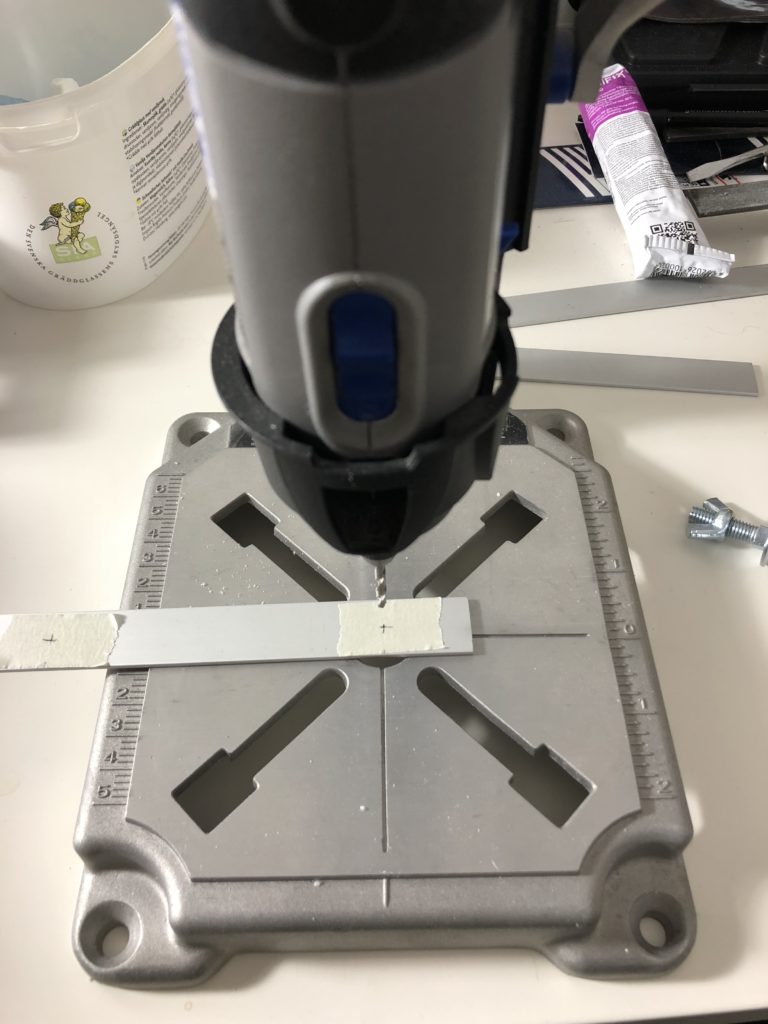
It still amazes me how much fun stuff I can create with my Dremel mounted to the drill press. It is surprisingly accurate if used with patiences. The week spot is as always the shaft of the Dremel that moves.
Cut the remaining beams and an additional piece of acrylic as top cover. I need the extra height, but also need the top layer to be acrylic as I will combine it with the 118 individual pieces.
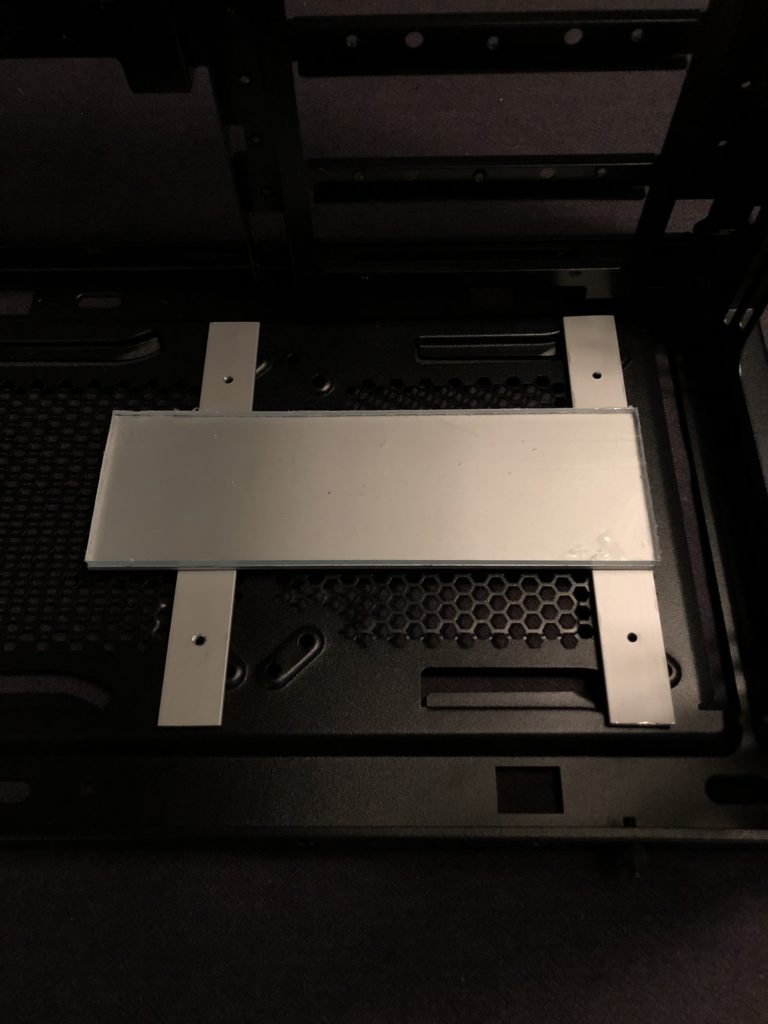
This is my vision for the bracket. Using the bottom fastening holes for the fans to keep it in place. Ok, will need to put this together.
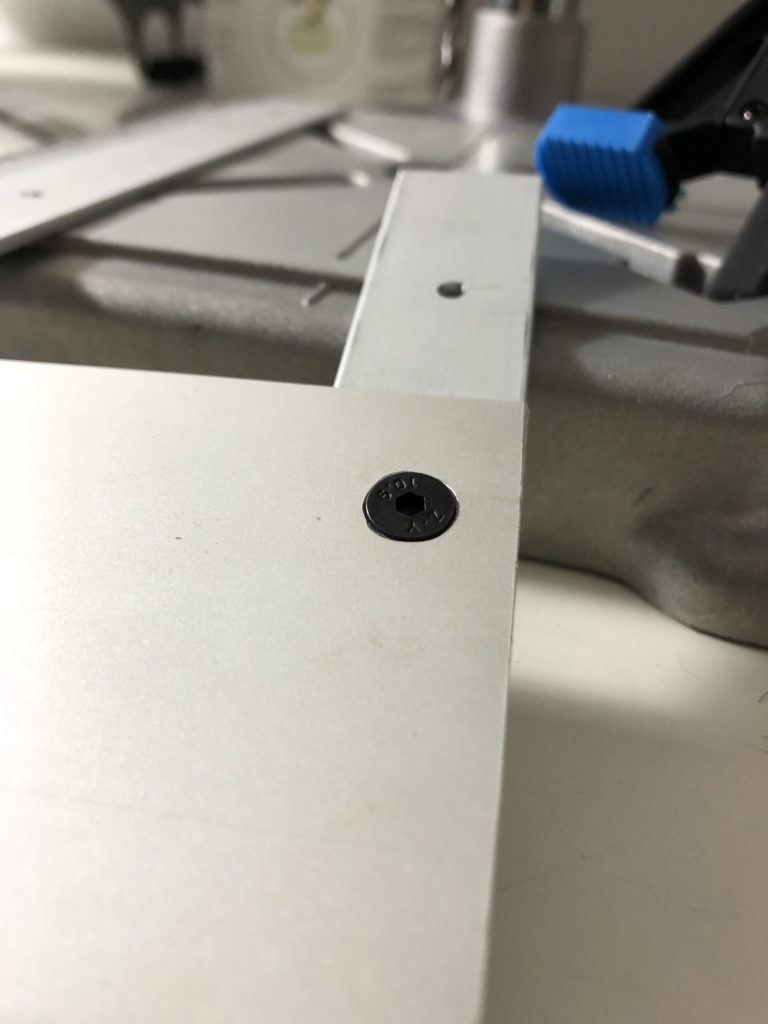
Something almost sexy about black countersunk hex bolts in naked aluminum. Very satisfied with this solution.
4 holes, 4 countersunk holes, 4 bolts and 1 sturdy dual pump bracket.
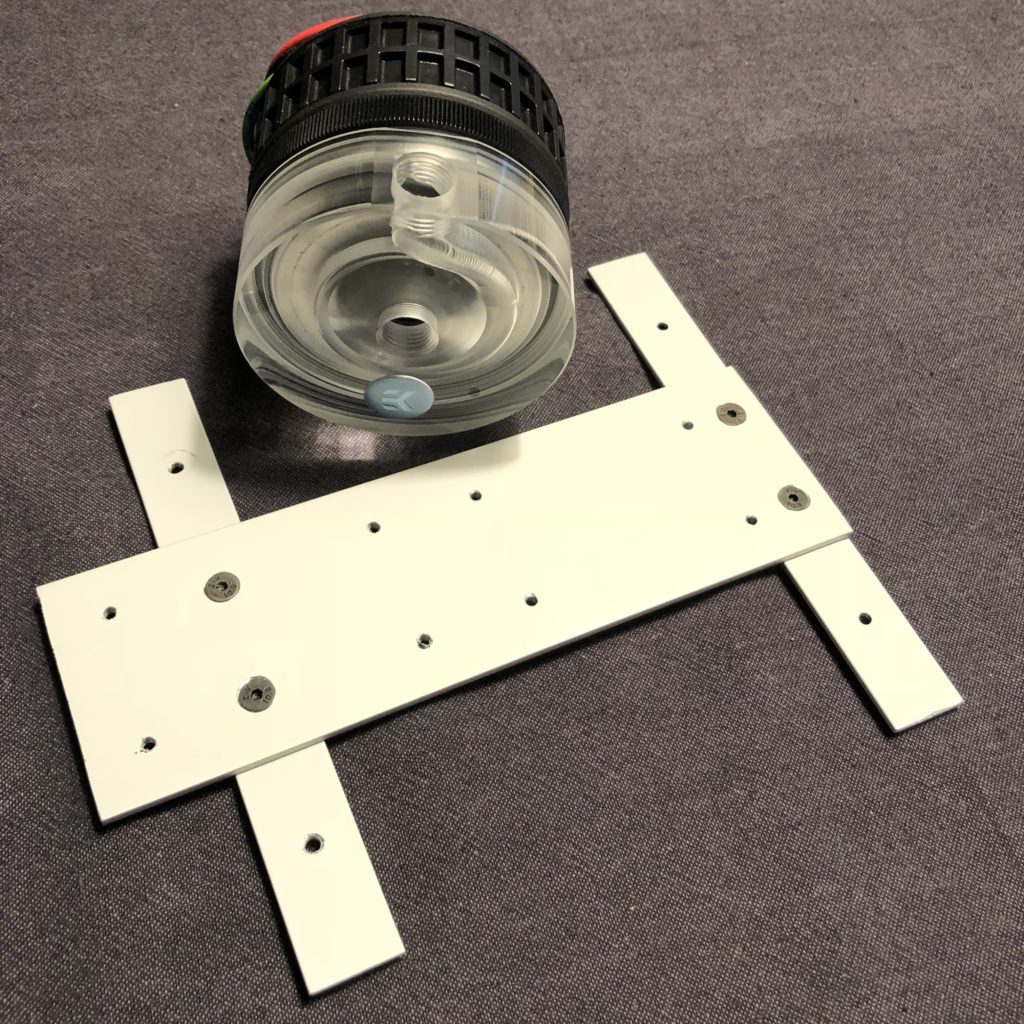
Positioning the dual EKWB D5 Plexi top pumps to ensure maximum space between them, but with optimum placement on the bracket. The original measurement above was 190mm from the front panel below the radiator to the last bracket hole. I then worked backwards from there.
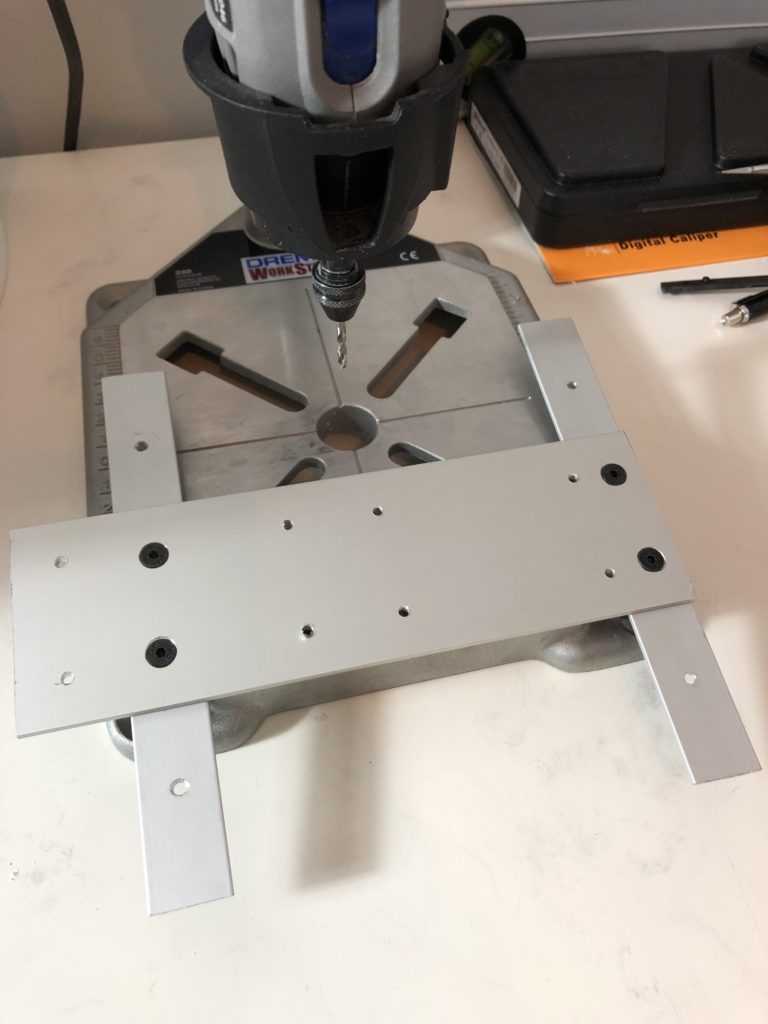
Back to the Dremel press after marking out the 8 holes for the pumps.
Not bad at all. Almost looks like the chassi for a small toy car.
Added two 5mm acrylic pieces below the bracket to raise the entire height another 5mm. Will be need to match where the PSU shroud / floor needs to be at it’s lowest point.
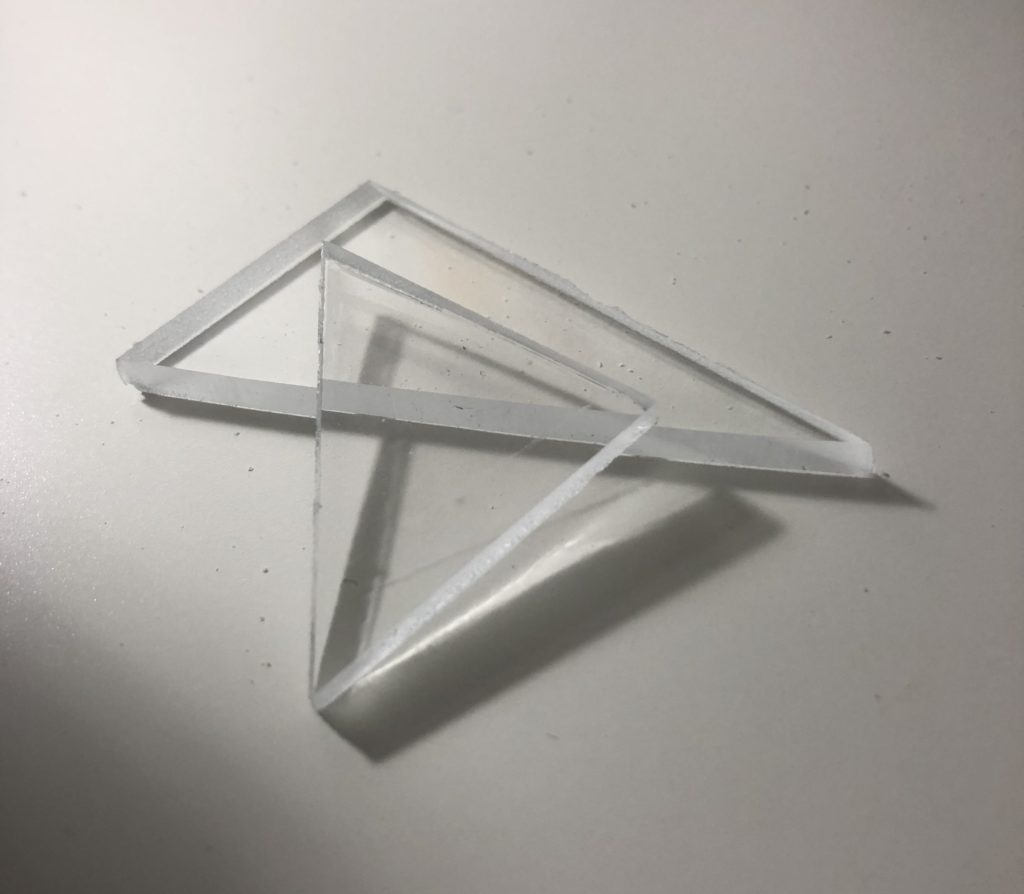
One last measurement and time to start, what most likely will be an endless amount of time spent in cutting, grinding and fixating the acrylic triangles. Hence the name of the build – Angl3d Ti.
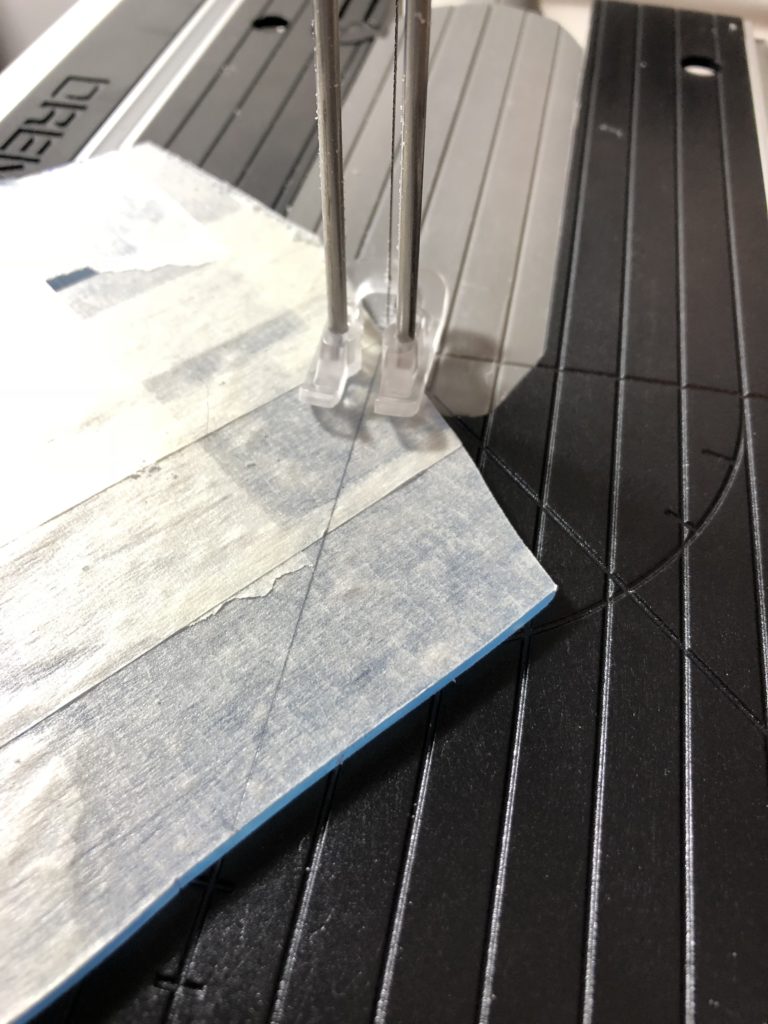
First cut is the deepest… 😉
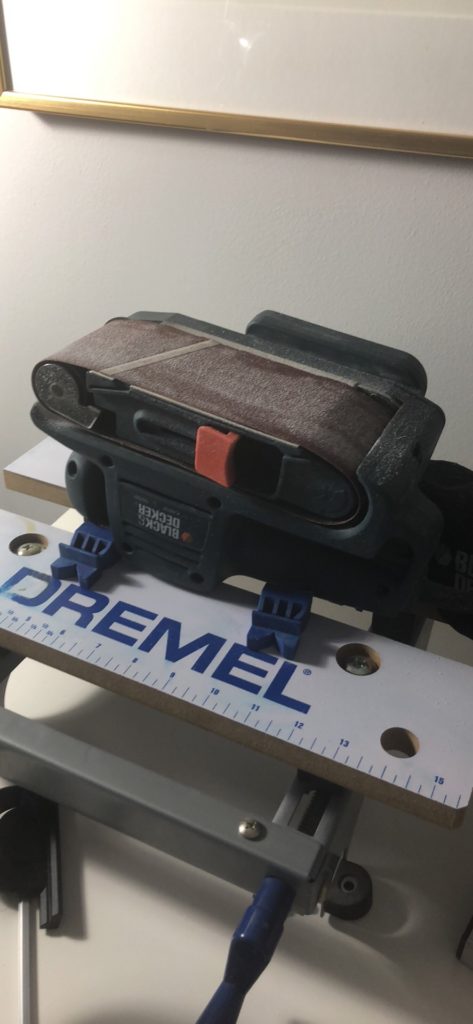
After some painfully slow and inaccurate attempts to file or sand the triangles sides into proper angles I found a solution that will kick ass. I belt grinder flipped up side down. Only thing to worry about now is my fingertips.
Suddenly I feel that this almost endless endever is doable. The speed with the belt grinder was so much higher. Accuracy is still a problem and will be, but I recon I will get a better and better feel for it the more I create.
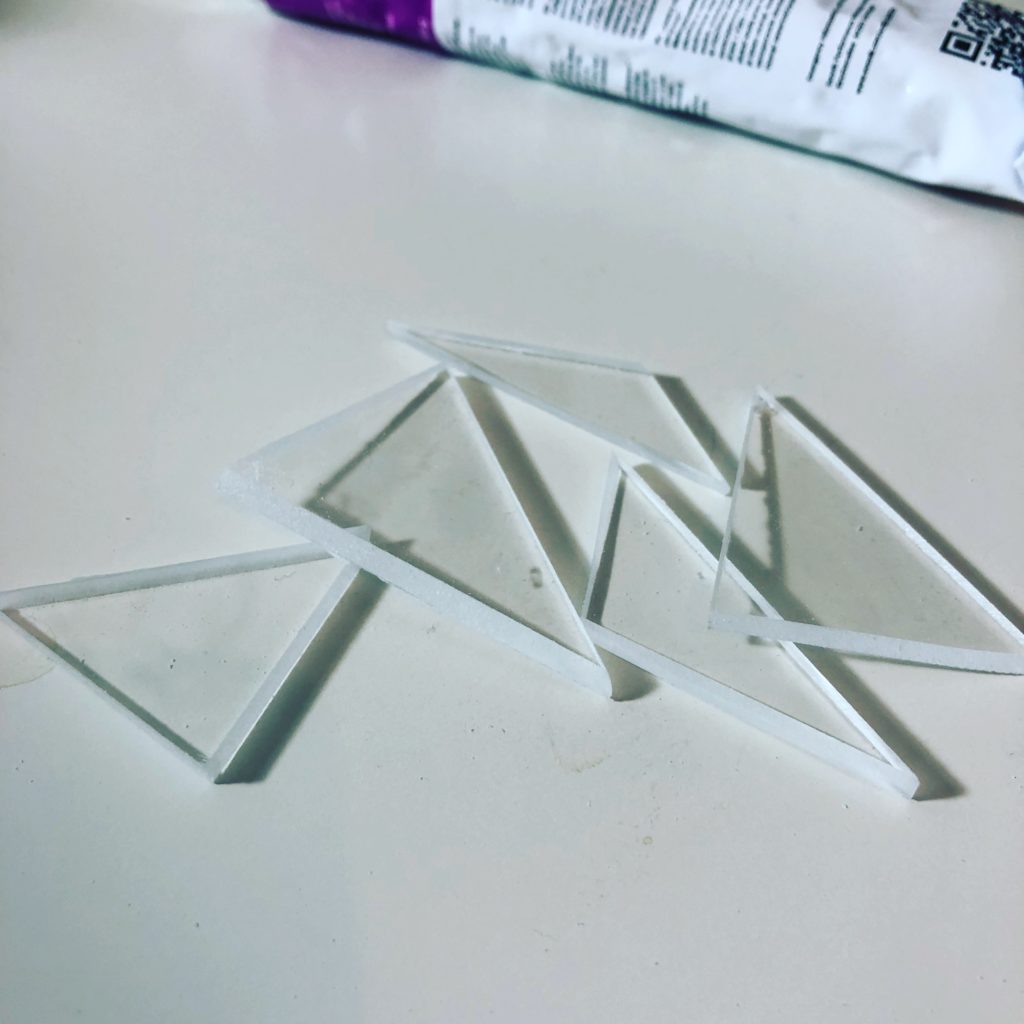
Knife sharp and straight edges. I’m saved…
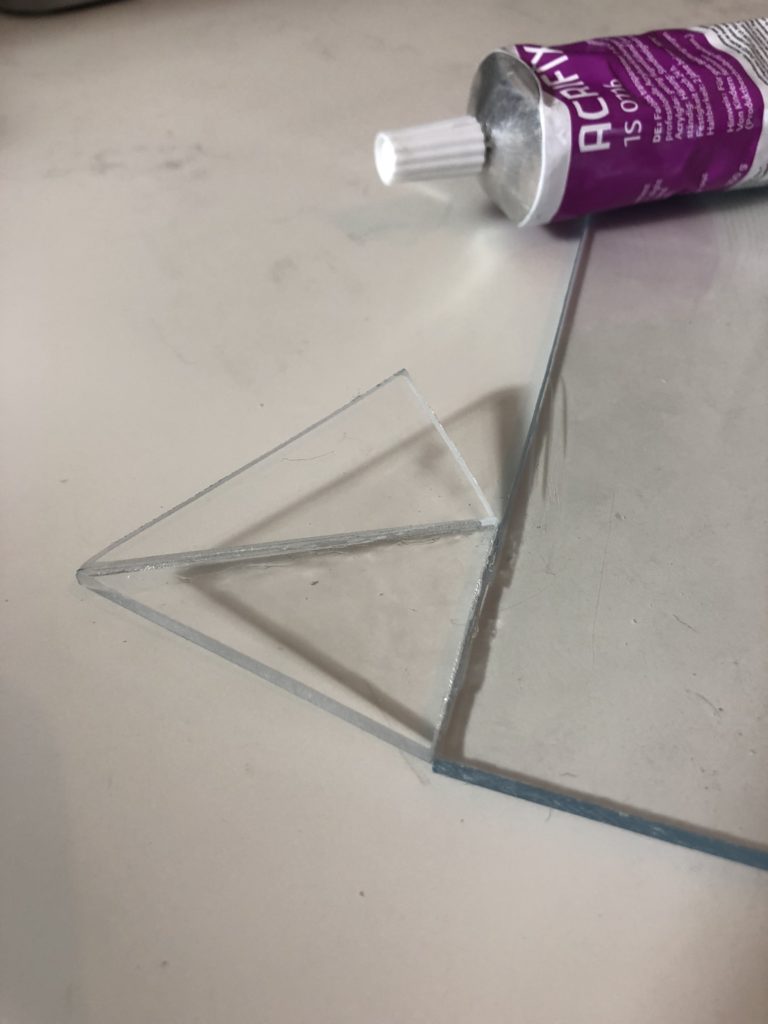
First time pieces fitted to the pump base plate. Both at an angle to each other and the base plate.
It has been a long but very productive day. So amazingly fun to be starting a new project again. This time it feels extra special as I have new friends supporting me. I hope you like what you have seen so far. Please follow the build if you want to see more and I just love to hear your thoughts and get feedback.