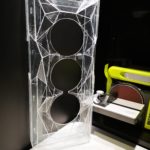
Now when I had the frame and brackets done from the previous inside chassi wall mod it was time to finish the base plate and the actual inside case wall. It should of course be carbon fibre and help the white pastel fluid in my floor mounted Aqualis XT 880 ml reservoir pop.

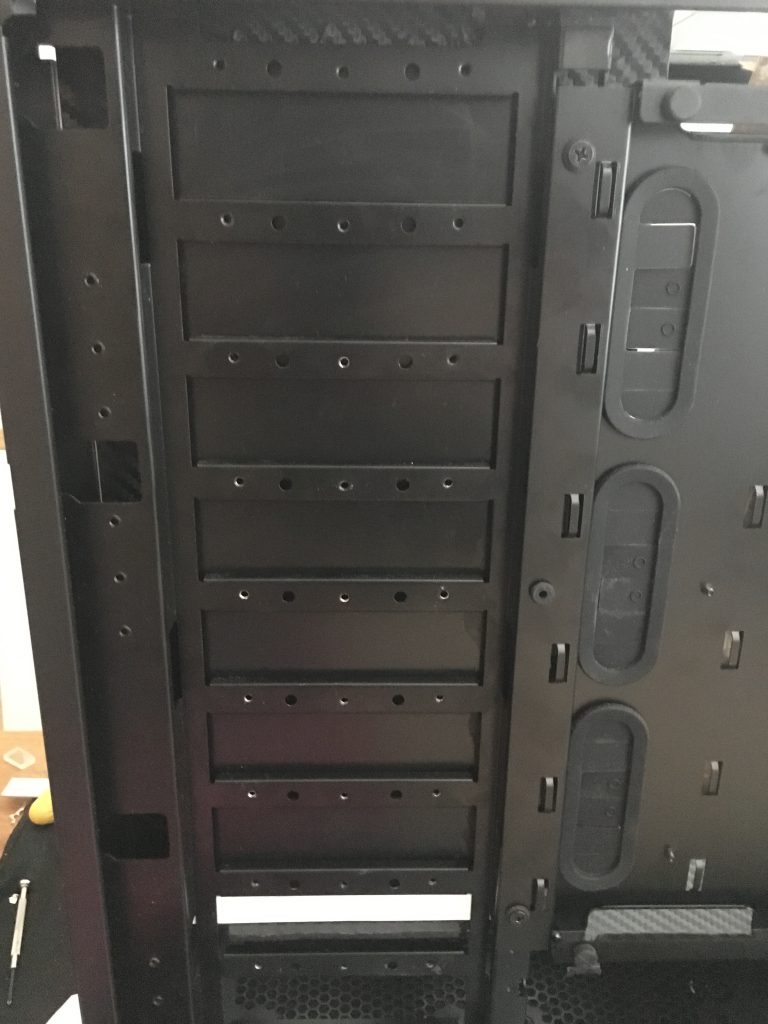
After some experimenting I decided to go for a custom design for fastening the wall directly to the HDD bracket with a spacer. That way I can mount the wall from the backside ensuring that the carbon fiber of the wall will be unbroken. I thought about doing big white thumb screws from the inside, but gave that up as if I want white details I can always add that later. This way I leave my self with future options.

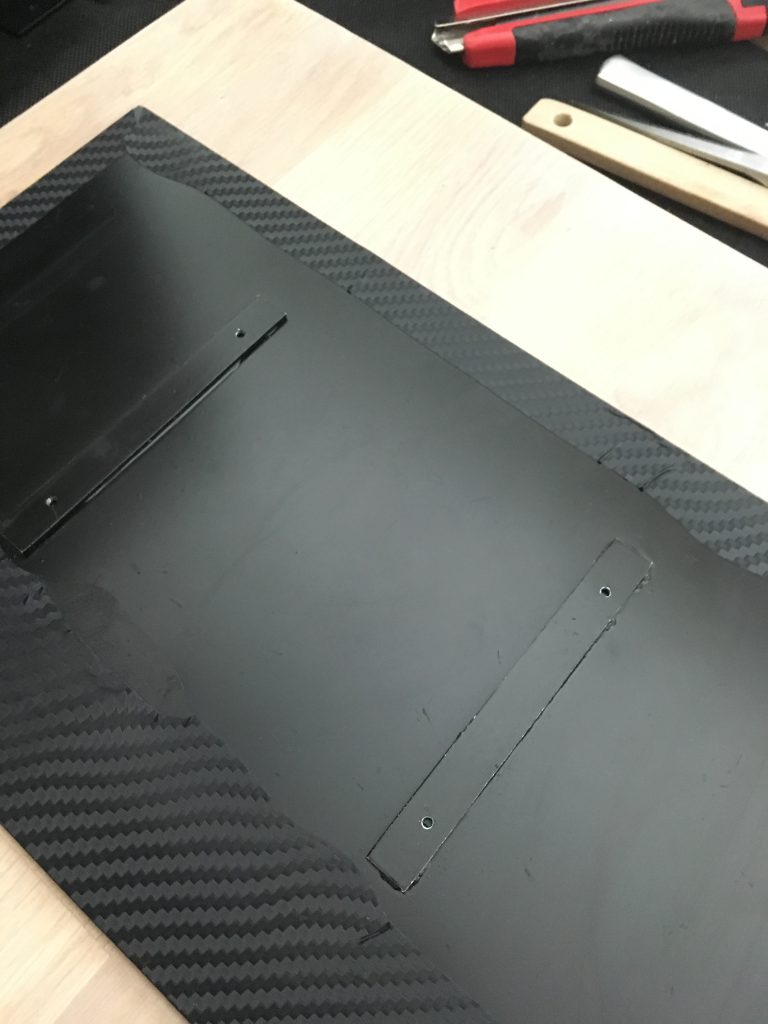
I cut and filed a piece of aluminum for my spacer. Put in the drillpress and then hand tapped two holes in the right place.

I went forward and cut two longer aluminum bars and filed them down to the right thickness to fit inside the tracks in the HDD-ladder. Then I superglued it to the acrylic. Finished off with a black satin paint. If you are thinking, hey didn’t he say that when I did his floor he was never going to prime prior to fastening carbon fibre? Well, yes I did, but here the backside will be visible and I have no negative angles, so it will be fine.

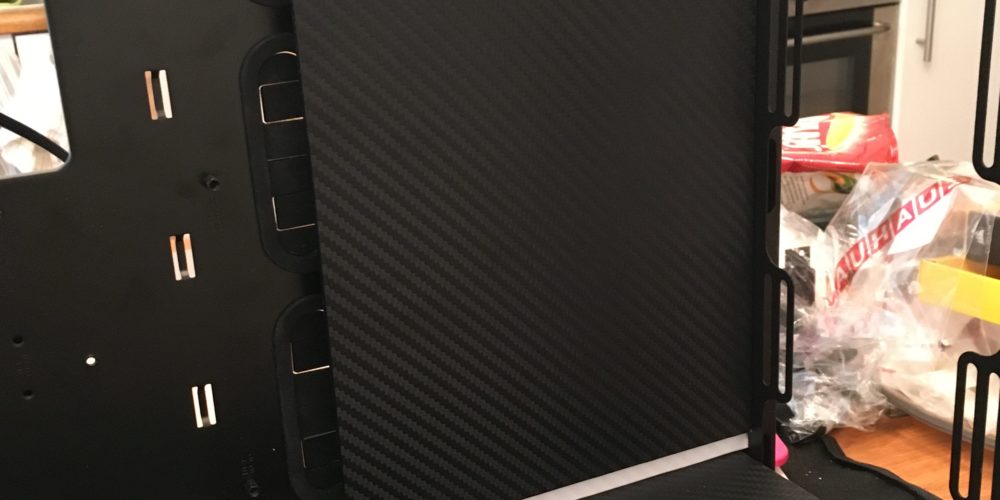
This piece was very easy to wrap in 3M’s amazing di-noc carbon fibre vinyl. Just took my time with the heat gun and made sure I stretched the corners and edges correctly. Looking sharp…
Here the backside brackets is more visible. I didn’t care about trimming the carbon fibre actually. It will be hidden by the backside HDD-ladder and I wanted as much overlap as possible to make it as strong as possible. Might cut it straight, just for the sake of it l8r, when I do the final assembly.
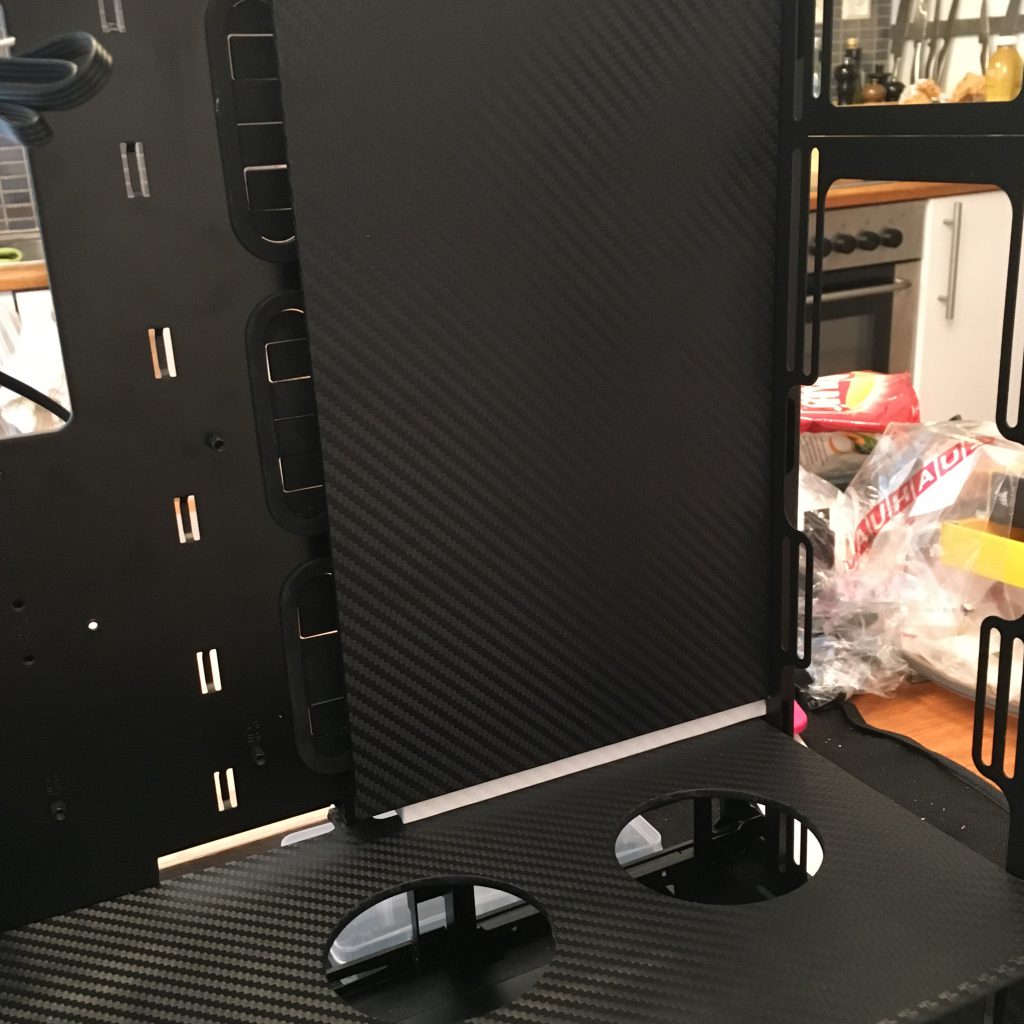
Can’t see the edges of the carbon fibre and makes the backside look really nice and tight. Feels extra satisfying to know that the backside looks really good as well. Makes for tight cable management later on. Here I also mounted the white spacer I created in the previous step.
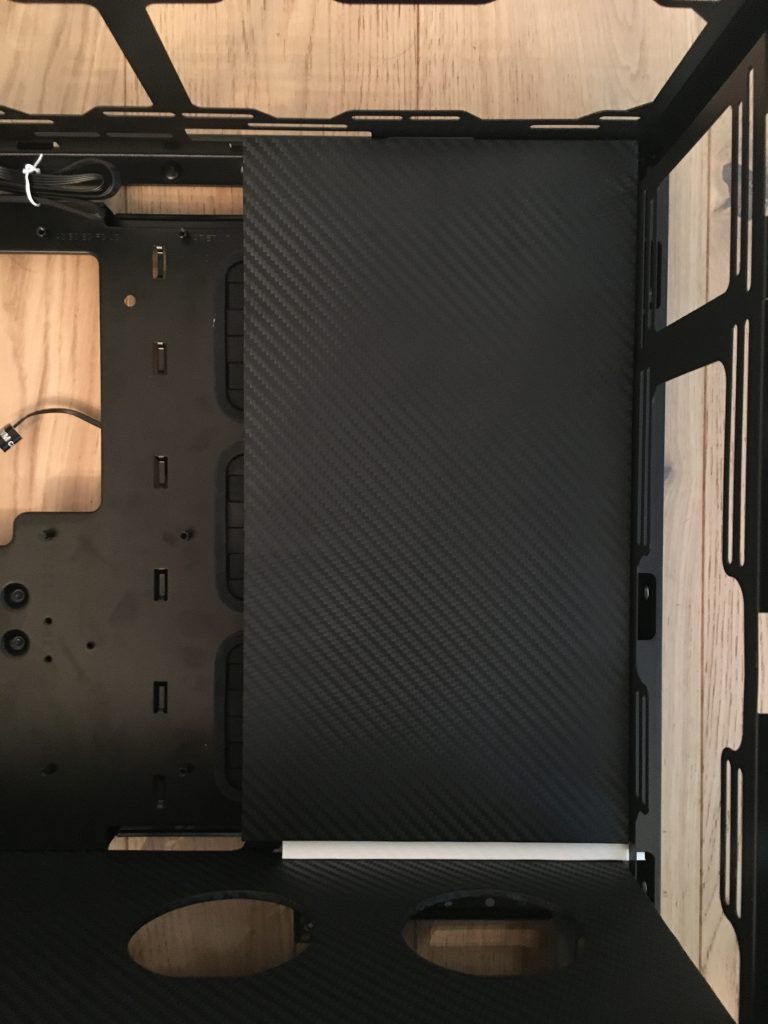
Very happy with this inside case wall mod. The white spacer behind the inside case wall really creates a small but effectful contrast both with the small dash of white, but with the layered effect. Very happy. No fastening screws visible either – was the right decision.
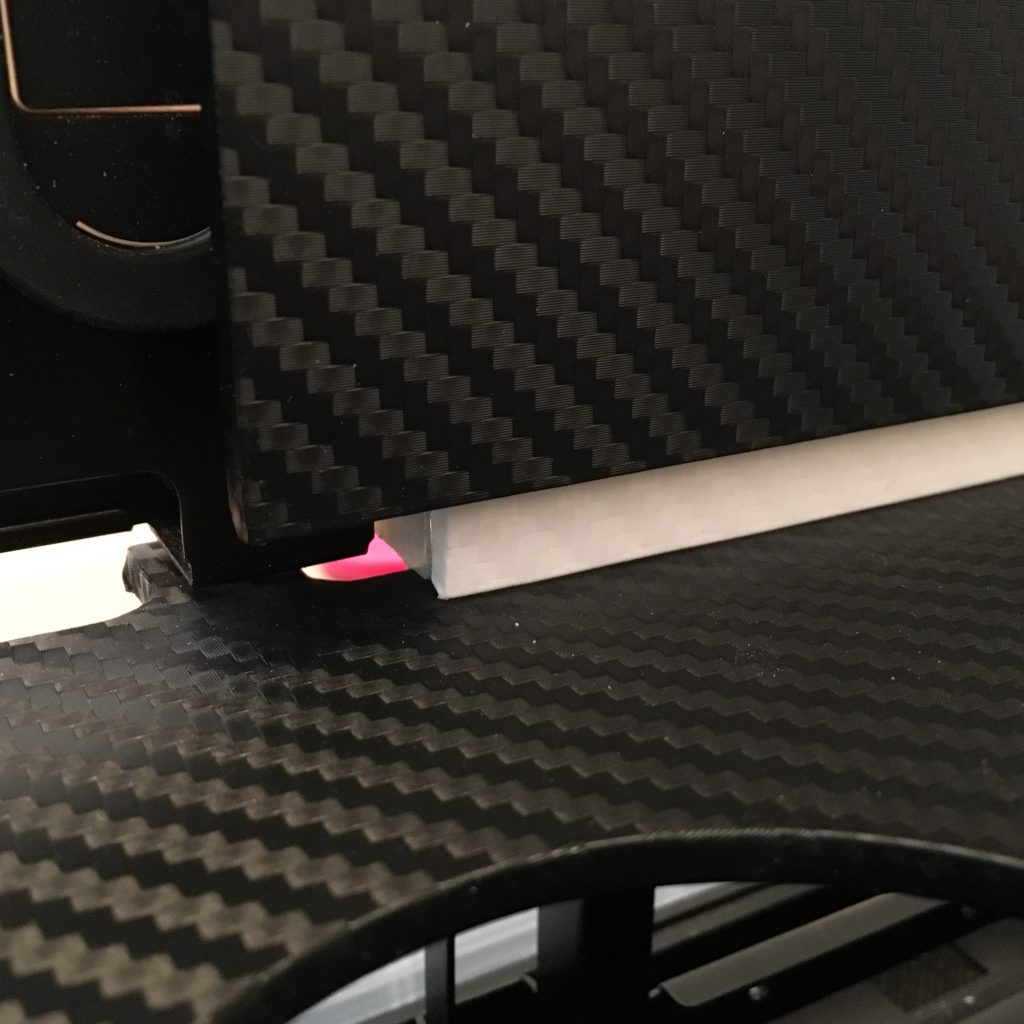
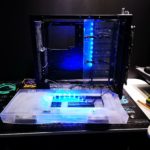
Closeup on the white carbon fibre spacer with the custom lighting LED ramp in the back.

Picture of the hidden light ramp that will make the LEDs cast an indirect light source on the motherboard and custom sleeved cables later in the build.
Final result. Think that small white carbon fibre made the whole difference and created just that effect I mentioned when creating the inside chassi wall be quiet dark base pro 900 part 1 – need contrast and layers to make this inside case wall look good.