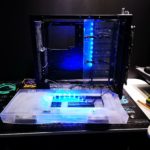
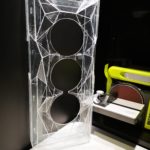
The first step was to try to put my thoughts into actionable design and break that into needed parts. The be quiet! Dark Base Pro 900 is an amazing case to build and do modding on due to its very high modularity. Except for the base frame and some brackets, most of it is fastened by screws, making them removable and movable. One awesome feature is the possibility to mirror the entire case depending if you like the glass window on the right or left side. The perfect case for modding!
I knew from start that I wanted something clean. I couldn’t have cables and brackets all over the case if I wanted to stay true to the Scandinavian themed design. Nothing to hold me back now, time to get going. For me, if I’m not using CAD, any design starts with a mock-up and when building computers, that mock-up is usually cardboard. One thing I love about working preliminary with cardboard is obviously just the cutting and taping it together. But it’s also the fact that the needs for threads, fittings, screws, brackets etc. will reveal itself.

The first part was to ensure clearance for the none movable PSU bracket that is part of the bottom case.

I then moved on to ensure that my new PSU cover / second floor would fit below the removable back part / motherboard tray. 5mm acrylic would be a tight fit, but it would be doable. I’m glad I tried with cardboard, otherwise I would have gone with 3mm acrylic and a less ridged floor as a result

I had decided from start to hide as much of the inside case as possible. I had many different takes on solving mounting with and without the HDD bracket “ladder”, but decided I wanted the rigidness the original piece would provide. This is noticeable in the inner right corner in the above picture.

This was starting to look good even in cardboard. One more positive aspect more with cardboard, is that once it’s done, it’s so much easier to take measurements on the cardboard rather than in the loose case.

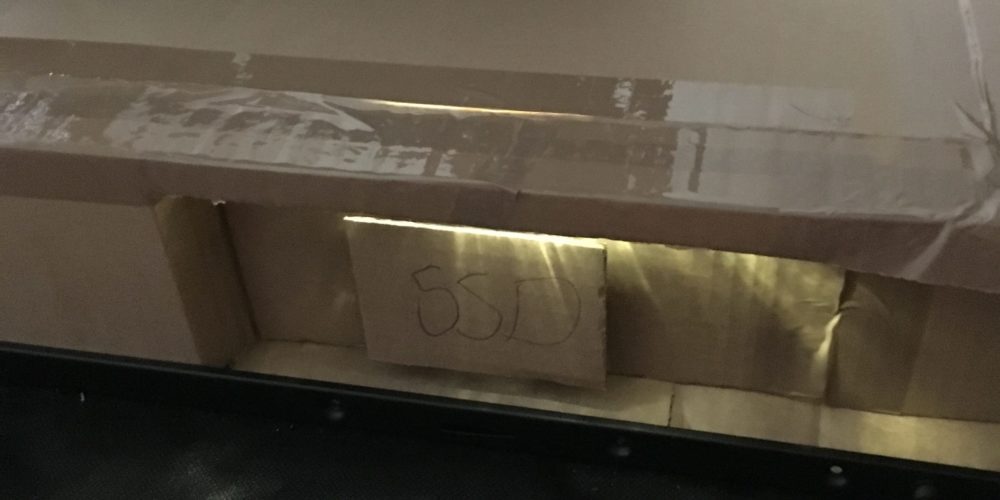
I had pictured in my head all along that I wanted to create a compartment in the front for SSD. Felt I needed both the different depths to ensure a more 3D feeling as well as the possibility to add some custom lightning effects. One thing that made me measure both once and twice was the movable PSU mounting options in the be quiet! Dark base Pro 900. I opted for a back-mounted PSU position to give room for a longer 180mm PSU. At this time, I hadn’t decided on the actual PSU, making real measurements an uncertainty, but was leaning towards the Corsair RM1000i modular PSU.

Finally, I tried it out with some lightning to test if I needed bottom up, top down or even both. I decided at this point to go for a bottom mounted light ramp. That way I would also have the possibility to hide the bottom case even more, with all the case fittings and brackets to support the surrounding case parts.


