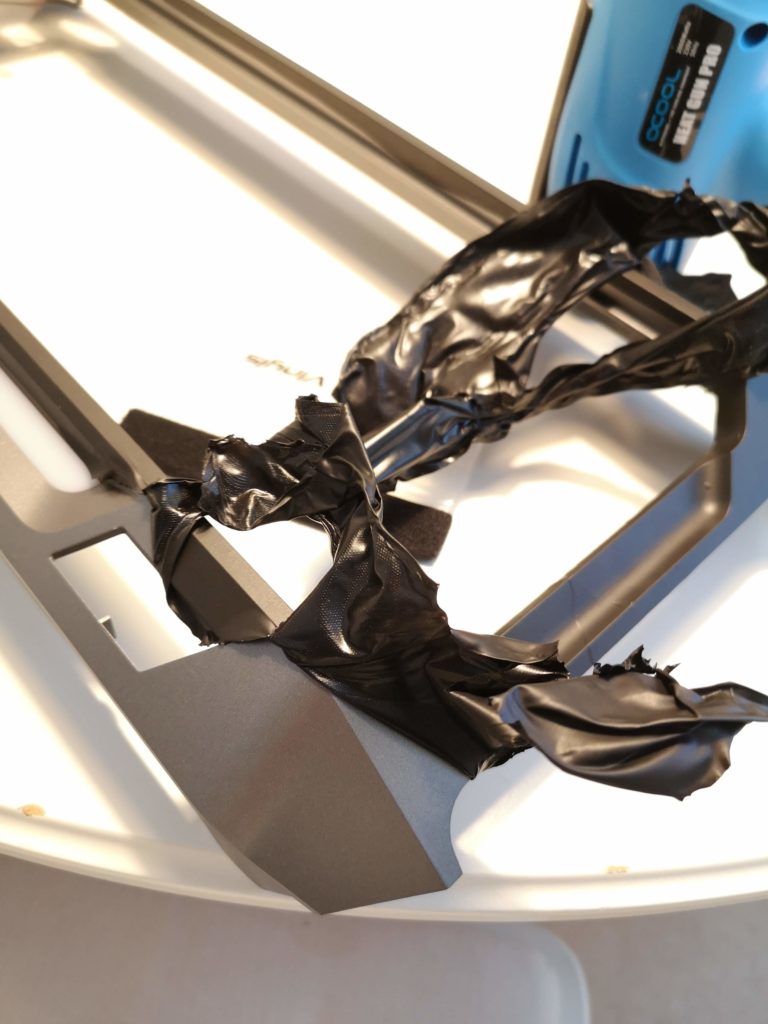
Learn by doing…
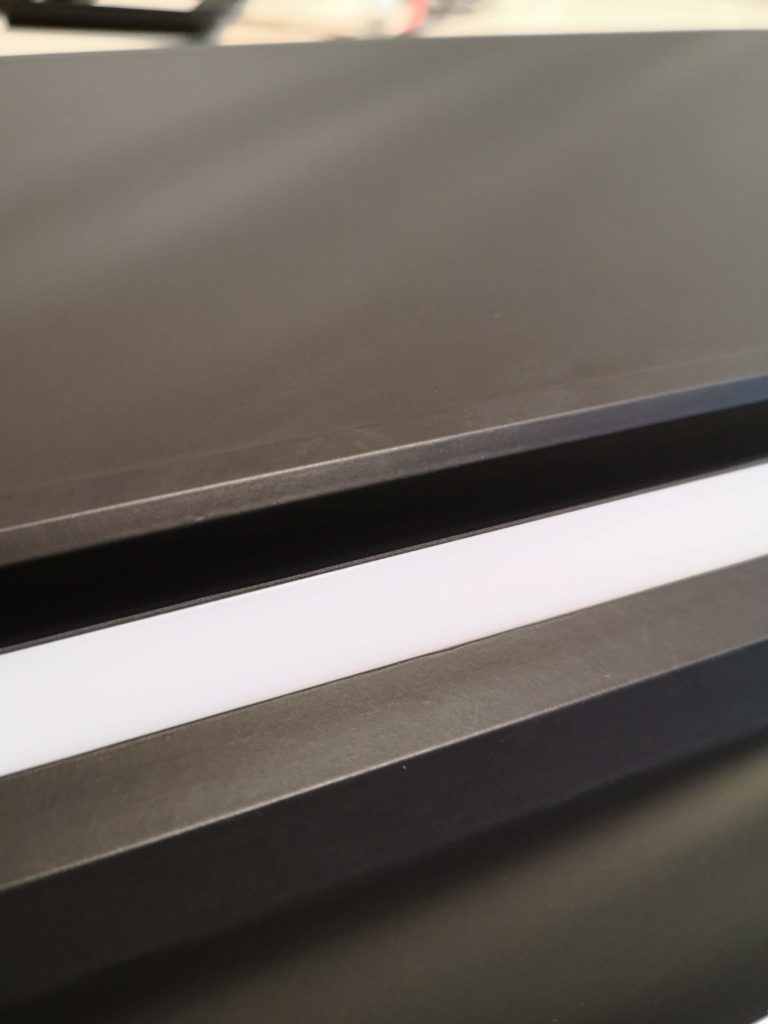
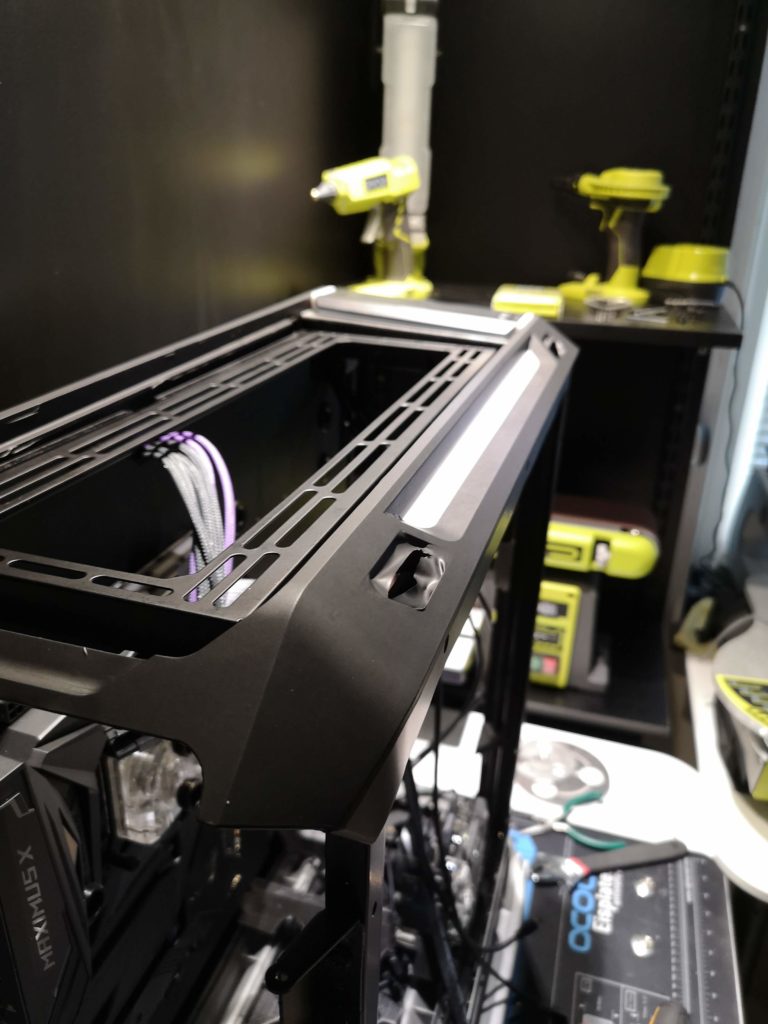
Third time is a charm, atlest for me adding this matte vinyl to the top. I got big mod left for the front, so I want two tone. The sides are left original to pay my tribute to the exterior as well.
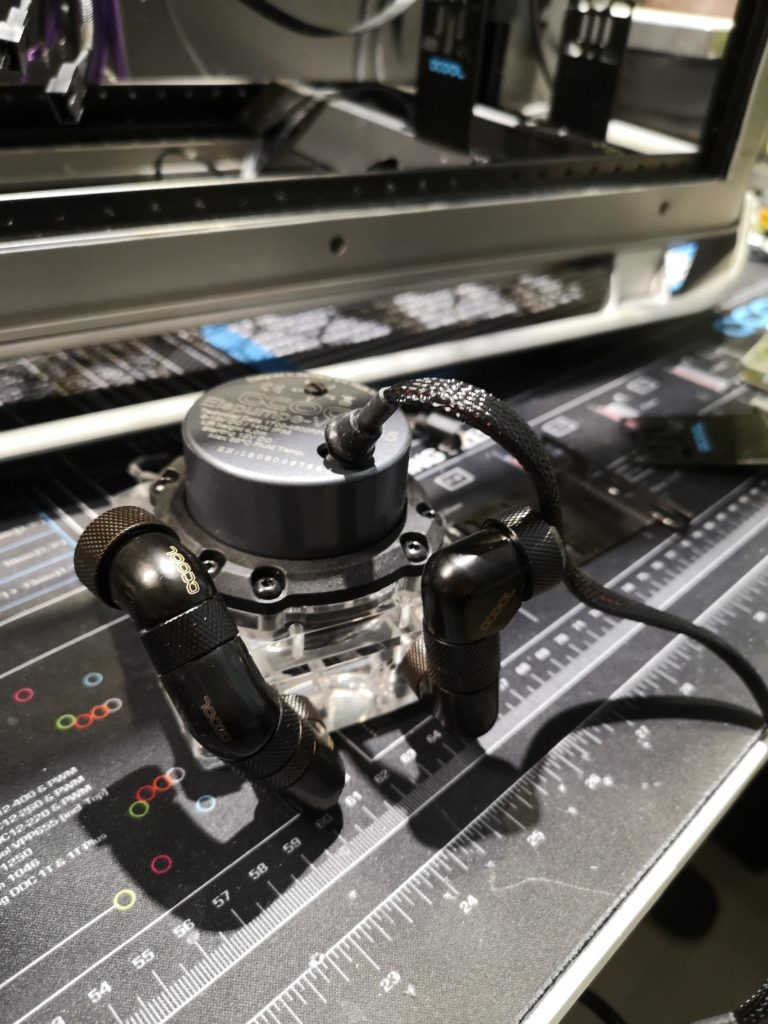
This will be a BIG challenge…
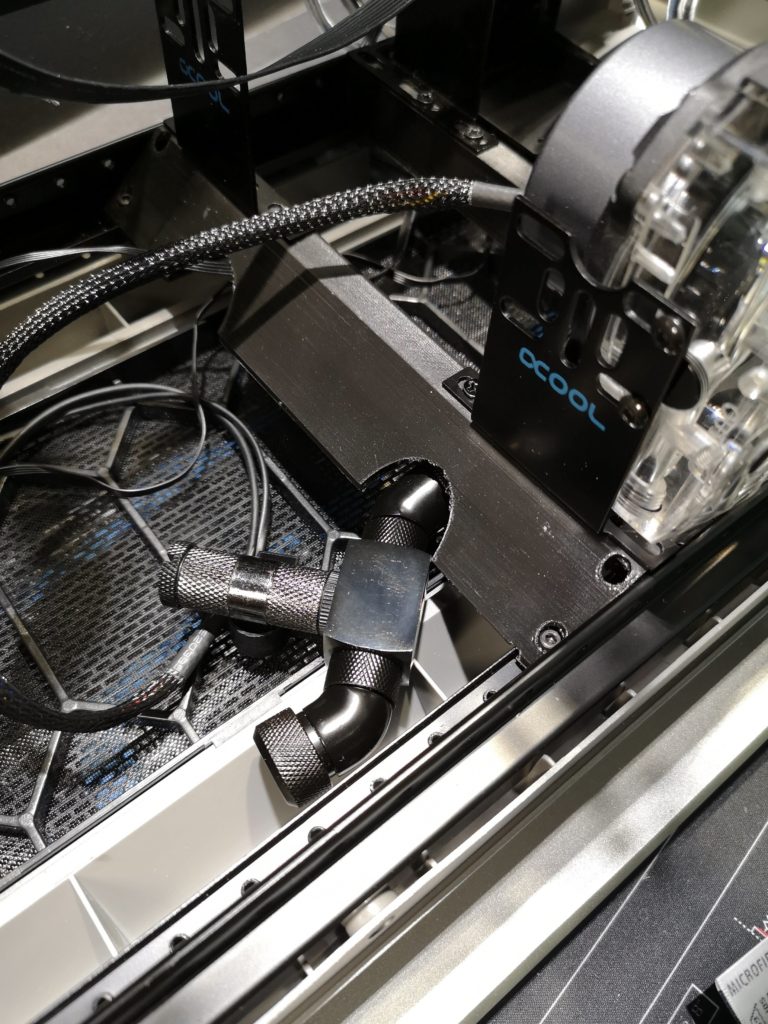
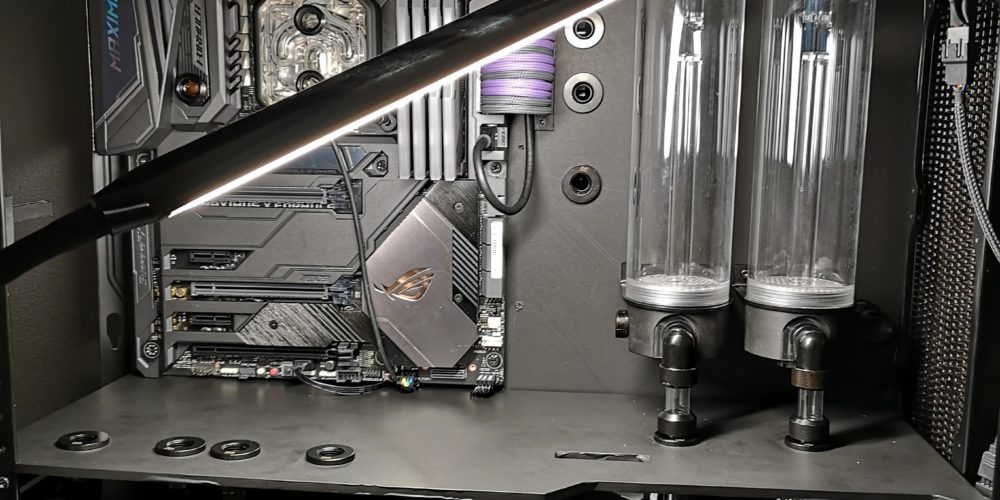
Dual pumps and loops mean dual drains. This is one. As the bottom fan cover is removable, it’s leaves a fairly easy access without taking up space.
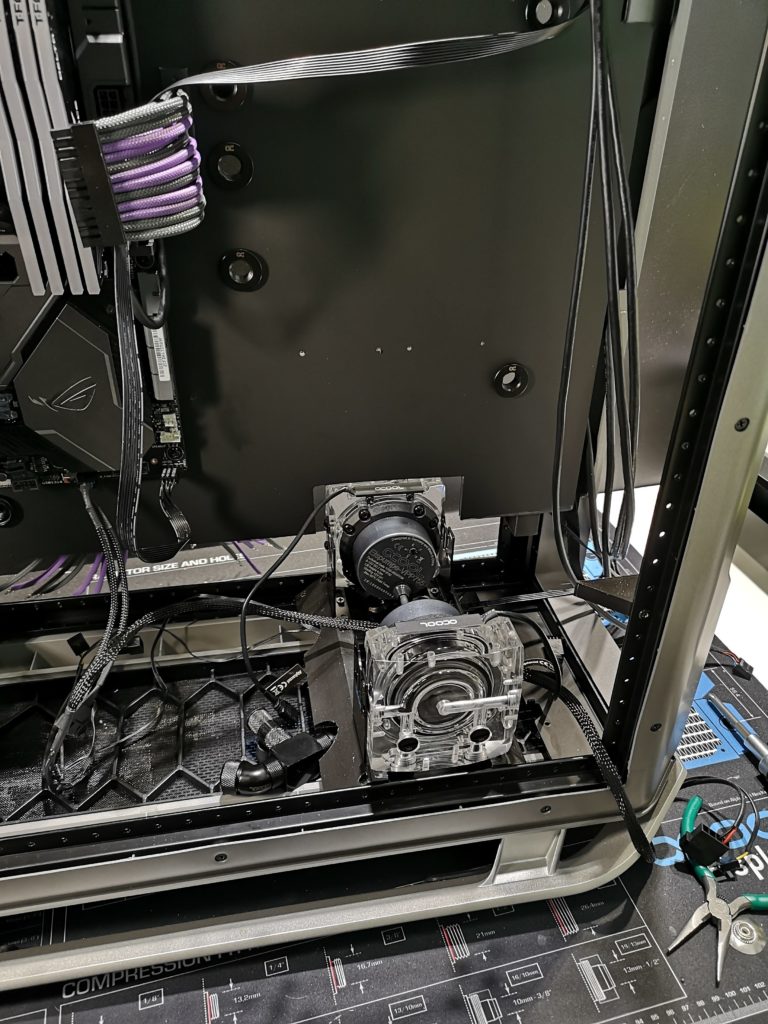
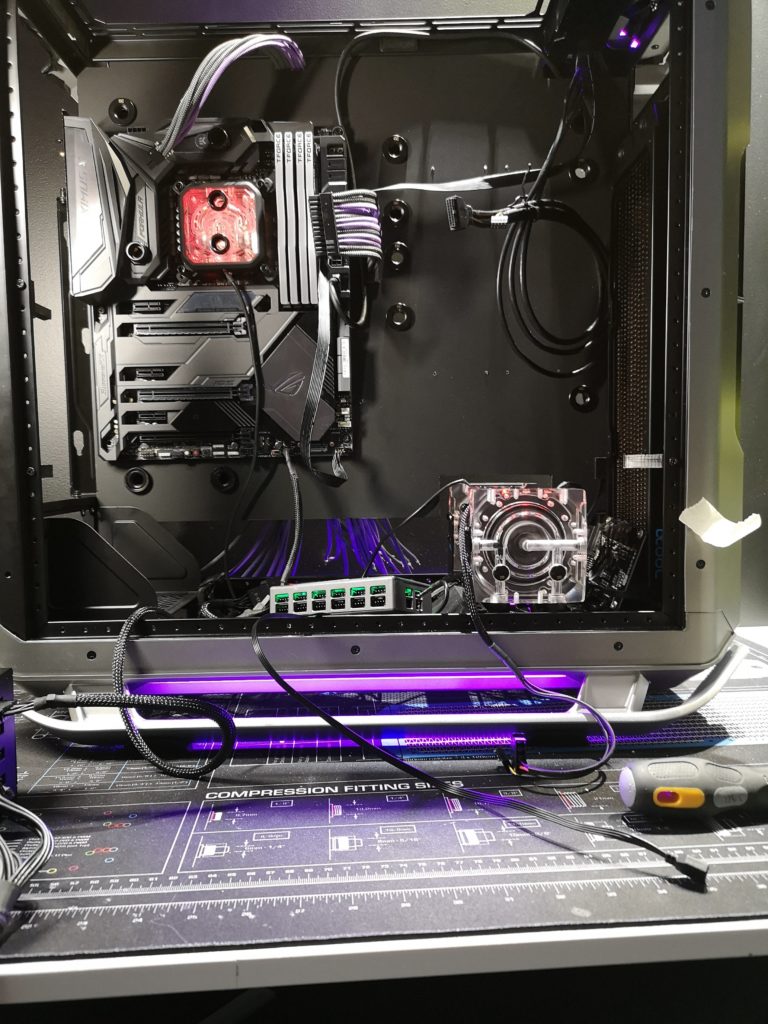
One last RGB test before I start to put things into it’s real place.
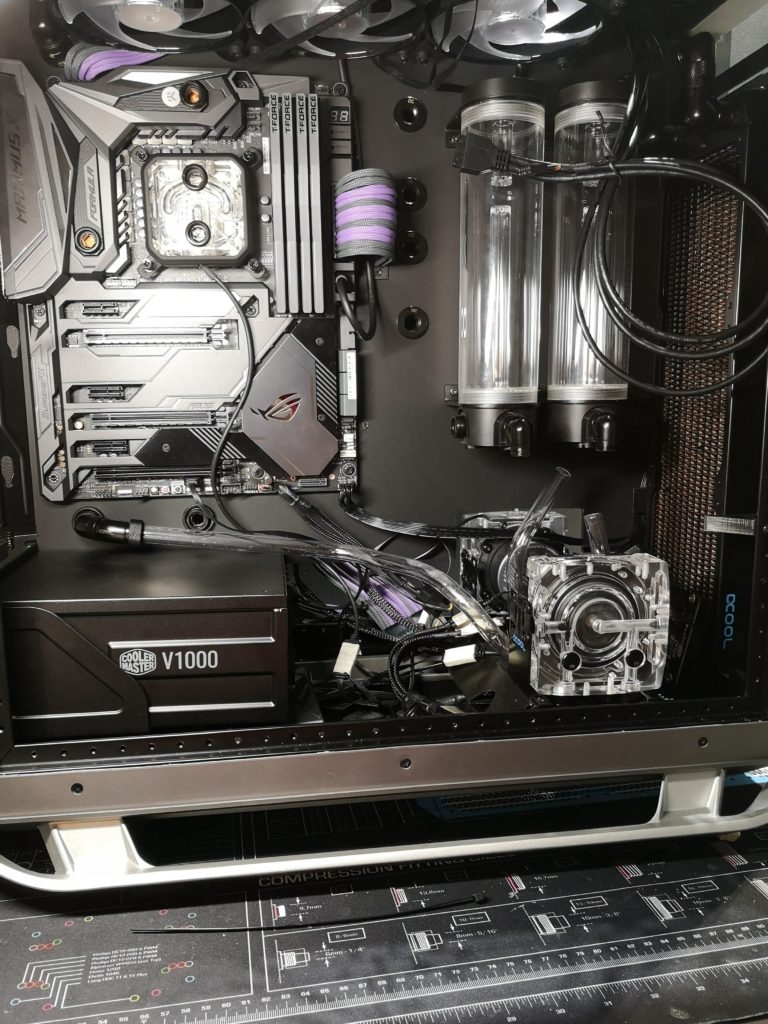
Next time I will use soft tubes for below the shroud (jeeez what a lot of work)
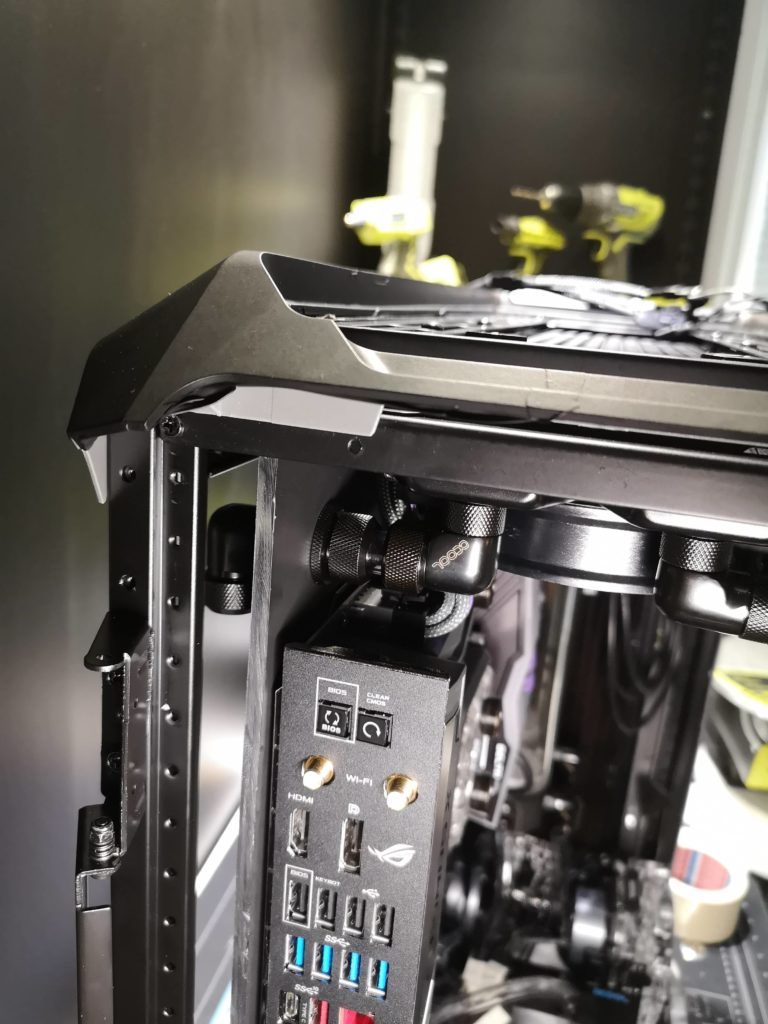
That cannot leak or it will be expensive…
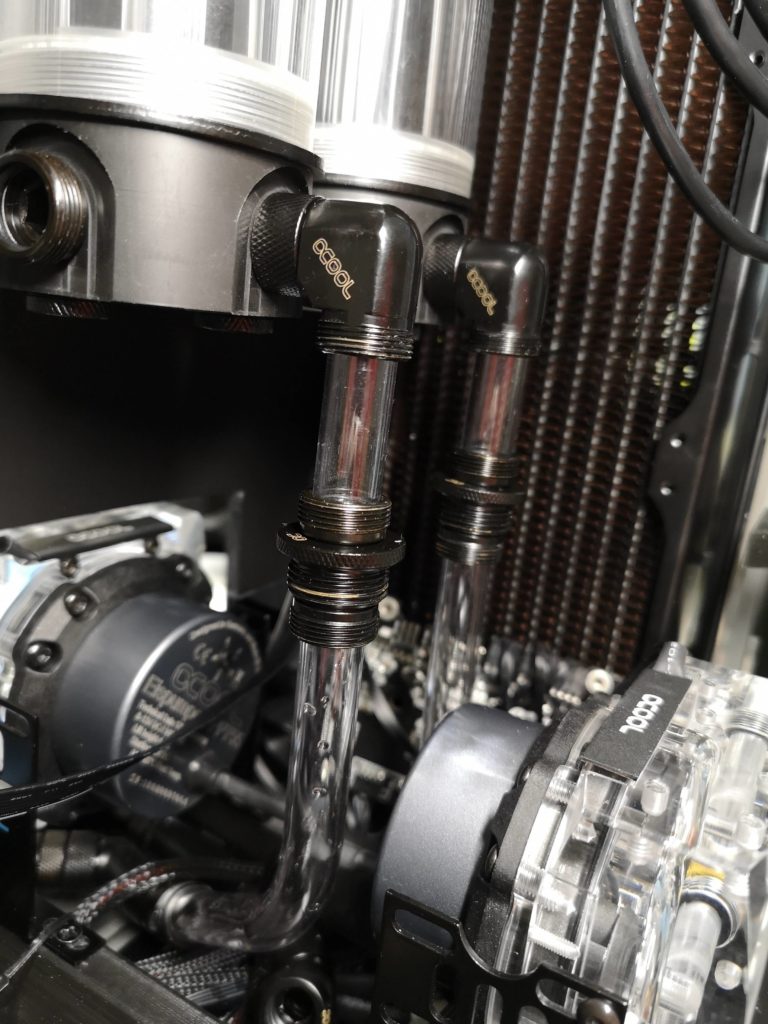
Looks almost like an engine. To bad all these beautiful precision bends isn’t visible once I’m done
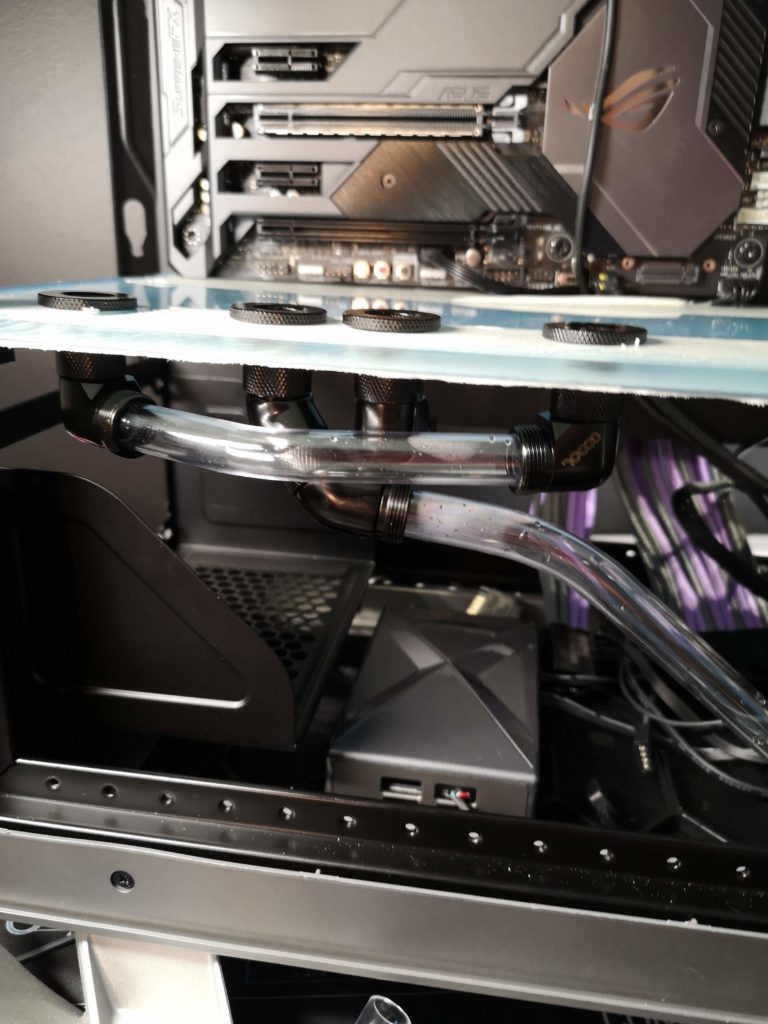
That only fits in one specific order, but should work. Became a little complicated when I cut the rhombe hole. Want a clear view to the PSU.
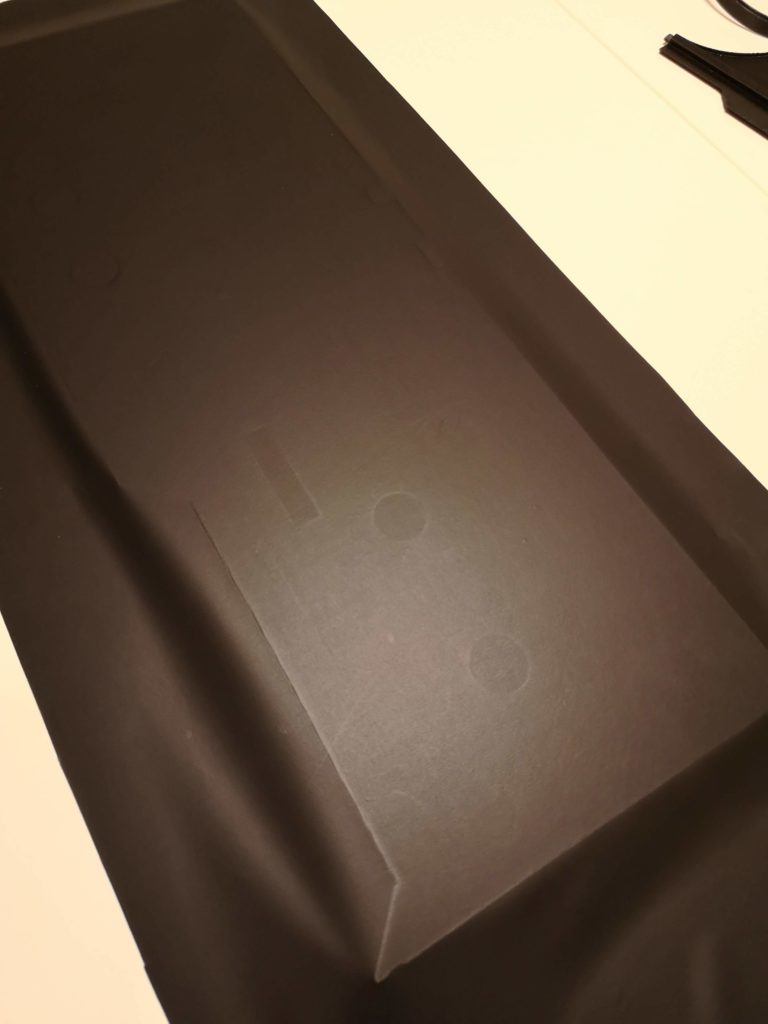
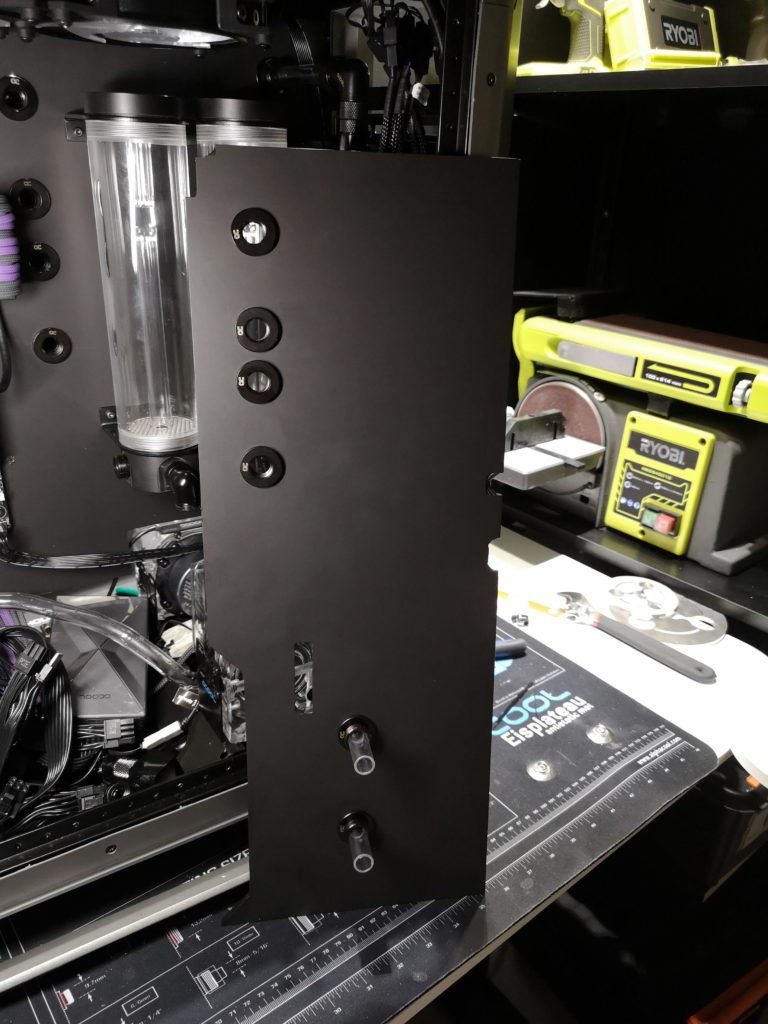
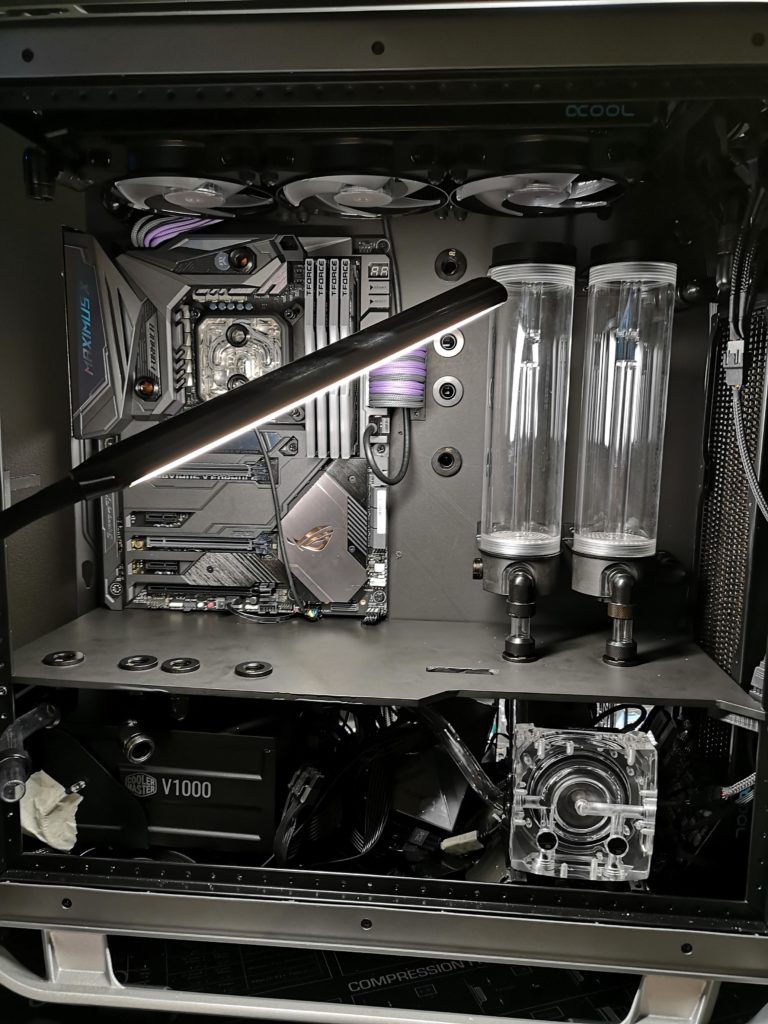
With all the bends and planning done for the shroud I could finally put vinyl on it and put it back, permanently. That looks so good IRL. It is so matte it eats light.
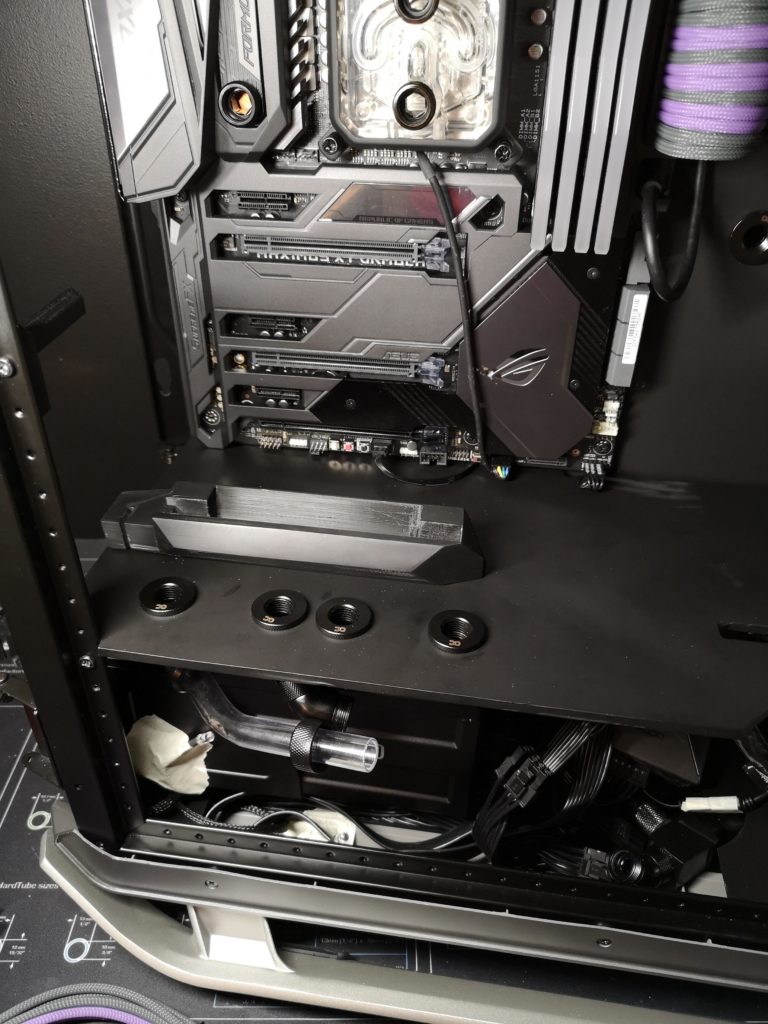
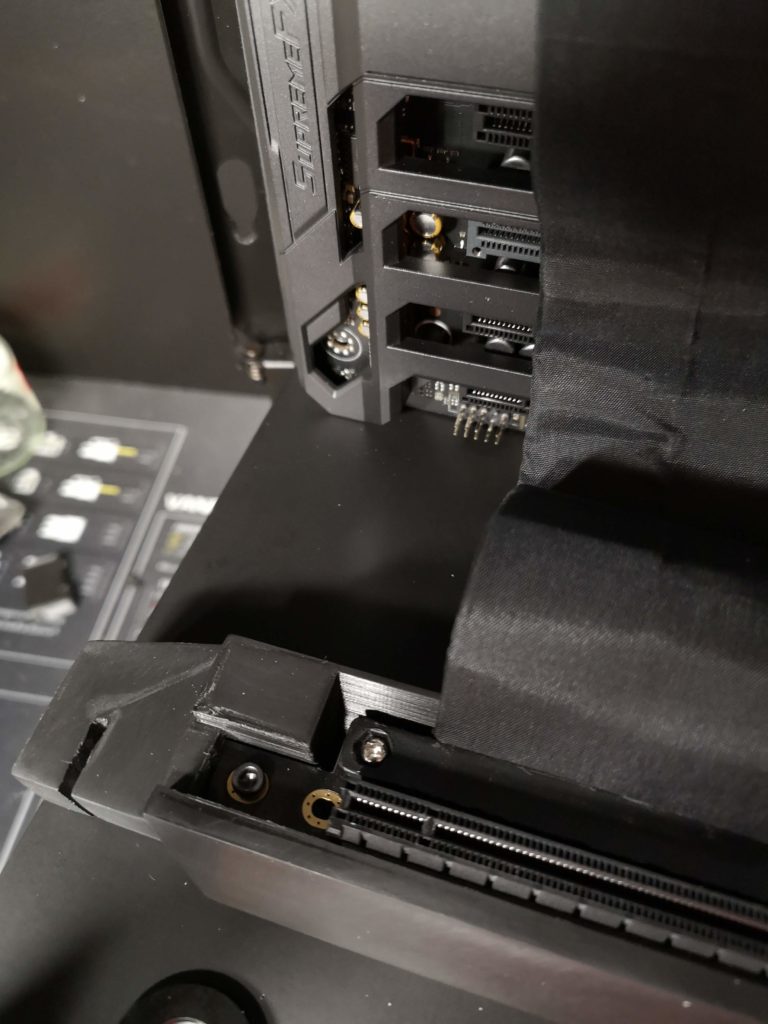
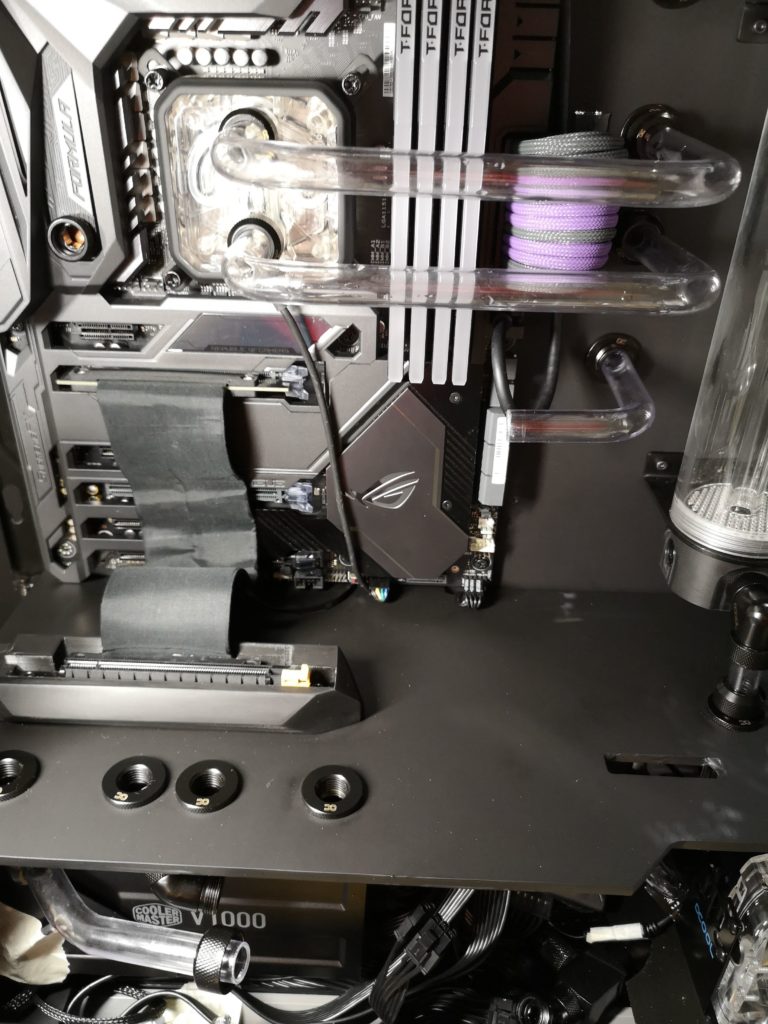
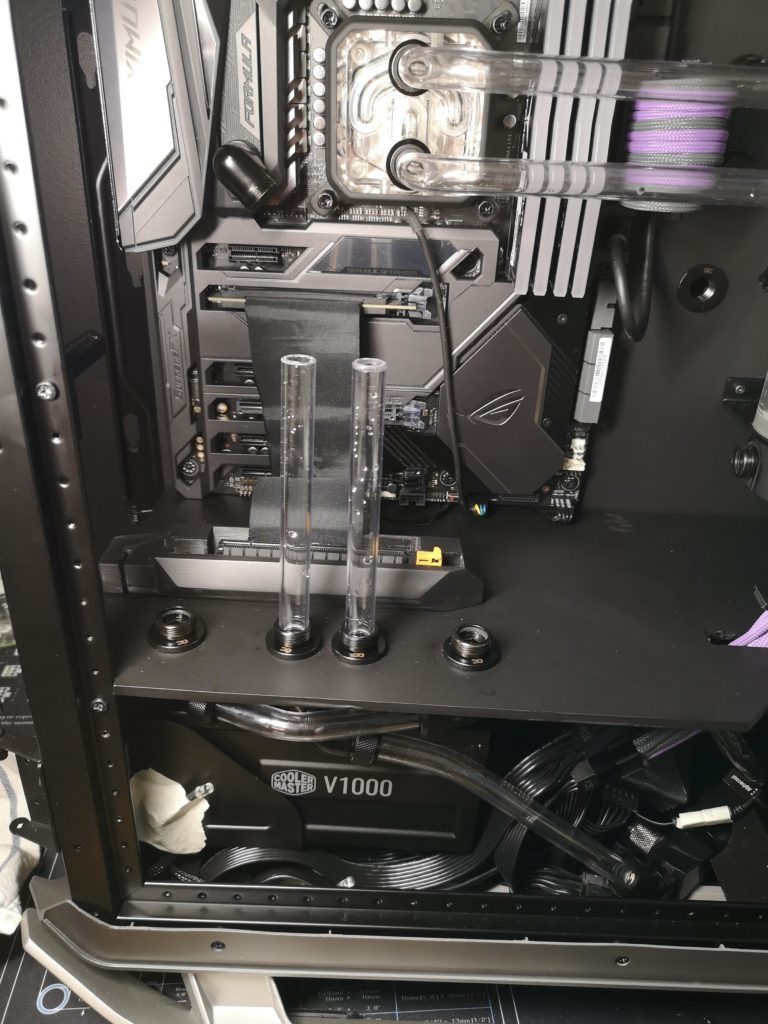
That bracket worked out really good. Riser secured. The bracket is a mini version (line wise) of the exterior line of the bottom foot.
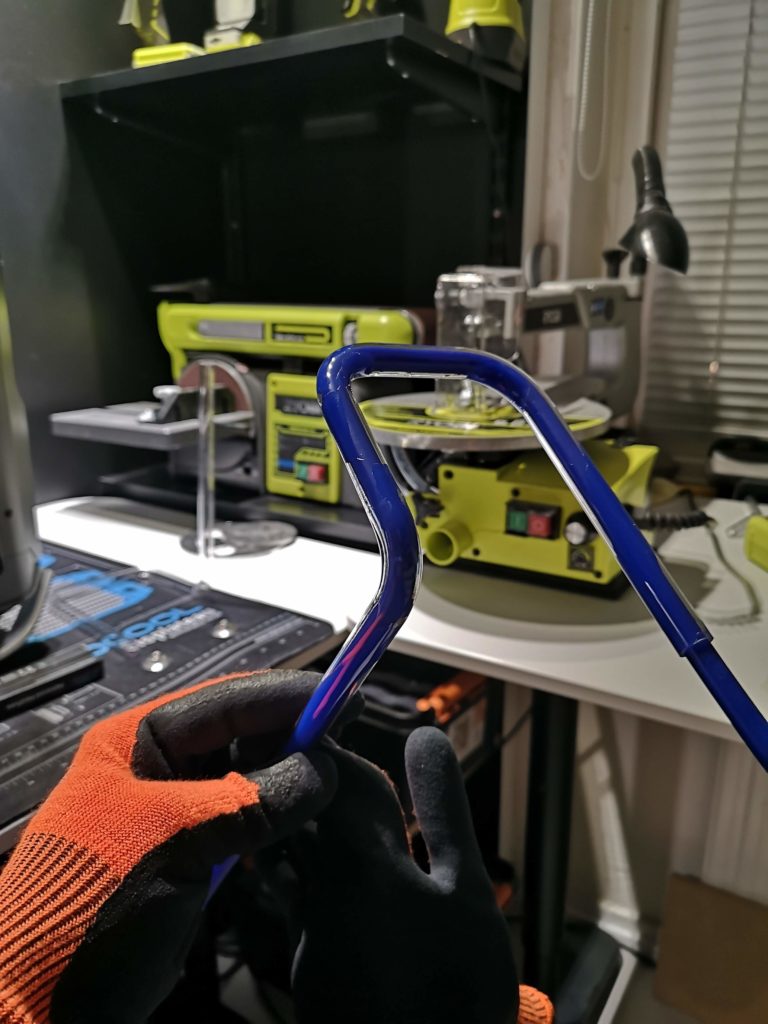
Not bad at 3am. Last bend of the loop. Took some time to get this perfect. Needed it at a very specific hight.
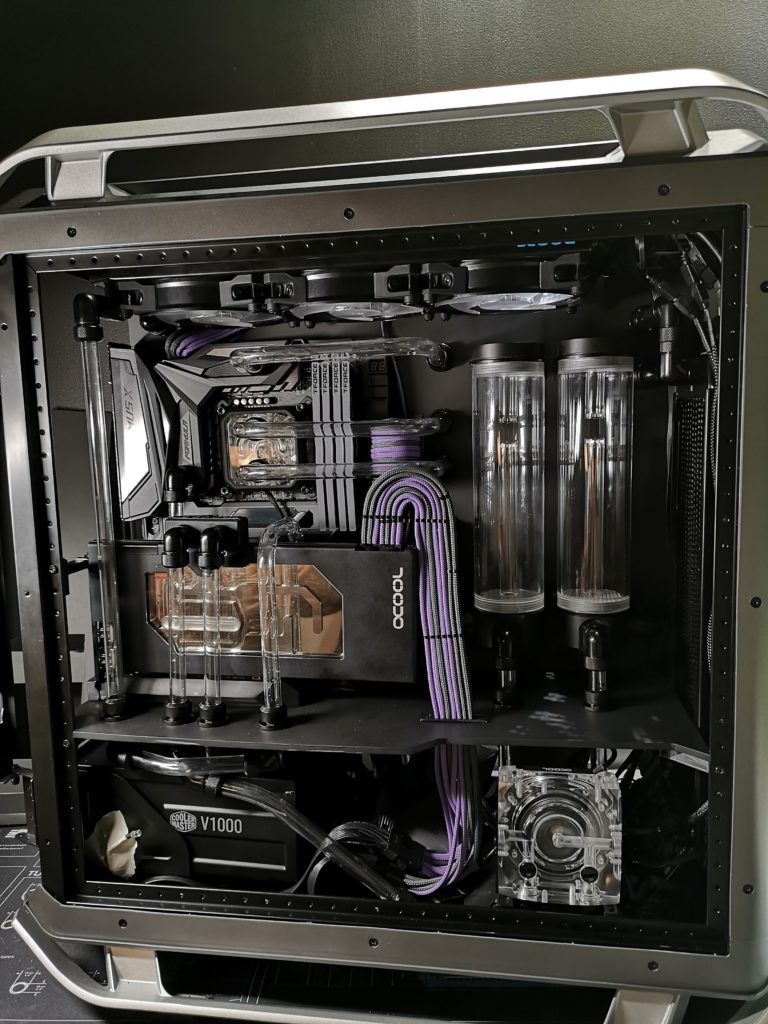
There, that last pipe is at exactly the same hight as the 90 fittings going into the GPU. Makes for a nice line. Then it bends over the VRAM pipe to end up to the left reservoir.
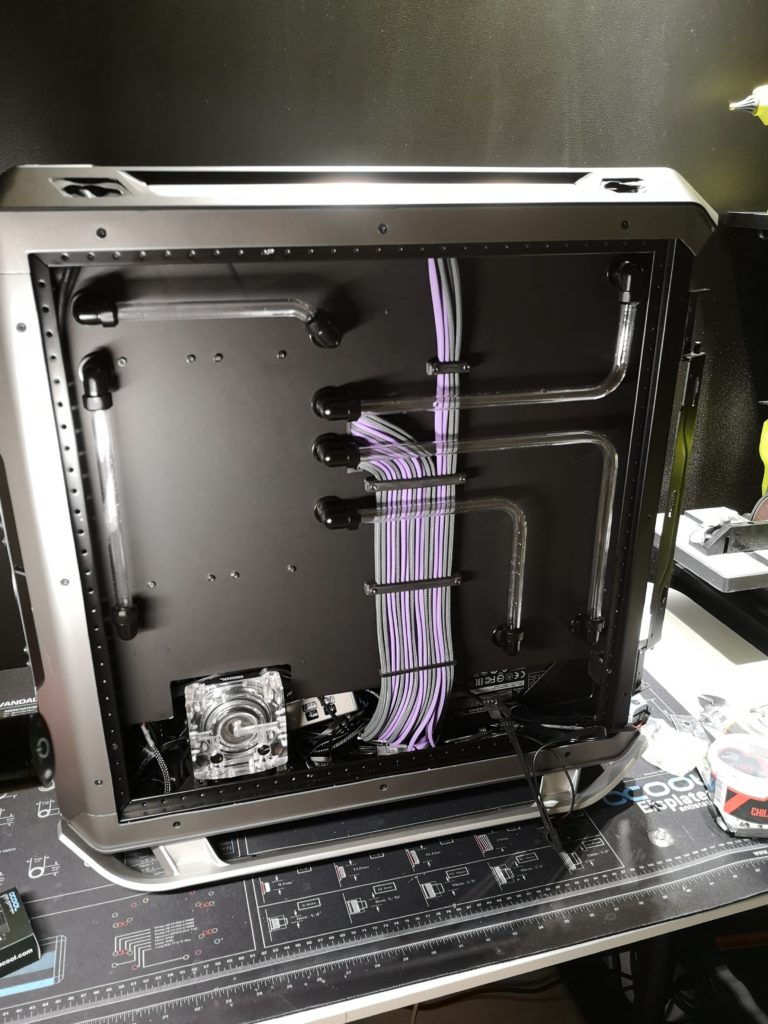
Loop is done and put together. Still need to “fill” that empty spot on the backside. 3D printer got to work before I went to bed 4am. Alarm for 6am, two more days…

