Day 3 was mostly Fusion concept itterations to decide on a path with the great exeption of the 2nd pump bracket. Started day forth fairly late as I had regular workday (as most of us do) but decided to start working on the front of the PSU shroud and the pump top cover.
First piece of the printer was this concept of a bottom plate.

Mounted the 2nd pump bracket and that plate design fits good. Time to start with the 2nd piece. My idea for this pump cover is to print it with as many flat parts as possible. Will not only make for MUCH faster print times, but should making sanding and finishing much easier.

Second part was the corner piece of the bottom. Finish isn’t great, but I try to print all concept and test parts as fast as possible. With a production piece you have to start to think about finish and print orientation.

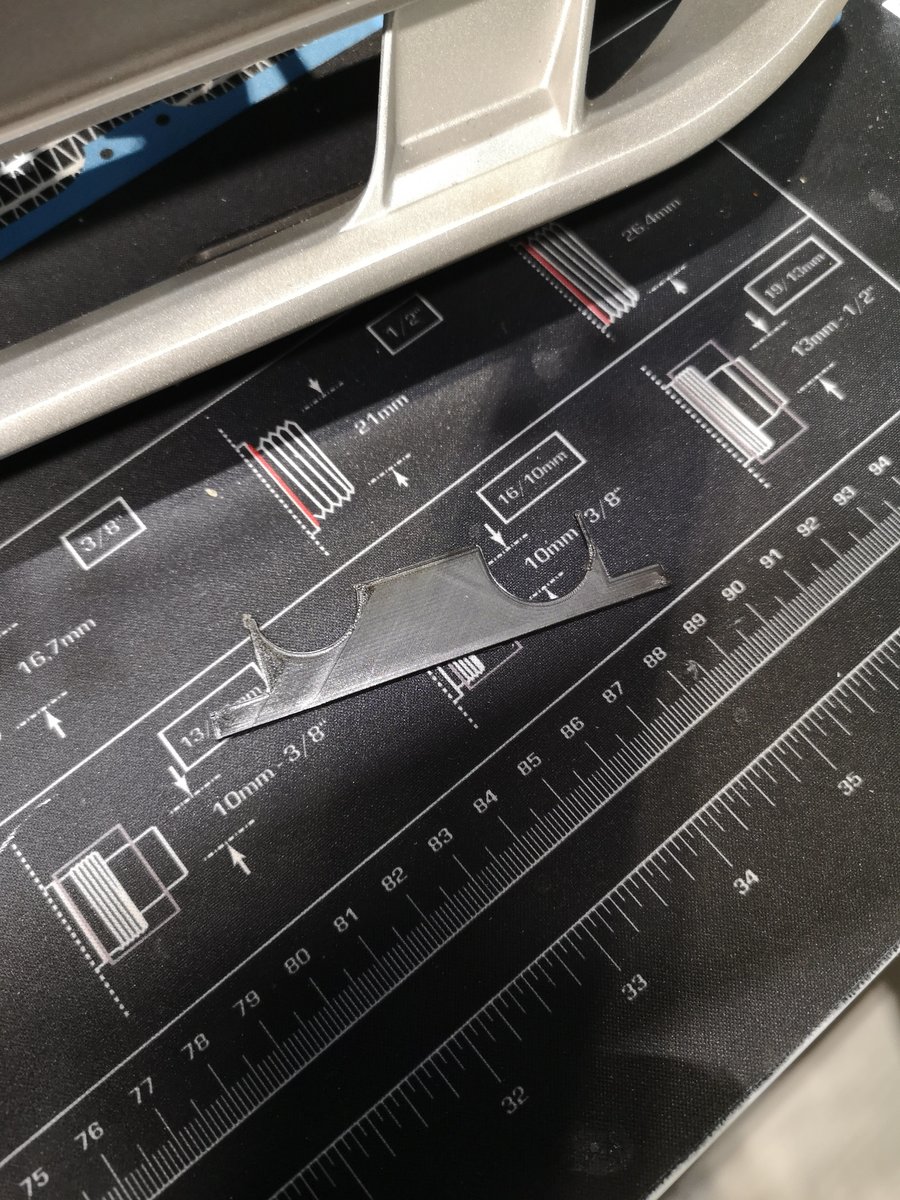
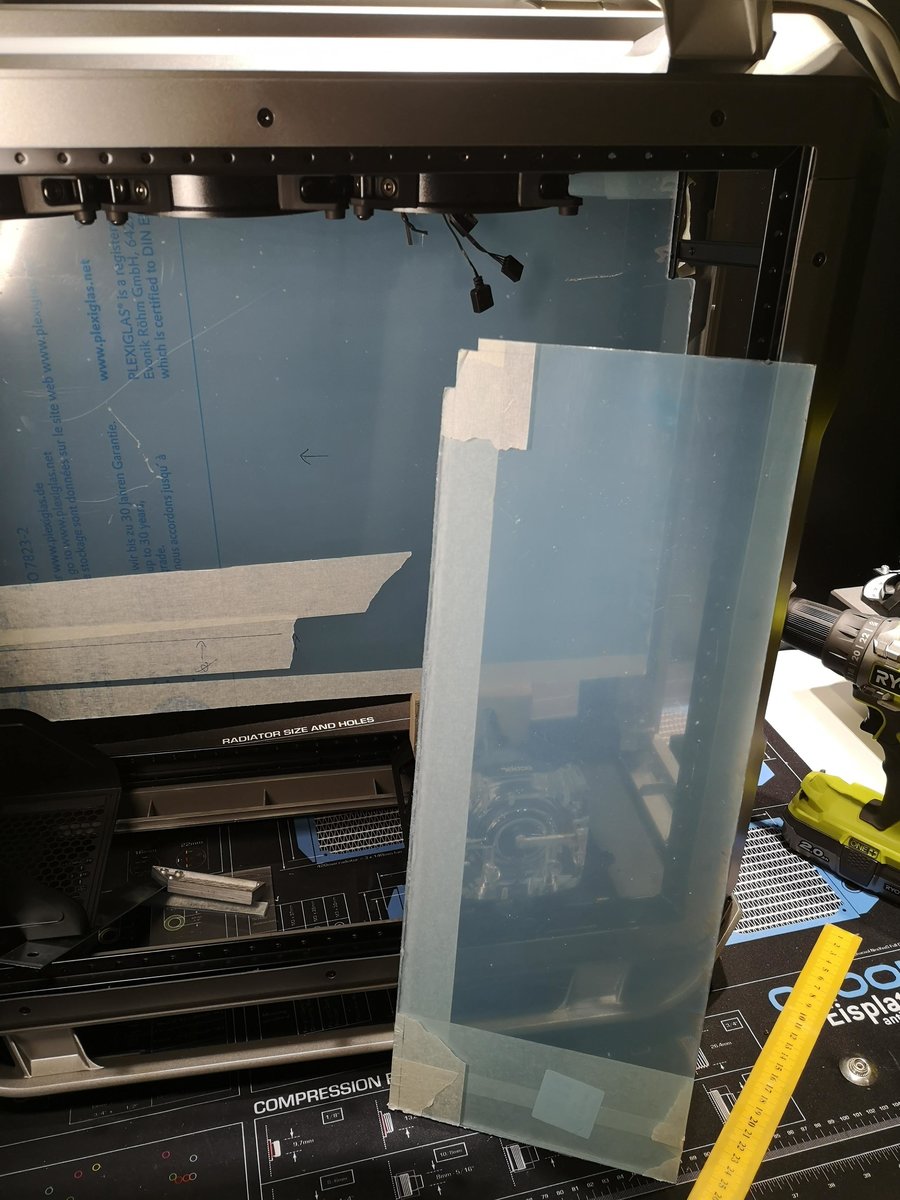
With that in mind I opted for this slide in / click in design for the back inside wall of the front shroud and pump cover. Just 10mm of height (for testing) but the real will be 130mm tall.

Fits pretty good if I can say so myself.

Next couple of hours went to make more pieces and finally trying them all together.

Next step was starting on making the inside wall / motherboard plate fastening holes. I need the wall in it’s correct location to be able to plan where to put both the motherboard and ensure I have enough room for the dual reservoirs and clearing the height of the PSU shroud. For reasons I can’t disclose yet, I need the PSU shroud to be exactly 135mm in height. With that in mind, i printed some drill templates mirroring my previous snap in pins.

I put the wall in place, snapped in the templates and made approriate holes.

Some regular dishsoap works as lub for drilling acrylic. Slow speed on the drill and even preasure.
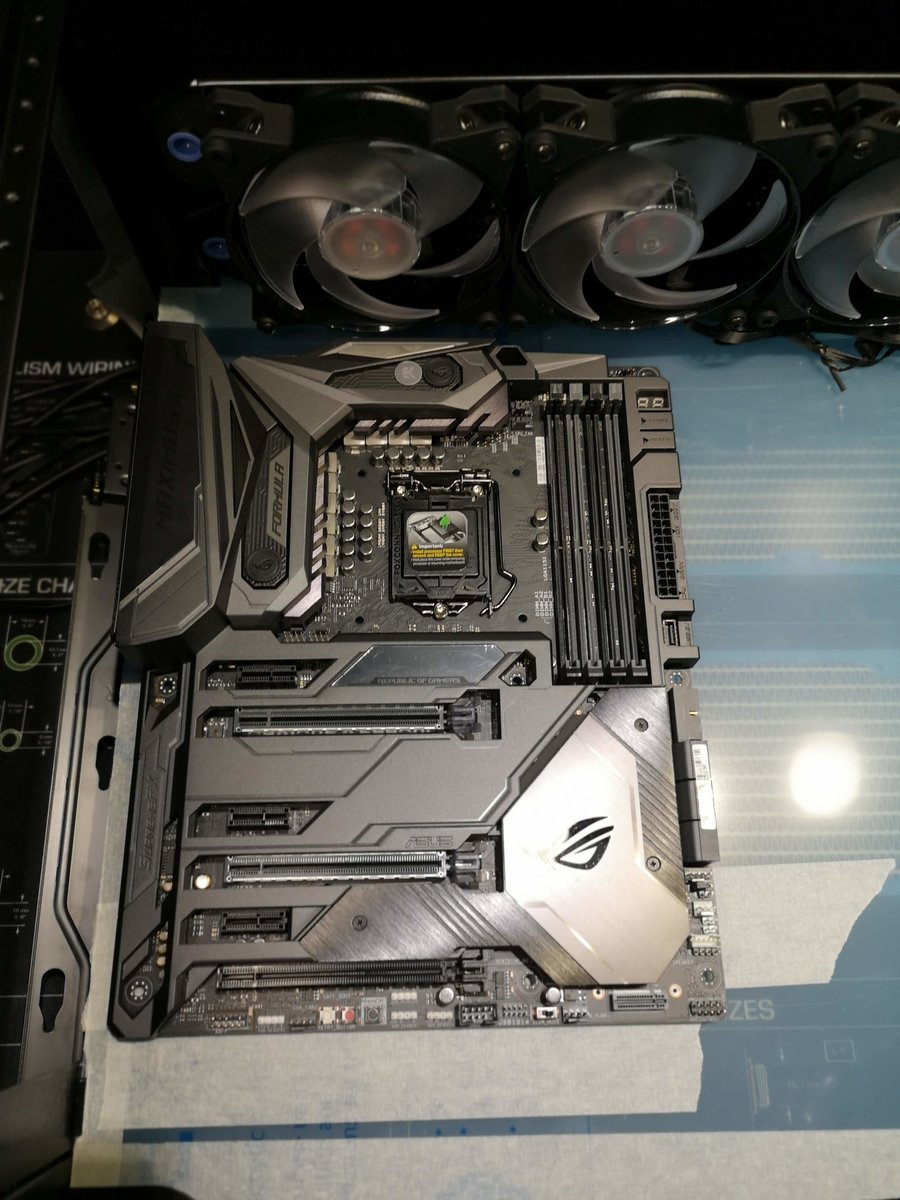
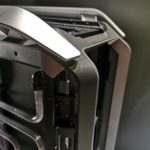
After moving around the AMAZING ASUS ROG Maxium X Formula I decided on this location. It is SUPER tight. It is almost against the top fans and still only 8mm clearance at the bottom. Absolutely no room for error.

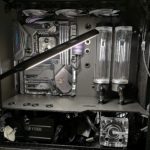
The Alphacool reservoirs will be placed somewhere here and this is a sneak peak on how I invision the interior of the build.

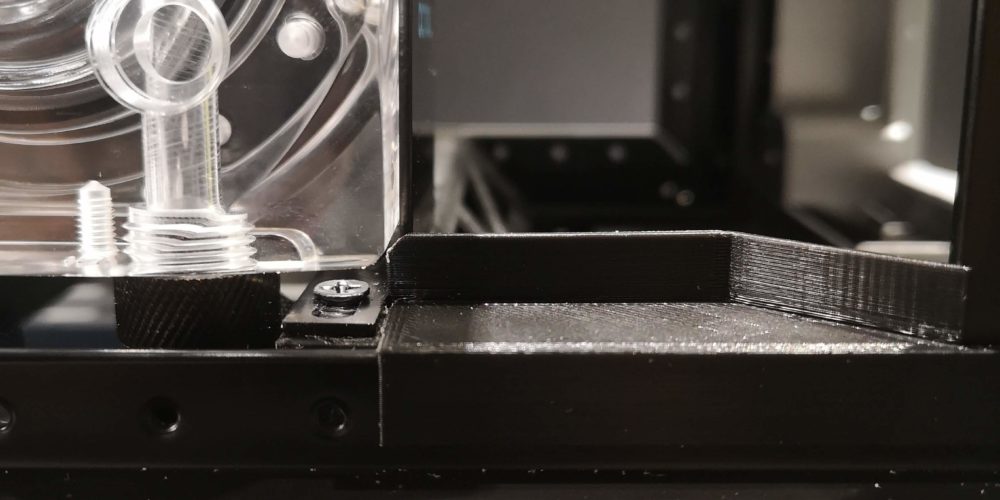
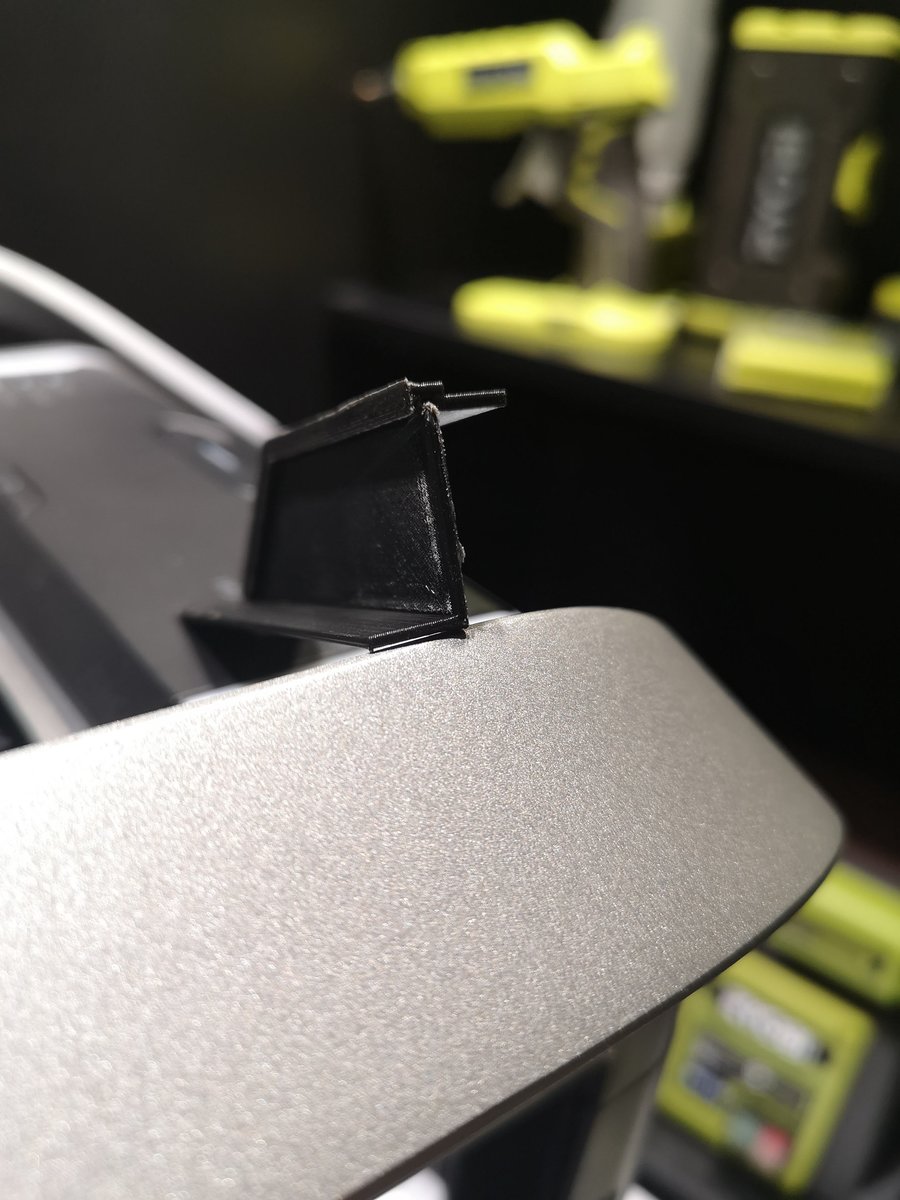
With the inside wall / motherboard plate out of the way I could move on to where I need to push work – the PSU shroud. I was previously very happy with my snap-in bracket for holding the inside wall. I decided to use the same solution for the shroud. A quick alteration in Fusion 360 and 1h print later I had to almost solid clips.

A 3mm thread and ready to test.

This solution is amazing. It clips in so hard that I could actually lift the case without even adding the bolt. Something I still did of course.


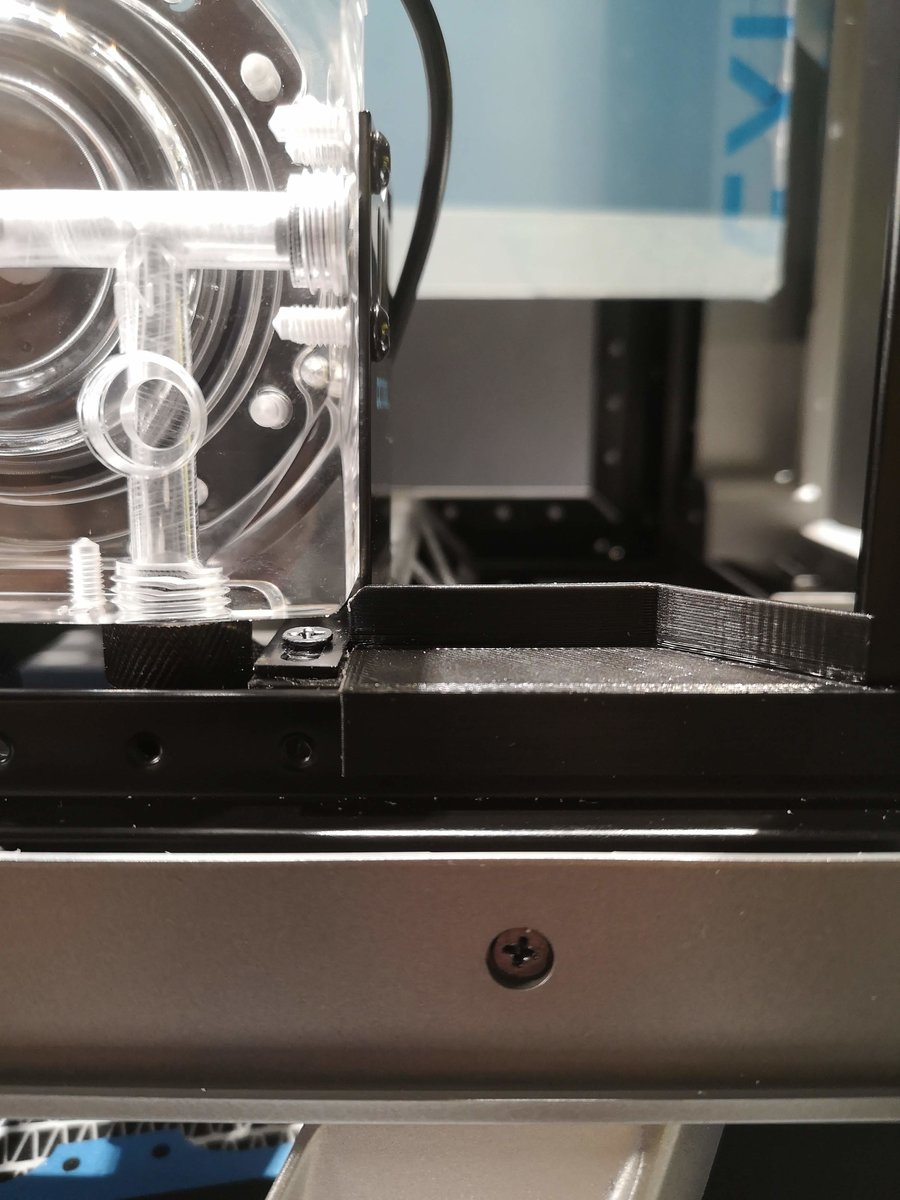
130mm exactly. Super happy. The acrylic is 5mm, making it a perfect 135mm as ordered. The clips are super, will use them in the future for other mods. So easy to adjust height and then just add a shroud plate ontop. If you want the design, let me know and I can send you an .stl.
Speaking of shroud. Here is the top of the PSU shroud before I cut it. 489mm long and 18.8mm wide (not easy to cut that exactly by hand, but managed).
After some detail trims for the backside corner I was ready to test the design of my clips and get a first glims of the design direction of my mod.

This is where I will end tonight. I needed to push atleast to the shroud as I have ALOT of work ahead of designing and making a GPU bracket. Fit and drill the holes for the motherboard and start to plan the loop. Got the hole backside plate to print as well. That will be atleast 30h print if not more.