It was with equal excitement and anxiety I moved on to starting with the bottom base structure of my custom exterior. The concept in my mind has always been about the beautiful Nvidia 1080Ti design combined with a stelth fighter. With that in mind I also have one major problem to solve, each side needs to be equal to create a symetrical and balanced overall look and design.
With that in mind, without blueprints, my only solution will be to create, than recreate.
I want a cleaner and calmer exterior than my PSU Shroud. Also I felt that to ensure symetry I need a few larger base pieces and rather accent them with more angles / triangles.
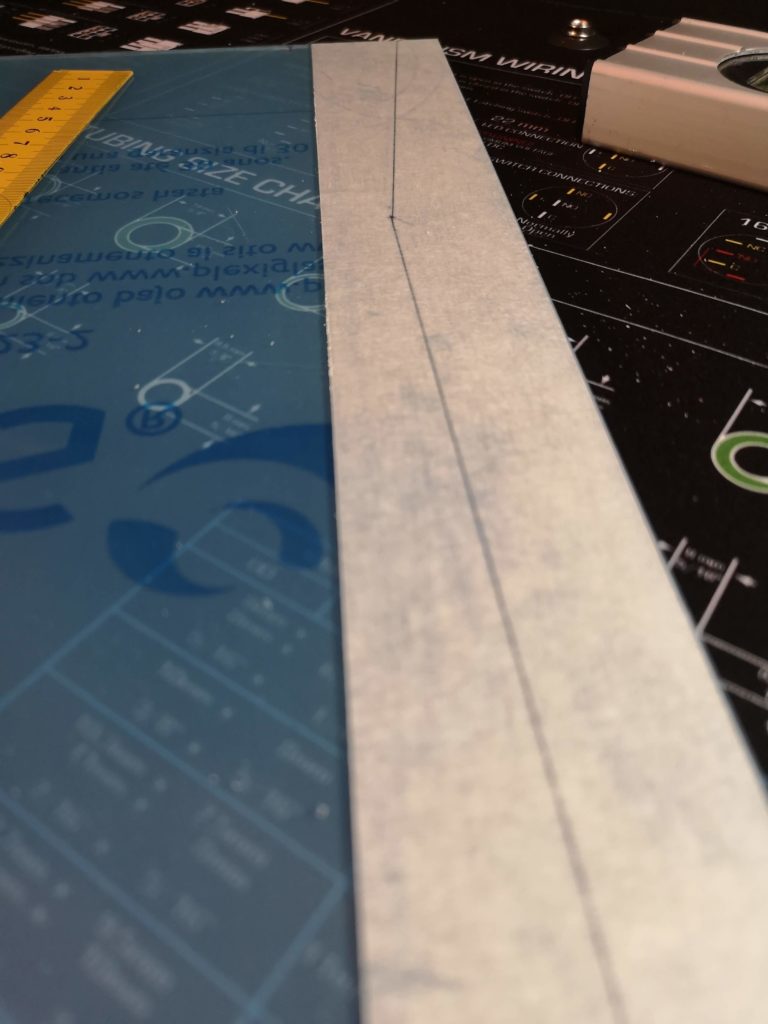
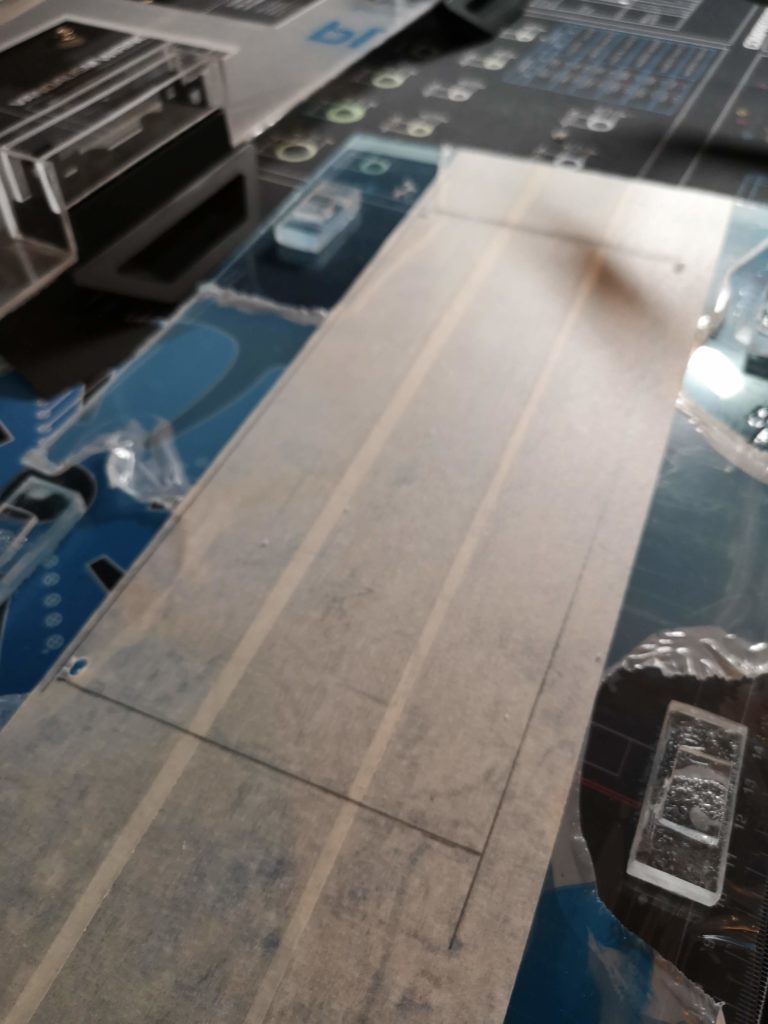
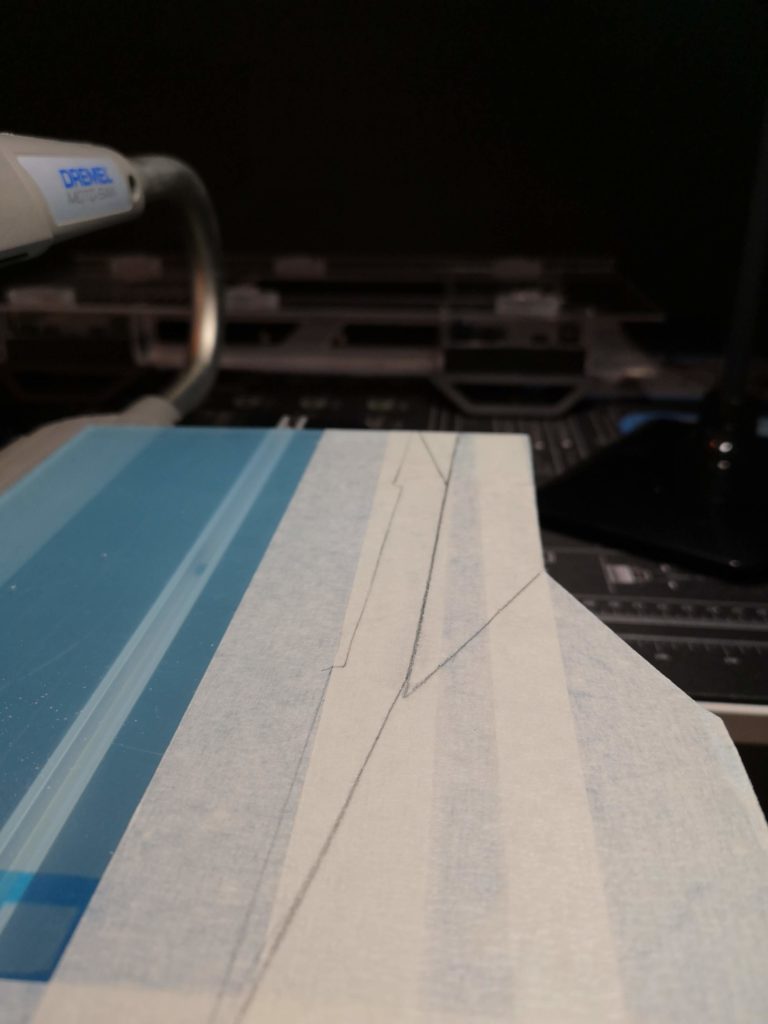
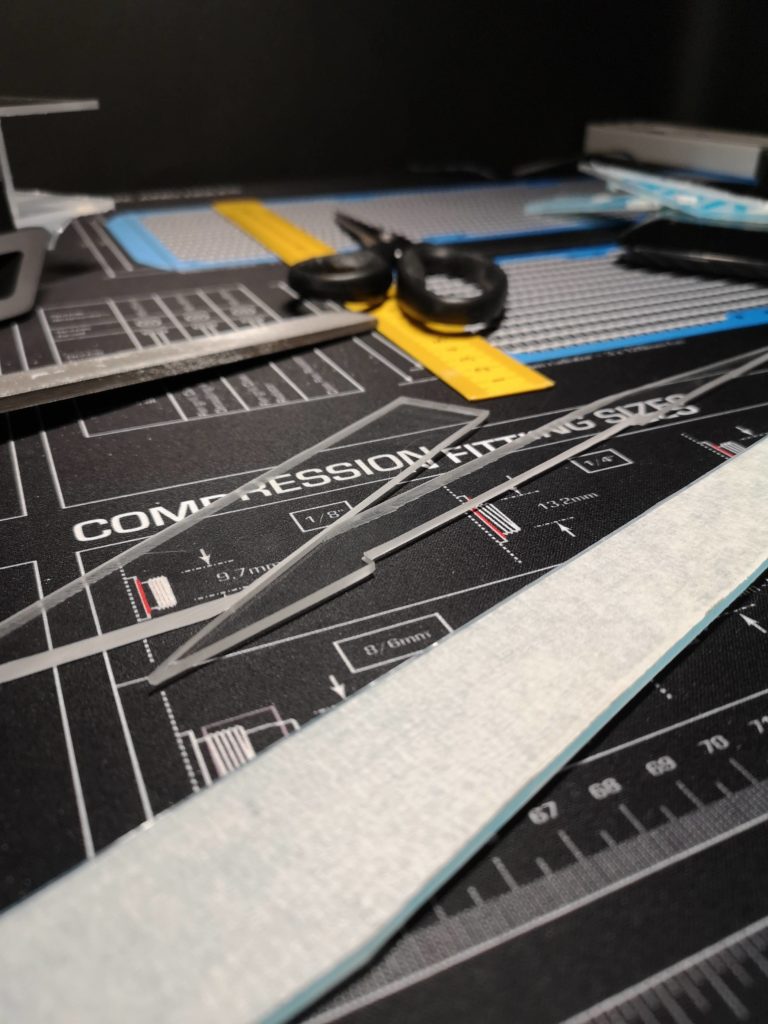
After literally staring for the case for 60min, cutting templates in carbord, holding up acrylic pieces I decided for a base shape and marked it down on a 3mm sheet.
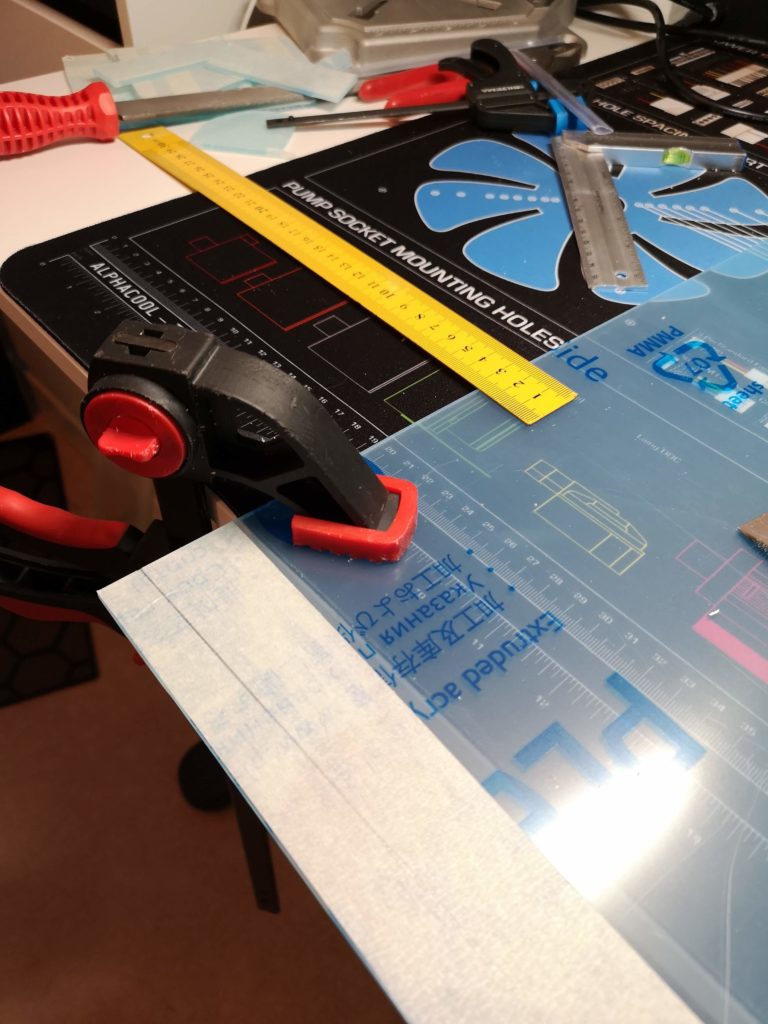
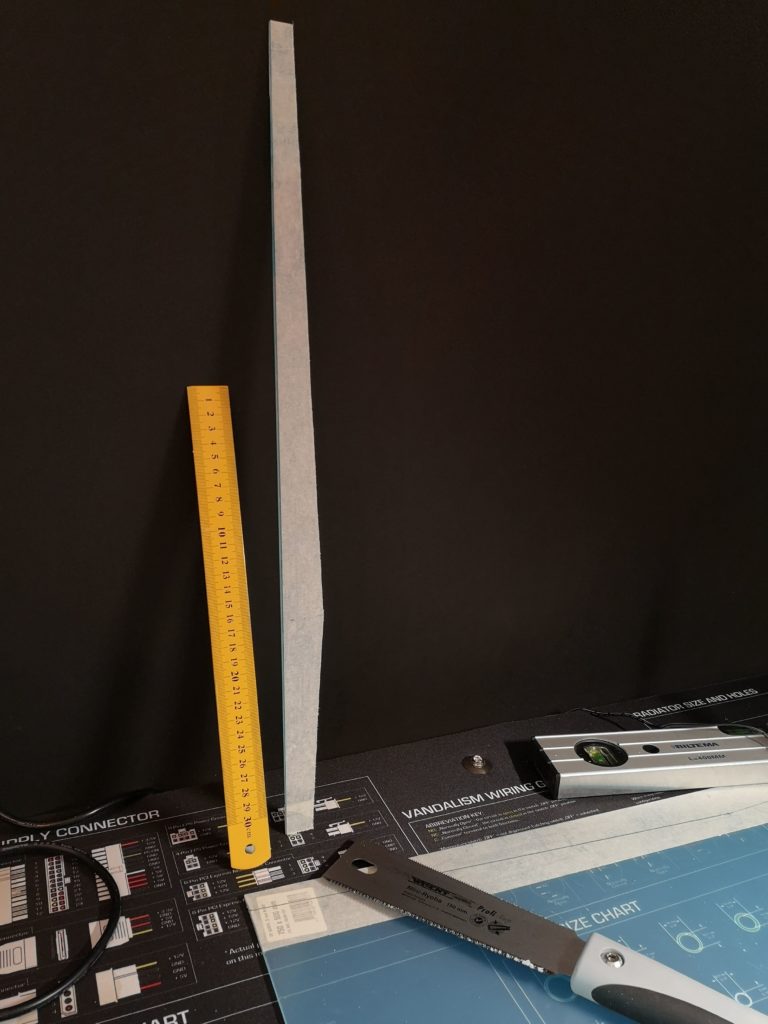
Table clamp and hand saw felt easy but each time the saw gets stuck (and it does VERY easily) I broke the sheet. It’s only 30mm wide at the base and 15mm at the tip and still 540mm long. Very fragile!
After 2! extra round trips to the store and another 200€ in plexi I managed to create the first piece. I wish for a laser cuter!
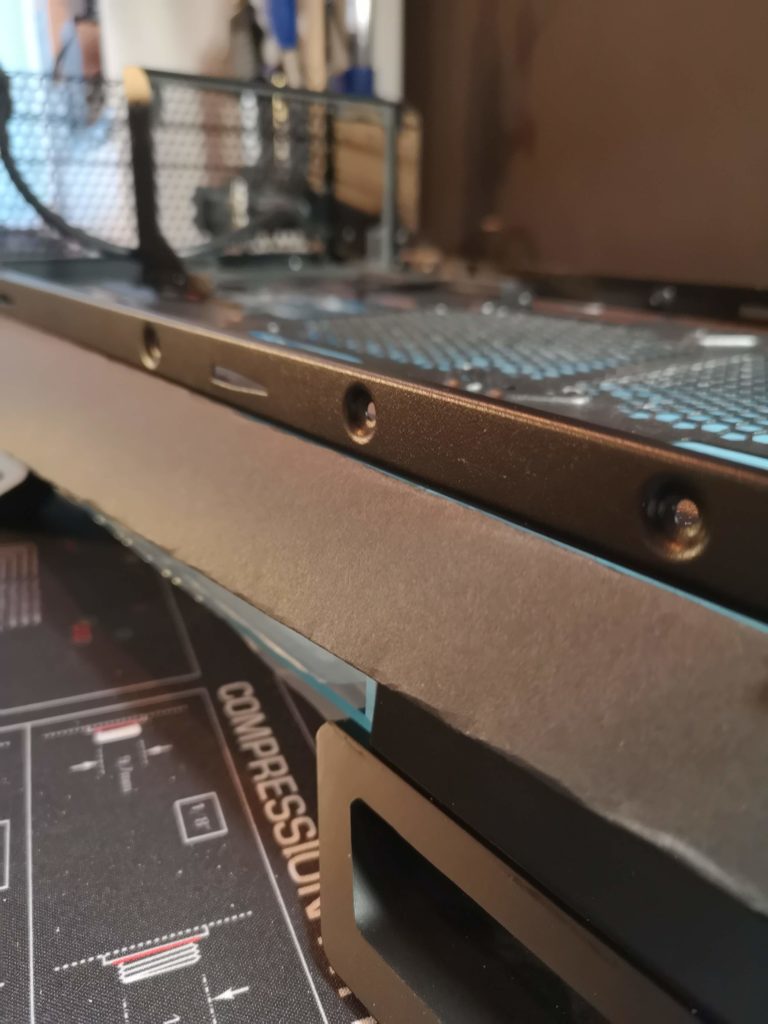
Reason I need to get more sheets every time I brake it, is that I wanted to keep the store (machine) cut edge against the glass. Only gives me 2 cuts / sheet to work with. But glad I took that decision. Looks really good.

From above. Looks a little crooked, but this is before my 20min hand filing it edged and straight.
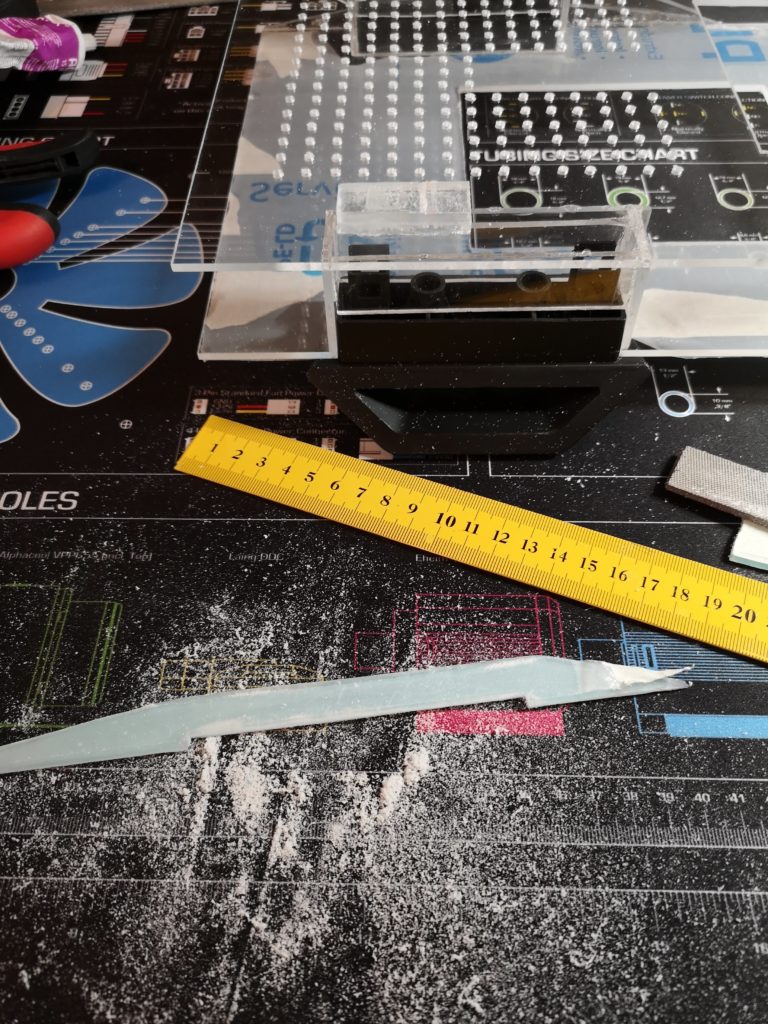
Another 2h spent with cardboard and cursing, I decided on next step in the exterior design. Many angles to factor into each piece.
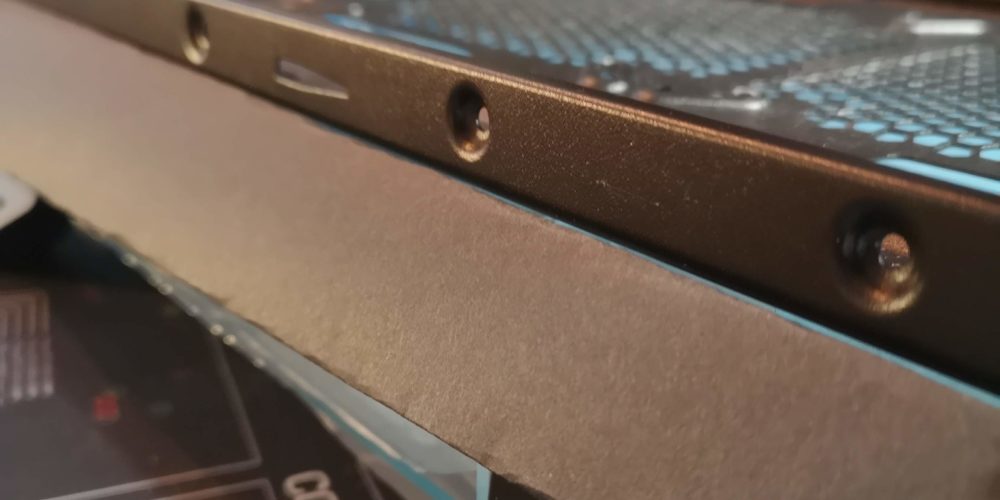
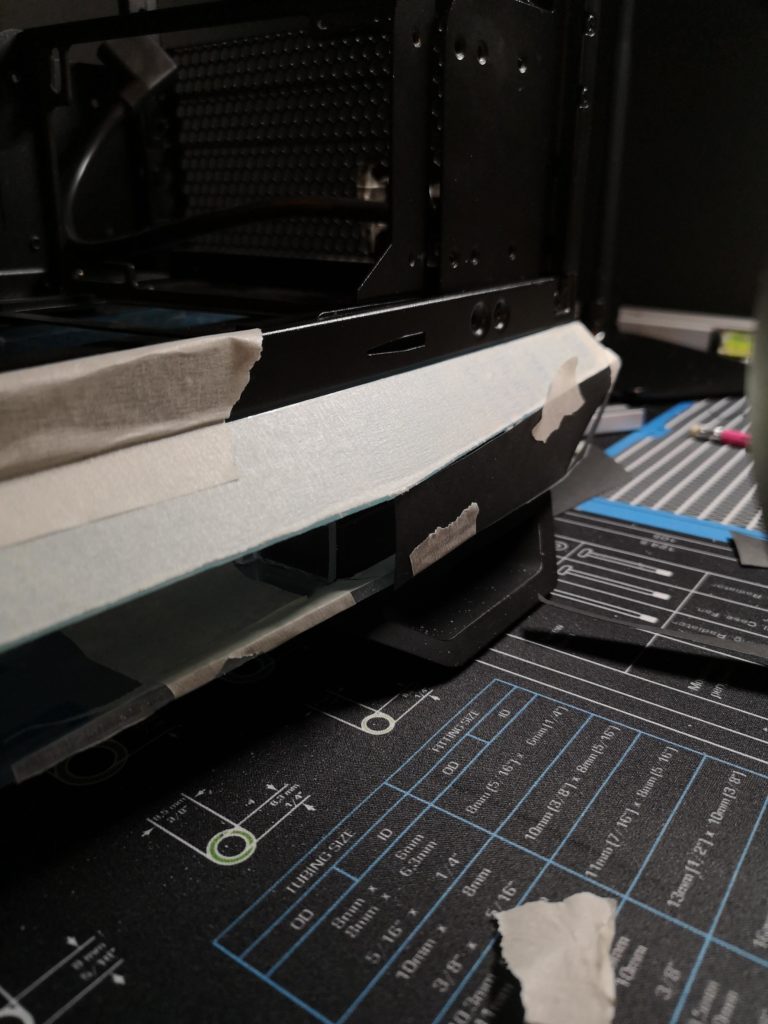
This is a shot all to familiar after the PSU shroud. Hand filed angles to ensure maximum contact with a good end result.
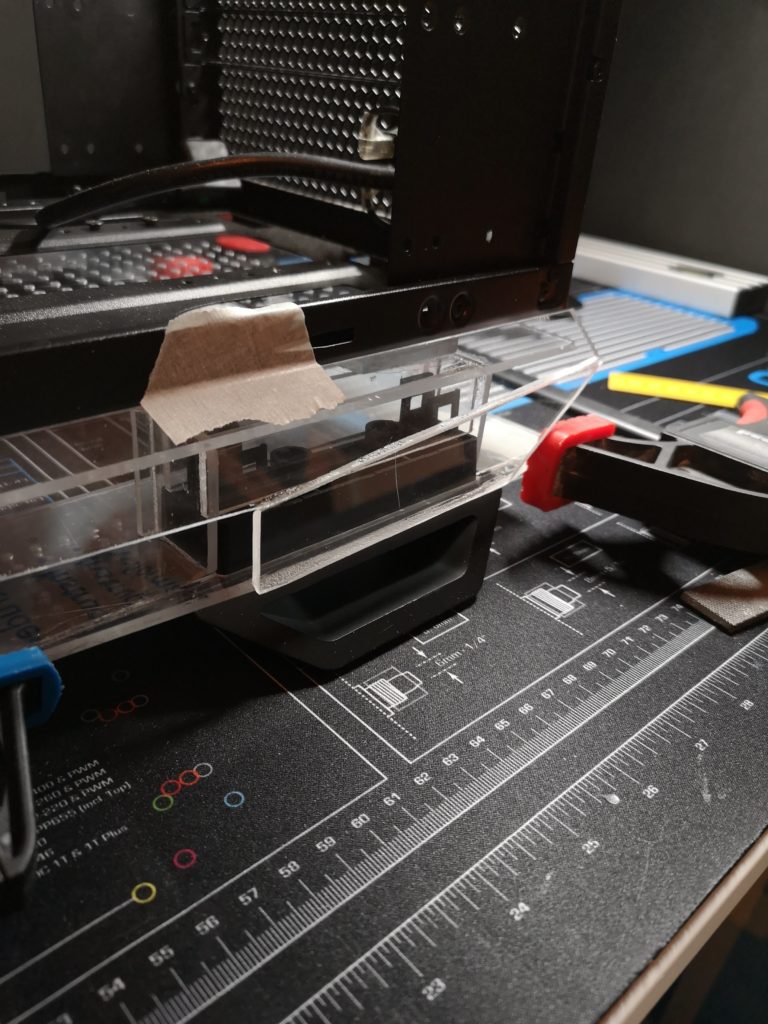
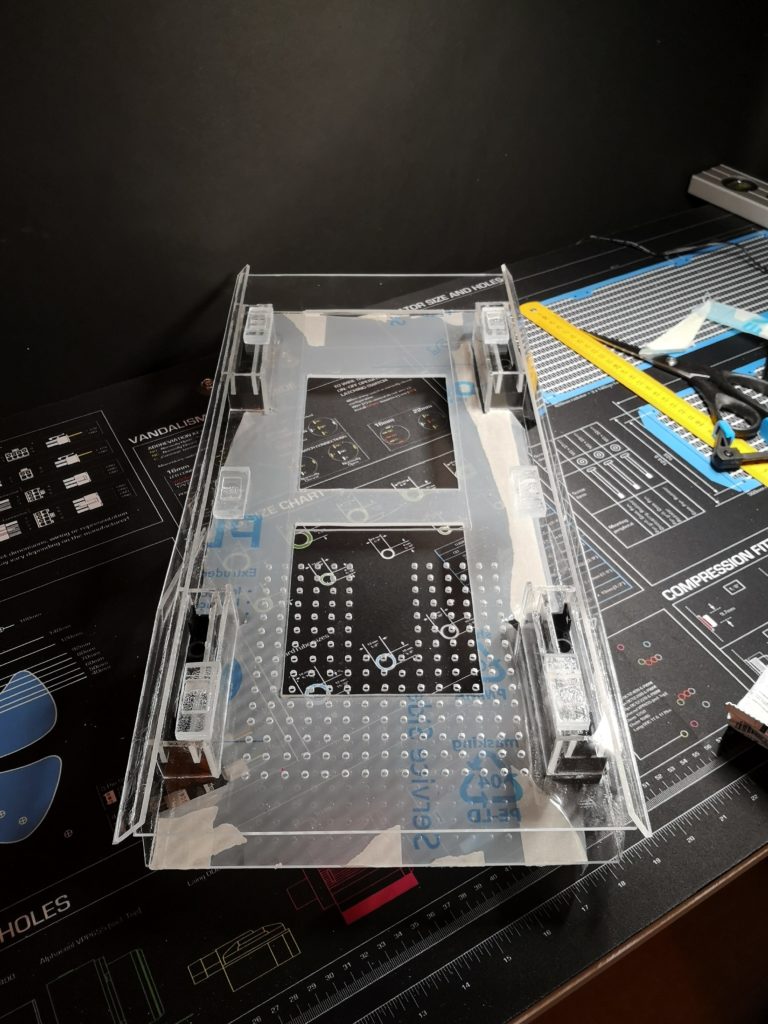
Before I could move on, I created and added 4 more cross-brackets to my feet/stand solution. Last chance before I mount the top layer permanently.
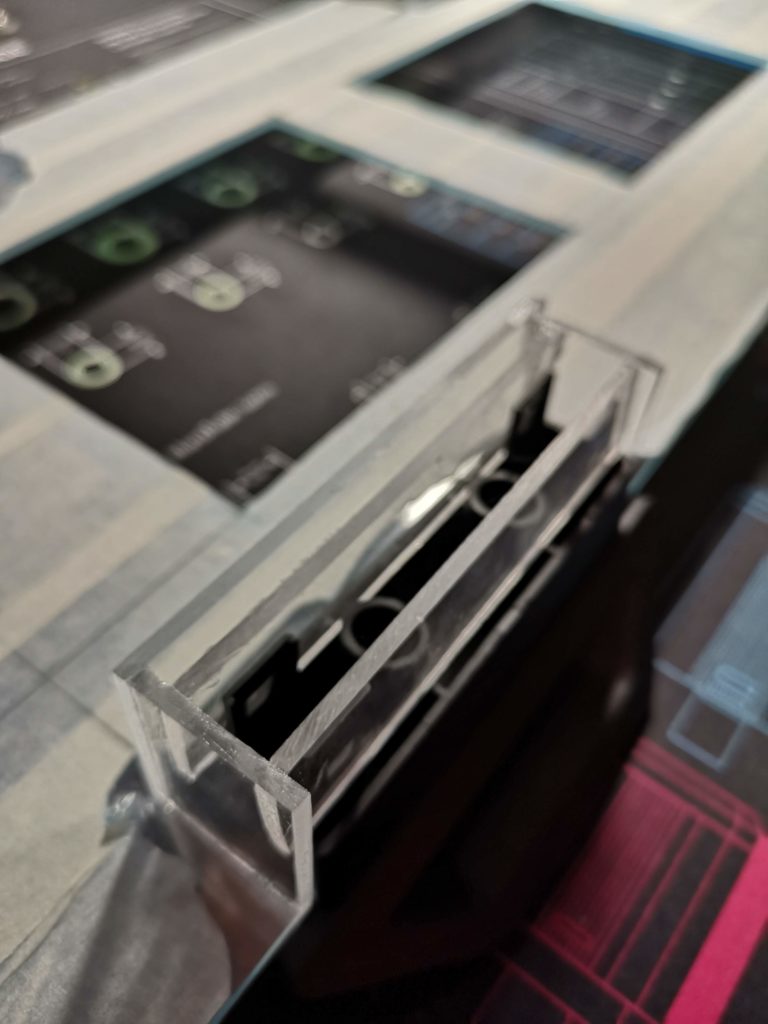
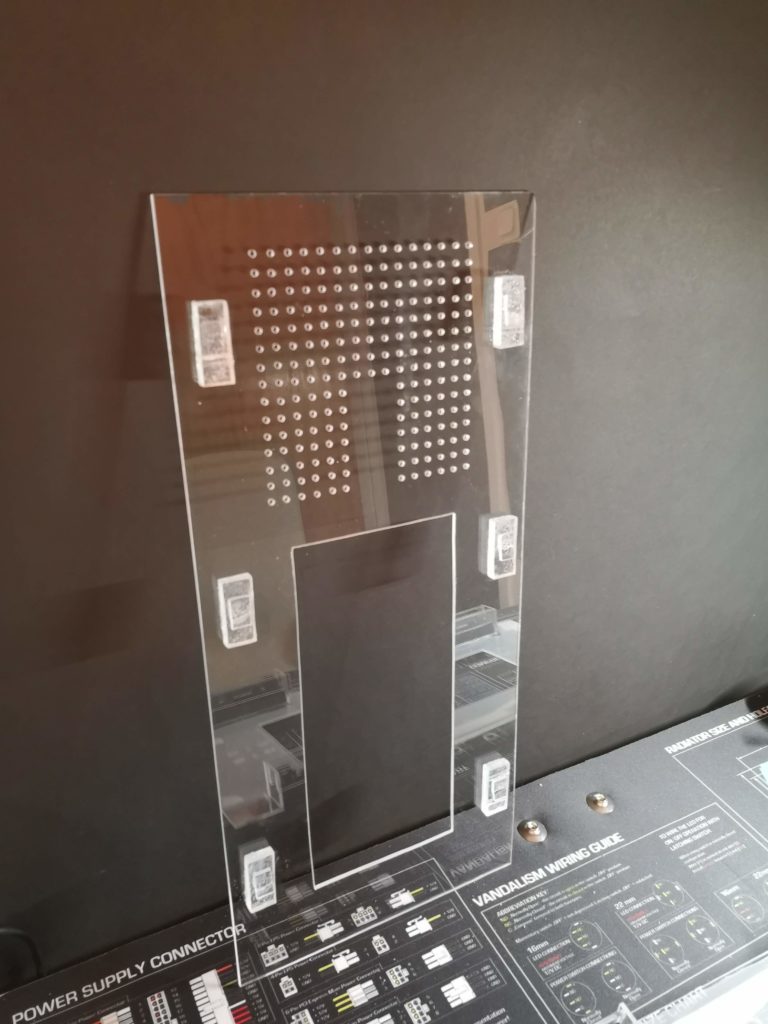
Before I could do that, I need to create more airflow aswell as an access panel for future mounting needs. Nervous to cut, as I don’t want to crack the entire plate forcing me to start over.
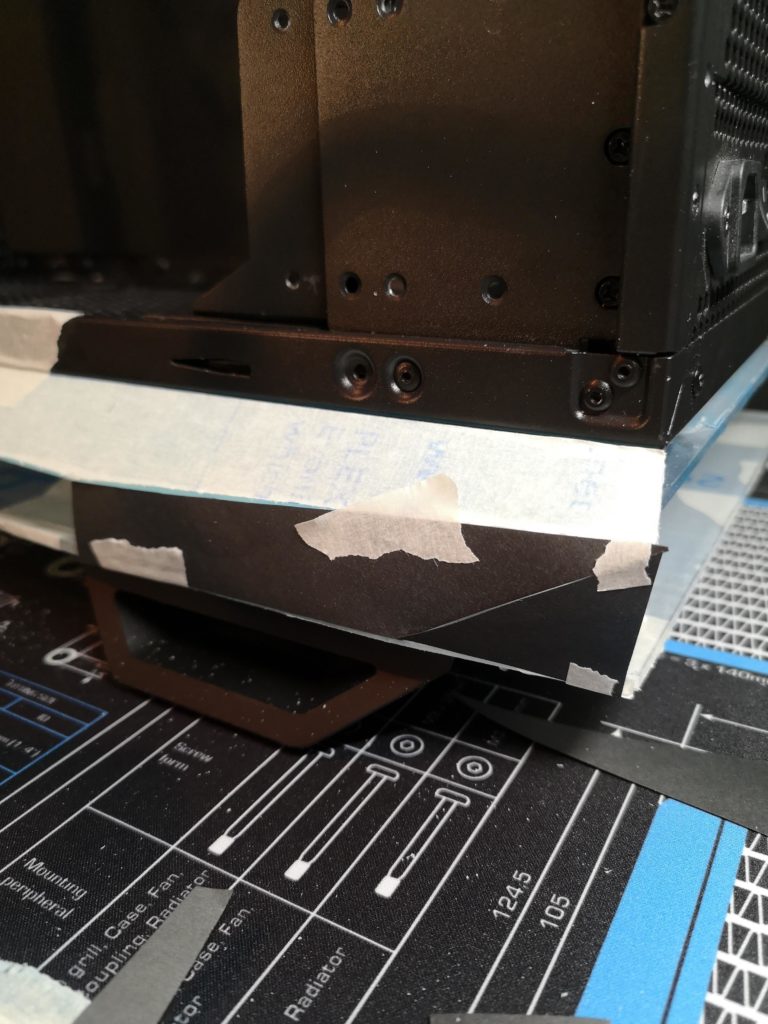
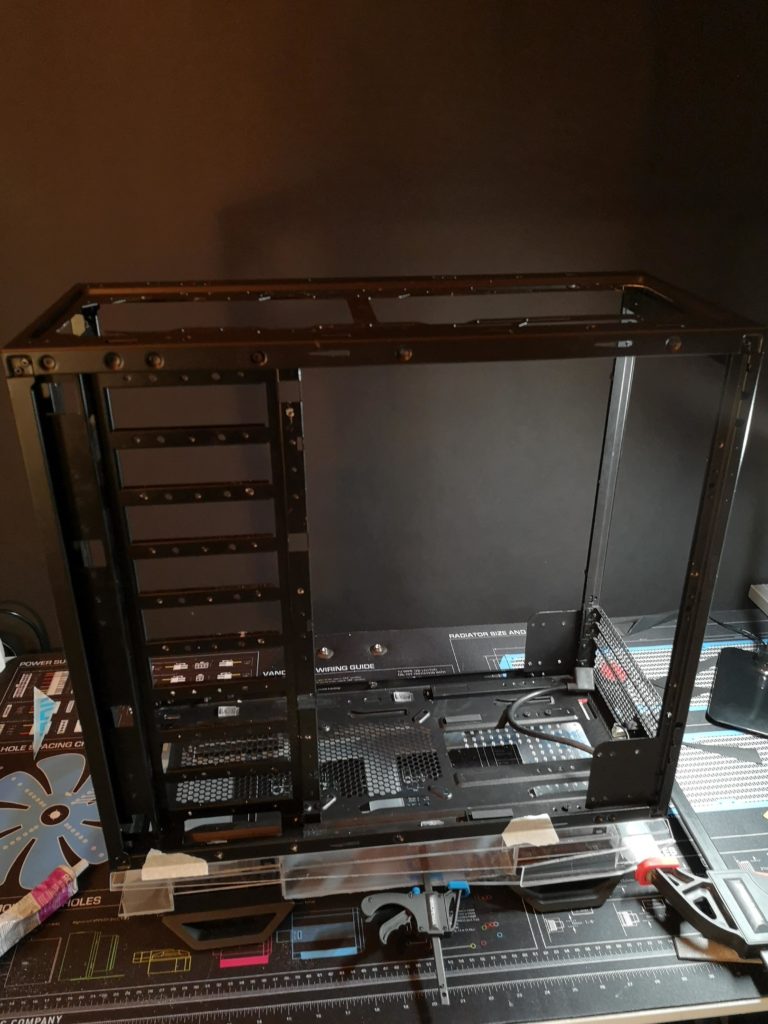
Not a bad end result if I can say so my self. Still don’t work with anything but small hand tools and hands.
Nothing left to do but to use Acrifix ontop of my custom leg brackets and fixate the top layer.
One last thing to do before mounting the first real pieces of the custom exterior. REPLICATE! This is how I think and will work with this mod. First create a part, ensure it work, mark it down not to loose the shape and size and after a successful mounting of one side. Replicate and repeat. First 2 shapes saved for the future…
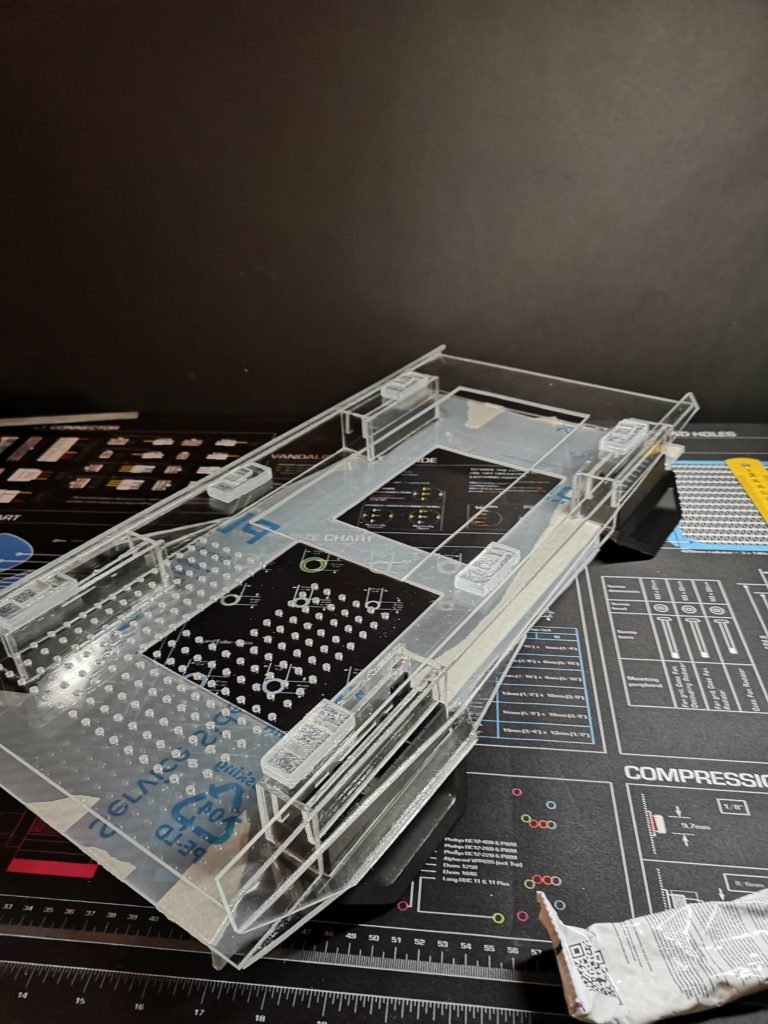
Very exciting to start to fixate the first parts of the custom exterior case.

540mm in length and angled outwards.
While waiting for the first side to set I moved on to create the parts for the other side.
Managed to saw the long part at first try, yeay…
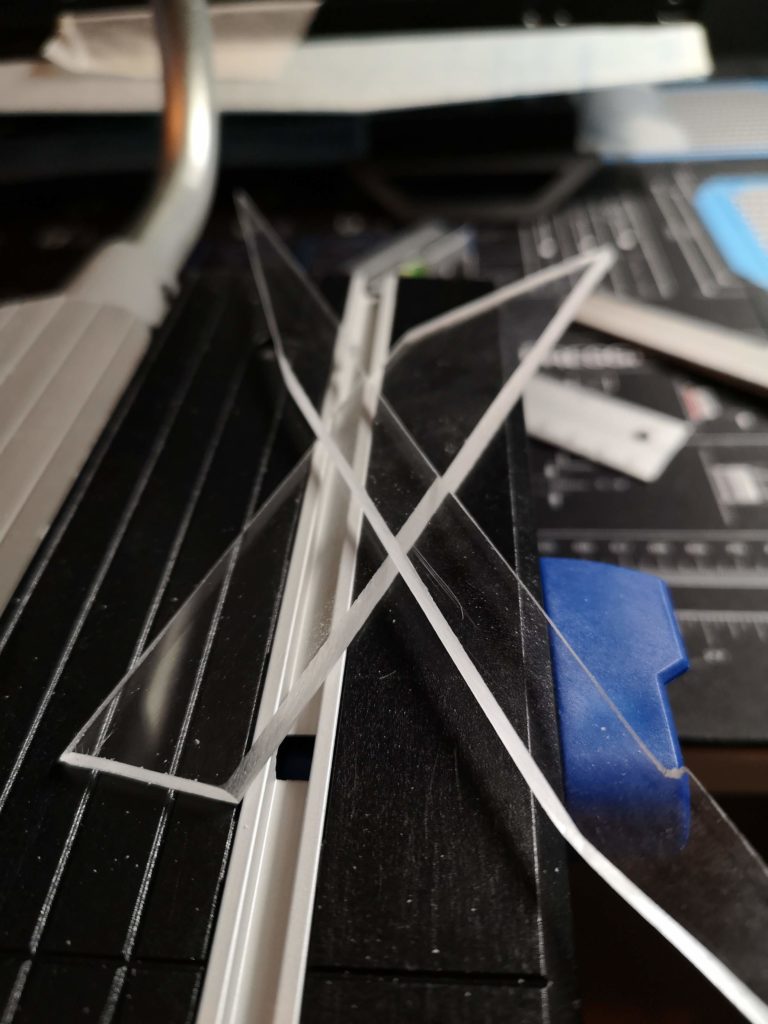
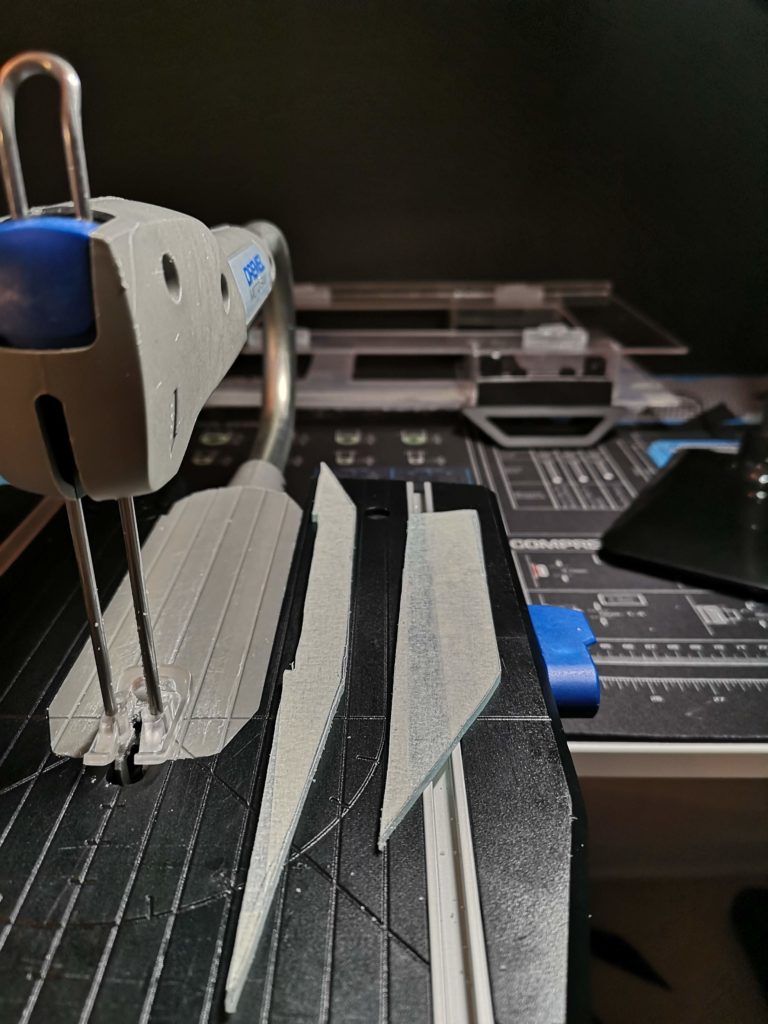
Just to show just how much hand filing I do for each piece. First to file it into the right shape and with straight edges. Then to angle the sides it eats away even more…
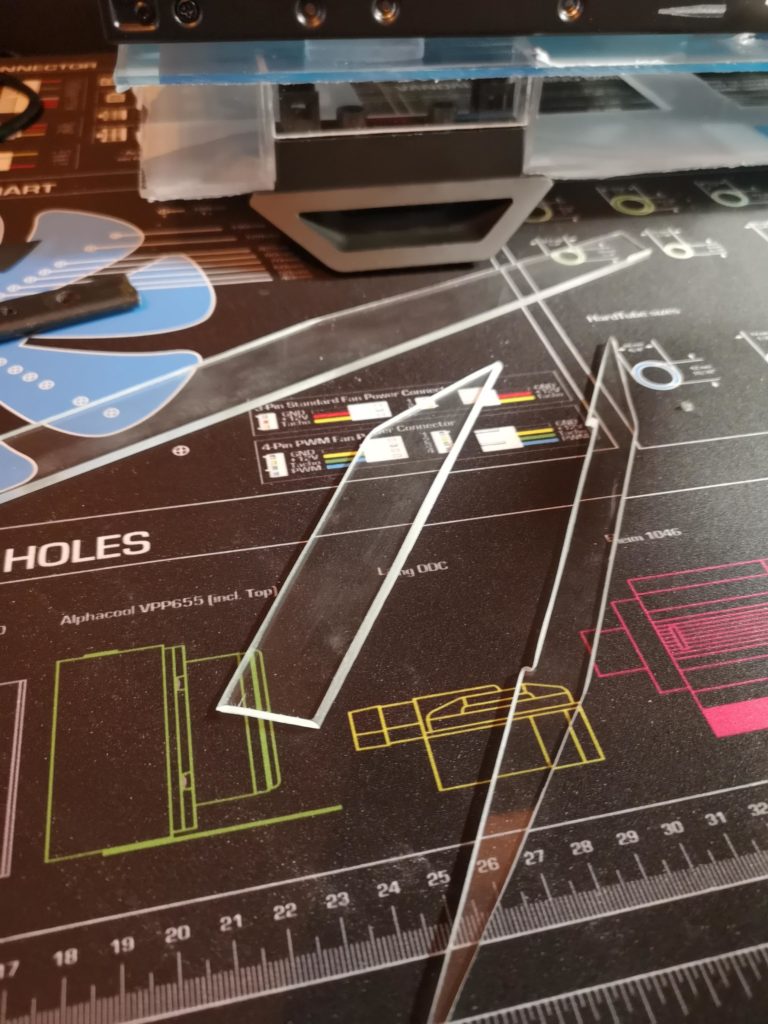
All done. Acrylic is such a beautiful material.
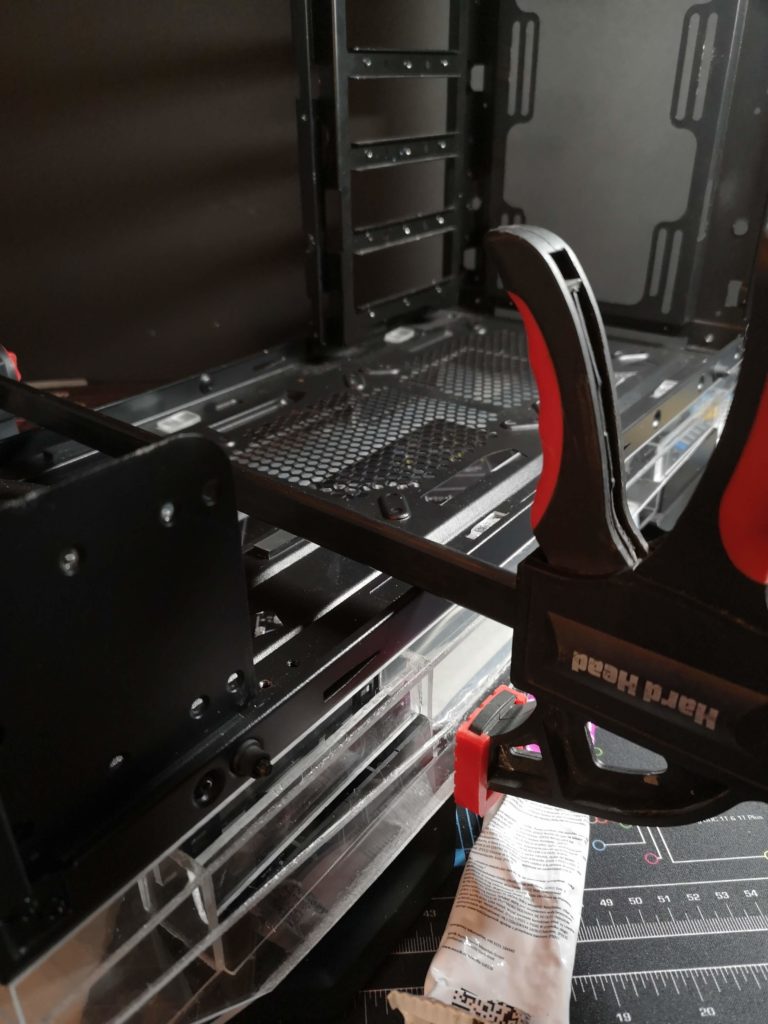
More clamps and Acrifix on the other side. Only time will tell at this point…
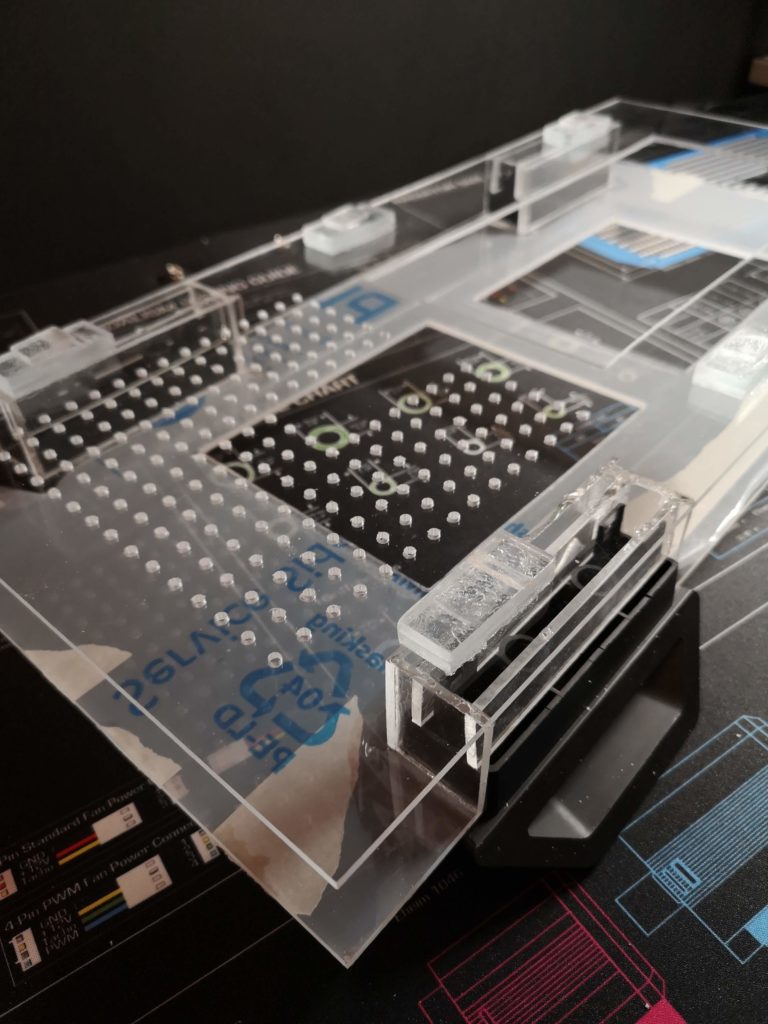
Look at that. Already starting to look like a computer case 🙂 Don’t you think?
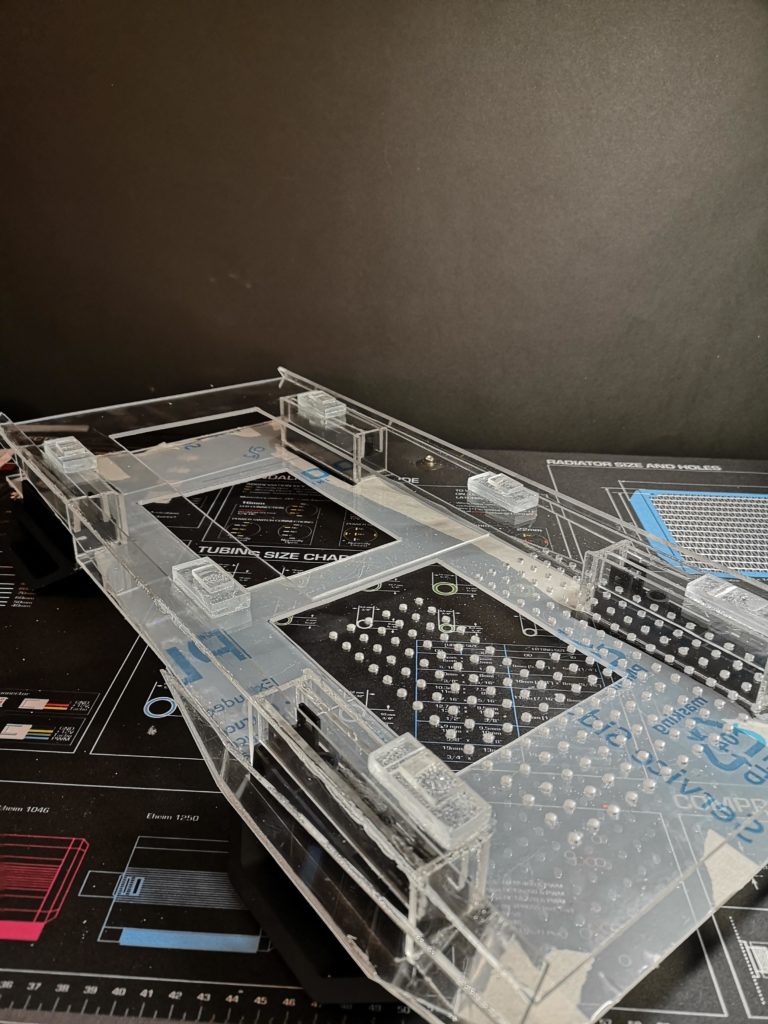
Will give a good structure to work with and add more angled shapes. Will be able to finish both sides and the backside, but think I will need to leave the front. Not sure how the front will look like and still need to make the bottom part, front part and top part fit together. Will be a challenge, but a challenge for the future. First I need to finish the entire bottom part.