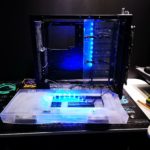
It was finally time to finish my first real piece. Last step of first piece in the rest of my life… I’m talking about the custom PSU cover that transformed into a secondary floor including an EKWB D5 PWM Plexi pump, Aqualis XT 880 ml reservoir covering the amazing Corsair RM1000i PSU.
The last step is all about the carbon fibre and finishing touches. I had some problems finding a shop in Sweden selling good quality carbon fibre vinyl, but found a great place in the UK with better prices and lightning fast delivery (took 24 from order to my door).

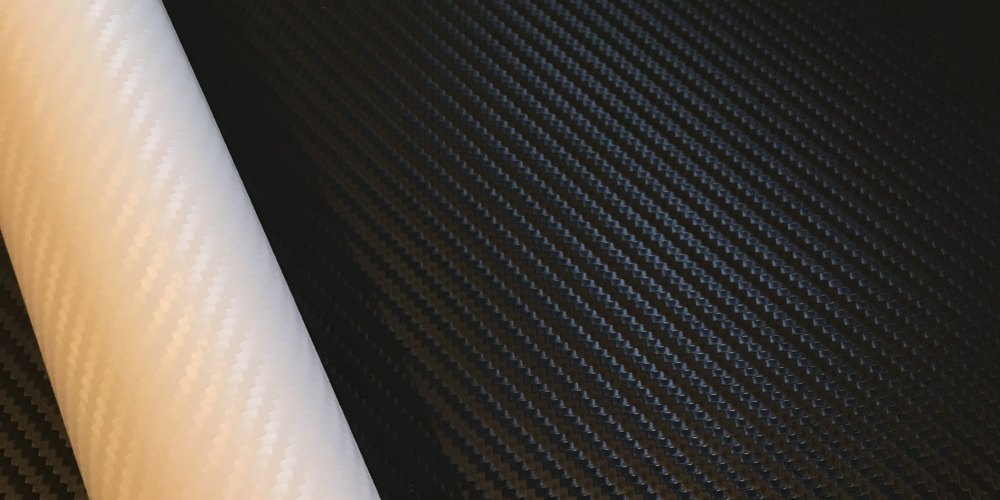
This picture isn’t doing the carbon fibre vinyl justice. It’s the closest thing to the real deal that I have ever felt. I bought 3M’s di-noc carbon fibre regular and white. My first mistake would turn out to be not ordering their primer…

The shape of my PSU cover / secondary floor was a real challenge as I wanted to wrap the entire PSU piece in one fluent vinyl, without any joints. It’s also my first-time wrapping carbon fibre vinyl, so took some scrap acrylics, bent them into a similar shape to test wrap similar angles.

After practicing on my small test pieces, I decided to paint the entire floor black. To ensure that if the vinyl cracked at some place it would still look black. This was my second and last mistake on this mod. Afterwards I feel a little stupid. Ensuring it was black was not a bad idea, but should of course painted the inside of the floor. When heating the vinyl with my heat gun the paint melted and I had real trouble fixating the vinyl in the negative angles. Learning by doing! Will never make that mistake again.

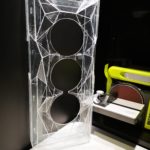
It was such a stressful job to heating and stretching the carbon vinyl I forgot to take pictures of the process, but it went very well. No joints, no bubbles and very tight. Super proud. I put the negative most visible angle under pressure to make it stick.

To ensure a tight fit and bubble free application, I put the entire upside under pressure. Finally, I got proper use for my exercise equipment: D

I ended up squeezing in super glue with a syringe and applying pressure for a third time, while loudly cursing myself for not buying that primer. Remember my first mistake? If you plan on wrapping with real vinyl and you have negative angles or very sharp edges, buy the primer. BUY the primer, trust me! End result still turned out really good, just made it more difficult than it should be.

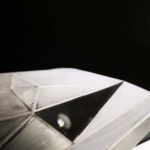
Detail photo of the front edge. Felt just as sharp as it looks. This is how a carbon vinyl should look. Super super happy!

Voila! When planning my floor and modding the case I couldn’t have imagine the outcome better. I super excited for the next step and adding components to this. The shadows from the backside of the case really blends well with the carbon vinyl. This is also a great angle to show why I decided to add a lighting ramp to hide that inside compartment.
I would love to what you think about the process and my modding so far and if you haven’t read my previous posts about modding and creating a custom PSU cover front part 1 and Custom PSU cover top part 2, please do.
[…] 880ml reservoir custom bracket created so long ago is no execption. Will it work together with my custom carbon fiber floor and PSU shroud? Only one way to find […]